Tony’s Stillborn By Tony Spezio, Flippin, AR
I started tying this fly nine years ago,
I use to call this fly Stillborn. In a
recent article I noticed there is another
fly called Stillborn so I added Tony’s to
the Stillborn name, thus Tony’s Stillborn.
The Stillborn represents an emerger that
has drowned in the film surface. The fibers
at the tail represent the trailing shuck,
silver wire in the body gives it some flash.
The short wings are the wings coming out of
the thorax that are not fully developed. I
used peacock herl for the thorax because I
like it and it represents a fuzzy thorax.
This fly has caught a lot of trout and warm
water fish. I caught one of my biggest Rainbows
on it.
They can be tied in Brown, Yellow or Chartreuse.
I prefer Light Olive like this one is tied.
~ Tony Spezio
Materials: Tony’s Stillborn
Hook: Scud hook sz 10 to 20. Sz 14 is
my favorite size.
Thread: Color as needed, I use 10/0 Gudebrod.
Rib: Fine silver wire.
Trailing shuck: Antron Yarn color as desired.
Body: Antron Yarn, same as Trailing Shuck.
Thorax: Peacock Herl.
Wings: Small feathers from the neck of a Grizzly Rooster.
Tying Instructions: Tony’s Stillborn
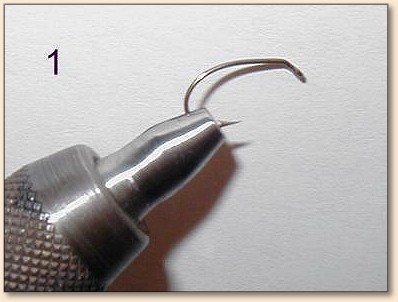
- Put hook on the vise (photo 1), start
the thread about 1/3 of the hook shank
behind the eye. Leave the front 1/3 of the
hook bare.
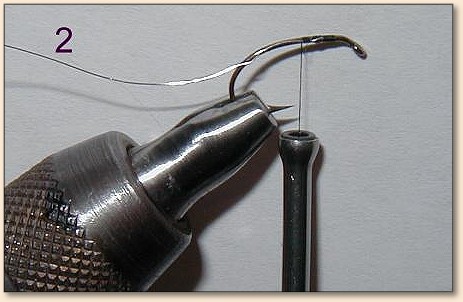
- Tie in the wire rib at this point. (photo 2)
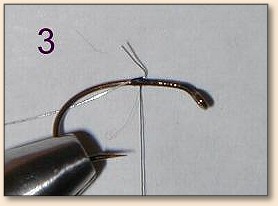
- When tying in the rib, leave a bit
of wire exposed and fold it over. (photo 3)
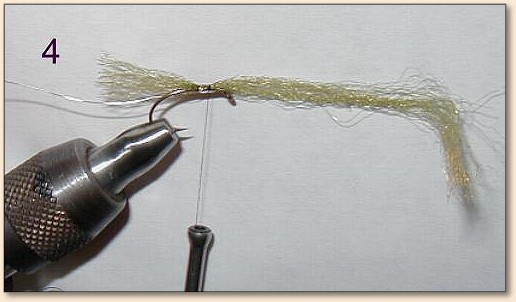
- Wrap over the fold, this keeps the rib
wire from pulling out. At this same point
tie in the yarn leaving about a shank length
beyond the bend of the hook.( photo 4) This
will be your trailing shuck, more on that later.
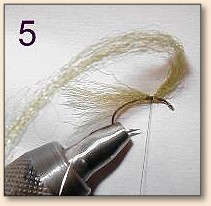
- Take the front end of the yarn and fold
it back over the tie in point. (photo 5).
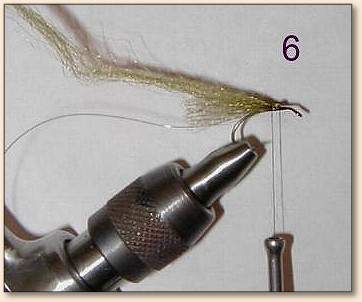
-
Over wrap with thread, (photo 6) wrap
down the shank to the bend and down the bend
a few wraps. -
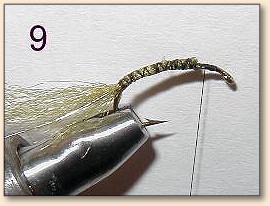
Then wrap the thread back up to the tie in point (photos
7-8-9).
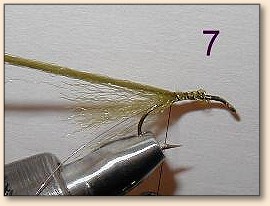
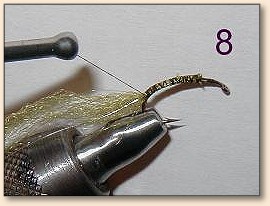
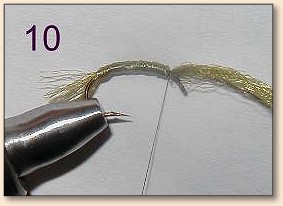
- Pick up the long end and wrap the
yarn over the wraps from bend to tie in
point behind the eye to form the body. (photo 10).
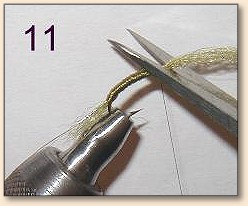
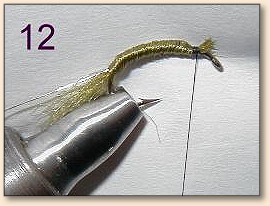
- Cut off the excess yarn. (photo 11-12)
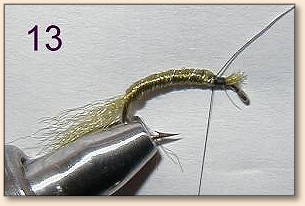
- Spiral the wire rib up the shank three to
five wraps. (photo 13)
- Tie in one strand of peacock herl.( photo 14) .
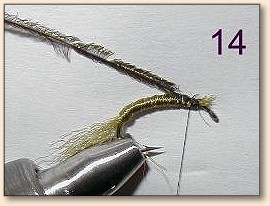
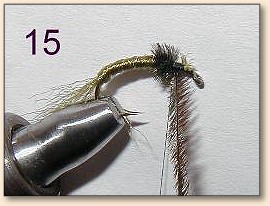
- The herl has short fibers on one side
and longer fibers on the other side of
the stem. Tie in with the short fibers
against the hook. This will give you a
fuzzier thorax when wrapped. Wrap three
to five turns at the tie in point, this
will give you a bump to where the wings
will be tied in. Don’t cut off the excess
herl (photo 15).
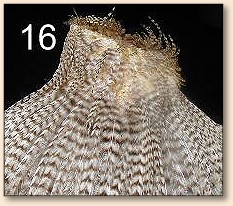
- For the wings, pluck the feathers from
the base of a Grizzly rooster neck. Pluck one
from the right and left. (photo 16) Plucking
a feather from each side will make
the feathers lay better when tying them in.
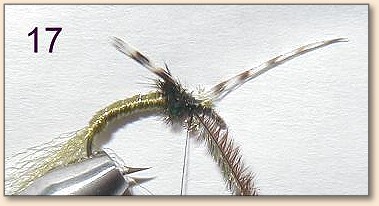
- Tie in the far feather at an angle. (photo 17)
Tie in the near feather to form an “X” with the far
feather.
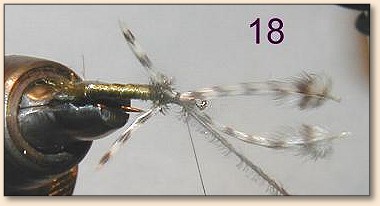
- (photo 18). Don’t worry about the length of the feather wings
at this time. Make several wraps at the “X” point then adjust the length
of the wing by pulling on each butt end till both wings are even. (photo
- You can make the wings real short or as long as you like them.
When you have the wings set to the length you want, take several tight
wraps at the “X” point and make a couple of half hitches.
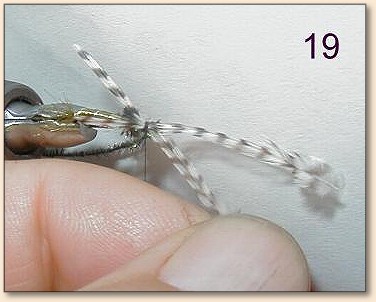
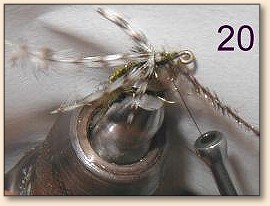
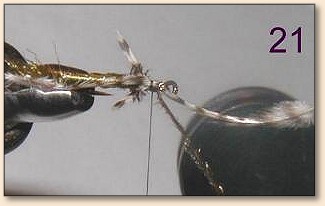
- Take the butt end of one feather and
pull it over the wrap and trap it with the
thread. (photo 21)
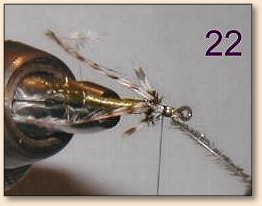
- Do the same with the other side. (photo 22). This
will lock in the wing feathers.
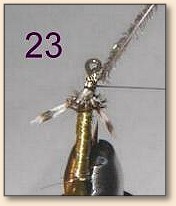
- Clip off the butt ends at the tie in point ( photo 23).
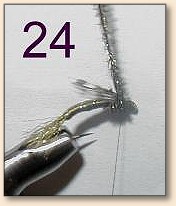
- Wrap the peacock herl over the wing tie in wraps and
up to the hook eye. (photo 24).
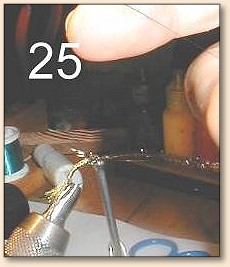
- Whip finish ( photo 25) now lets get back to the trailing shuck.
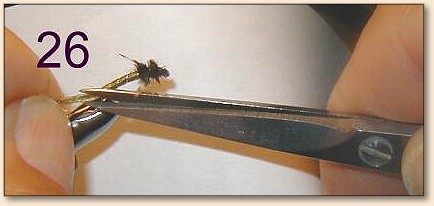
- The trailing shuck should be a bit ragged.
To do this, open the tips of the scissors to
form a small “V”. Hold the end of the shuck
fibers pulling them away from the fly. Push
the small “V” through the shuck fibers at an
angle, this will give you the ragged
trailing shuck. (photo 26).
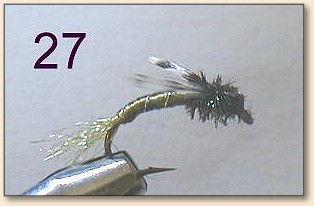
- The finished fly (photo 27).
~ Tony Spezio
Originally published August 1, 2005 on Fly Anglers Online by Tony Spezio.