…
I noticed on a recent trip out West that I was going to the Baetis version
of this fly almost every time. It’s become the go-to fly for all of us in
our little group, for dry fly situations on the spring creeks we like to fish
out there. I had my best day ever on Milesnicks with the Baetis Last Chance
Cripple, even though it was designed for Henry’s Fork Trout by Rene Harrop
in Last Chance, Idaho. I’m not sure if the fish take this as a dun, a cripple,
or an emerger, and I don’t really care. This fly just works. The design is
based on the general Bob Quigly cripple pattern, but the CDC seems to give
it something extra. I like the fact that it’s not tied on a curved hook, which
to me means better hooking. But perhaps that’s just my own perception.
This is not a particulary difficult fly to tie, and it fishes easily too.
For a CDC fly it’s a great floater, and very visible. As with all flies, the
materials are important, and Harrop’s CDC is all I use these days. He appears
to have cornered the market on the good stuff. I’m also a big fan of his dubbing,
but am out of the PMD color and used Superfine on the PMD fly here. Harrop’s
Professional or Fine and Dry is better for this fly, and floats a no-hackle
much better than Superfine. That said, a lot of dubbings will work for this.
I’ve shown a couple of ways of finishing the fly, the way I do it and the
way the Harrop’s do it. Each has its advantages. If you’re a dry fly guy and
haven’t tried this fly yet, well, I insist that you do!
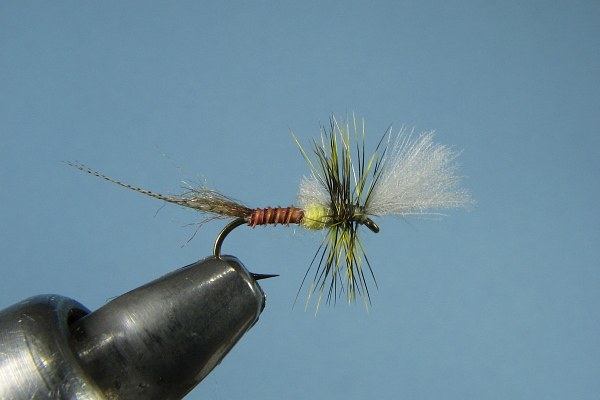
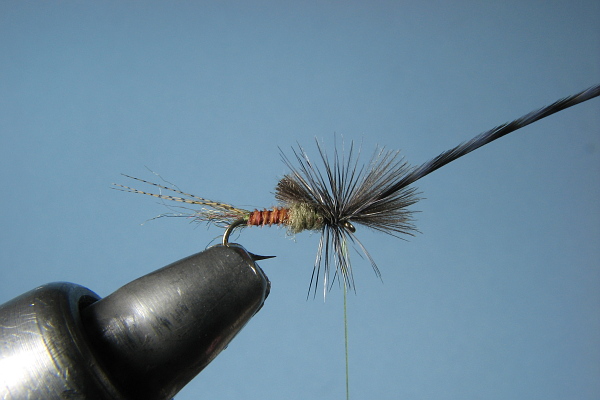
Materials for the PMD Last Chance Cripple (above):
- Hook: TMC model 100 or 100BL, 16 or 18
- Thread: Yellow 8/0 Uni (Benecchi 12/0 used here)
- Tail: Three strands of wood duck
- Shuck: Harrop’s rusty caddis emerger dubbing
- Abdomen: : Rusty goose biot
- Thorax: : Harrop’s professional PMD dubbing
- Wings: :Paired Light dun CDC, tied at an angle
over the eye - Hackle: :Grizzly dyed PMD yellow
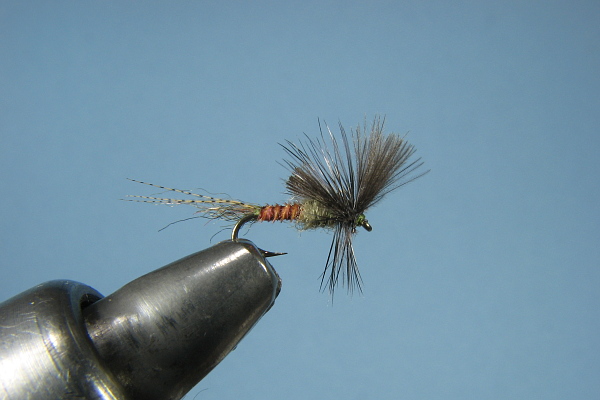
Materials for the Baetis Version (end of article):
- Hook: TMC model 100 or 100BL, 18 or 20
- Thread: Olive 8/0 Uni (Benecchi 12/0 used here)
- Tail: Three strands of wood duck or mallard
dyed gray (ones in the Trouthunter shop were just wood duck on this trip) - Shuck: Harrop’s rusty/olive caddis emerger dubbing
- Abdomen: : Rusty goose biot
- Thorax: : Harrop’s professional dubbing, grey-olive
- Wings: :Paired medium dun CDC feathers, tied
at an angle over the eye - Hackle: :Grizzly dyed grey
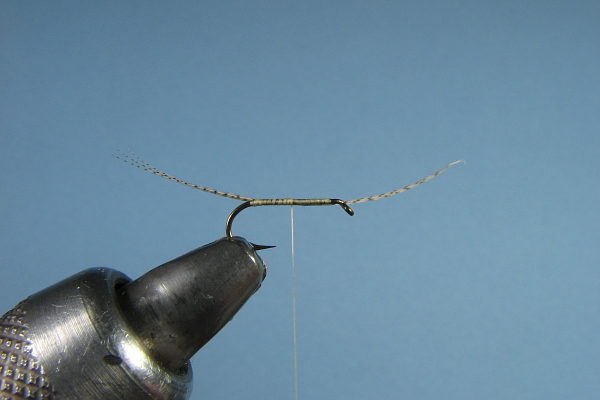
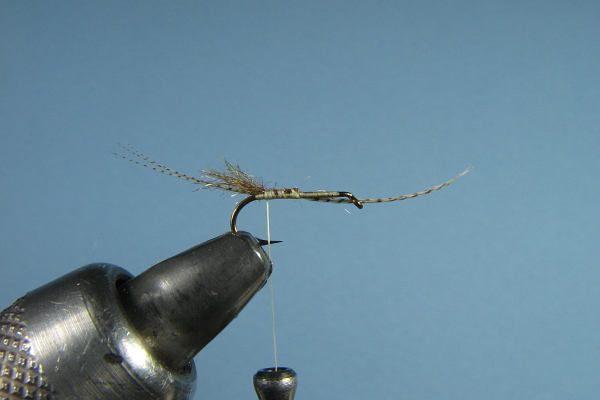
After laying a thread base, tie in three fibers of wood duck, taking a turn
around the back to angle them up a bit. Then take the thread to the half-way
point on the shank.
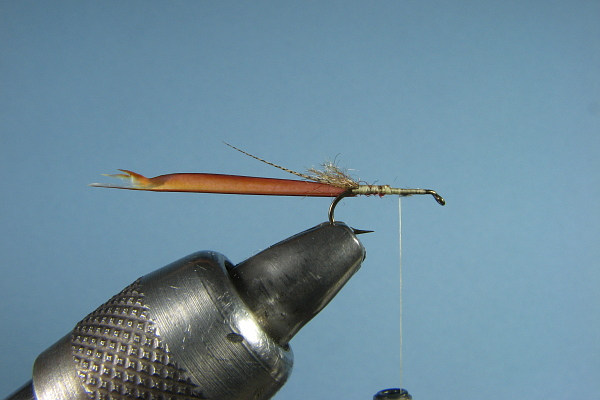
Roll a small amount of rusty caddis emerger dubbing between your fingers and
tie in on top of the hook as shown:
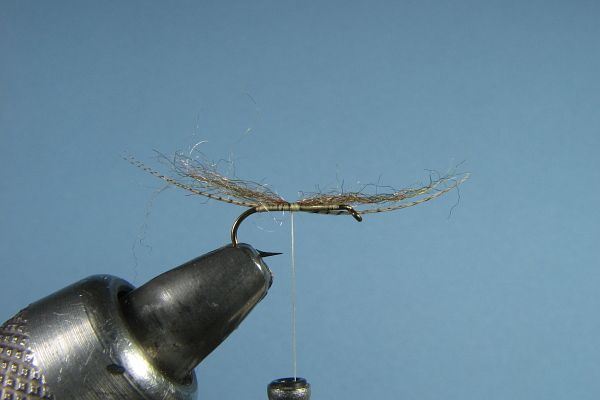
Fold back the front section of dubbing and wind the thread over both halves
back to the start of the tail.
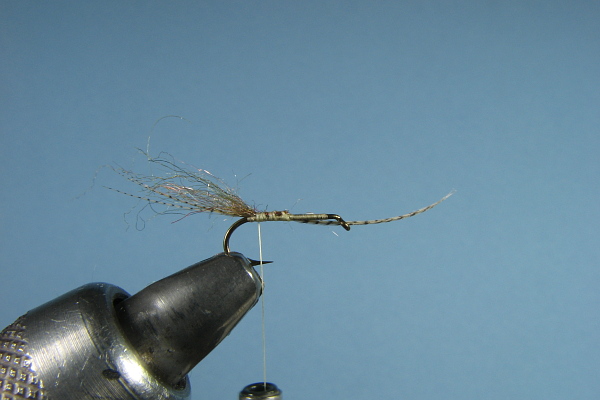
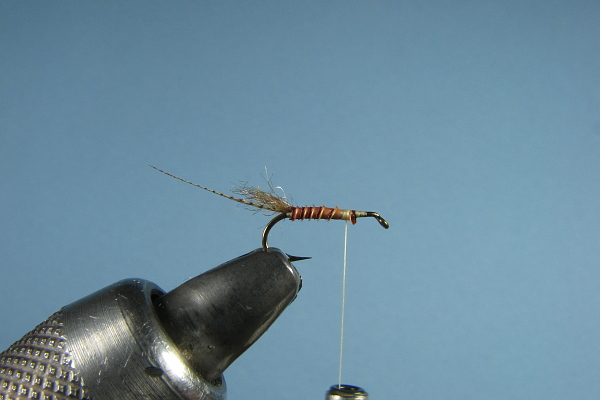
Trim the shuck on a bias, with the scissor blades held horizontally, to about
half the length of the tail.
Tie in the rusty goose biot. I tie mine in on the far side of the hook, notch
up for a rough, ribbed body, notch down for a smooth body, say on a spinner.
I select a biot strip so that I’m winding with the natural curve of the biot,
regardless of whether I’m winding a smooth or rough ribbed body. I sort all
my biot strips ahead of time with this in mind, labelled “rough” if
the notch is up, “smooth” if the notch is down on a test biot (convex
side toward the hook). There is a difference, especially with smooth biot
bodies. That said, many tiers don’t worry about this, they just tie notch
up or down and don’t worry about from which side of the bird the biot strip
came. I worry about these things. I’ve chosen this biot so that the notch
is up, when the convex side of the biot is against the hook shank. When I
wind it, the concave side will be wound against the shank, and I will be winding
with the natural curve of the feather.
Wind the biot abdomen in tight turns and bind down with the thread. Wind to
about the 3/4 shank length position.
Dub the thorax in an egg shape, leaving the front 1/4 of the hook free.
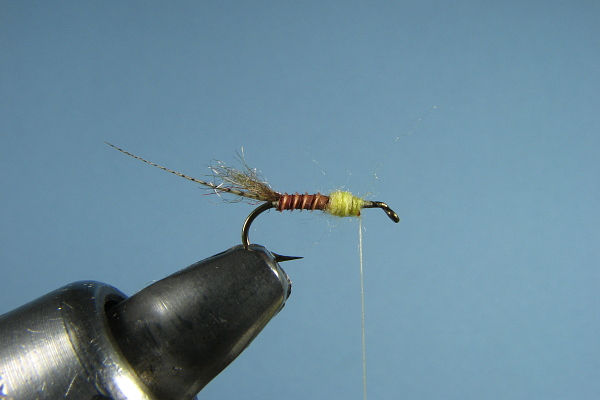
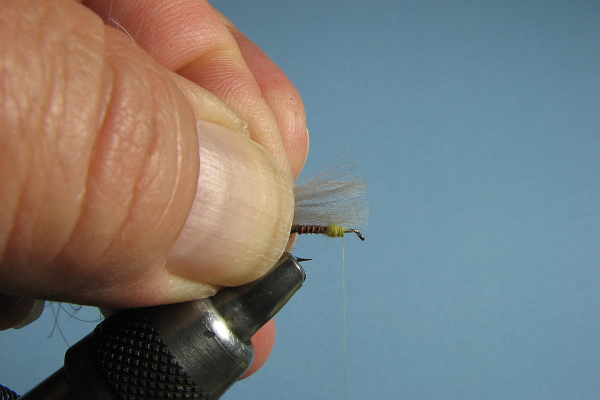
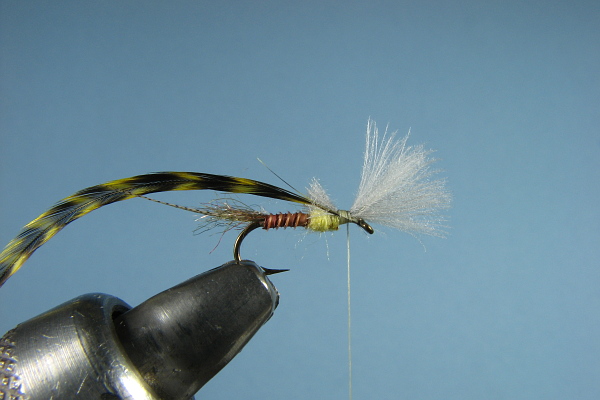
Align the tips of two CDC feathers, placing them back to back, tips out. Measure
the wings to be about 3/4 a hook shank in length.
Tie in the wing just in front of the dubbing. Then, wind back with four hard
wraps against the dubbing ball.
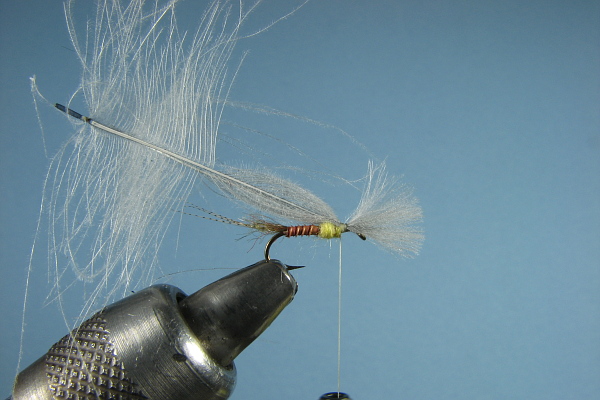
Trim the wing butts so they just extend to the rear of the thorax.
Tie in the hackle.
Take four turns of thread forward, overwrapping the hackle stem, then two
in front of the wing propping it up and tying down the remaining hackle stem,
then one turn right behind the wing.
Wind three to four turns of hackle, secure with a wrap behind the stem, one
in front, and one behind to trap it.
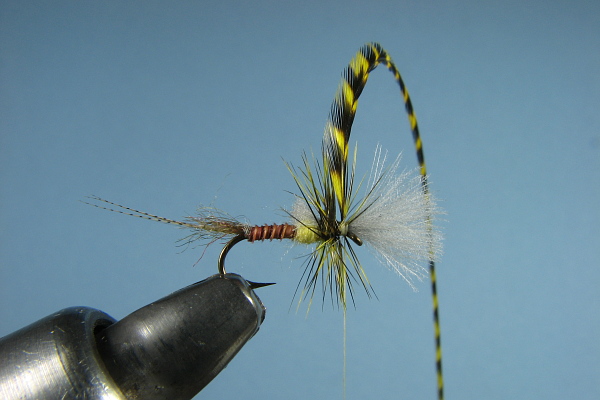
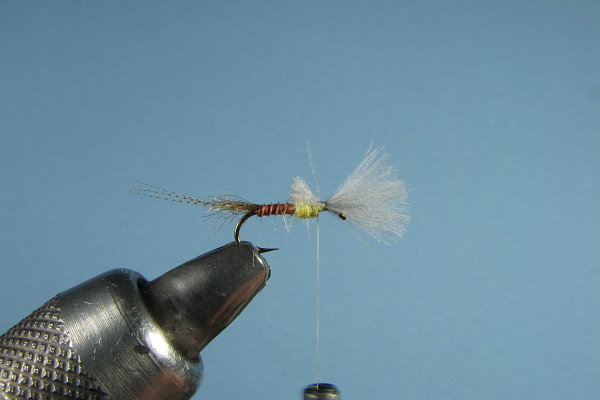
Whip finish in front of the wing.
Trim the hackle and you’re done!
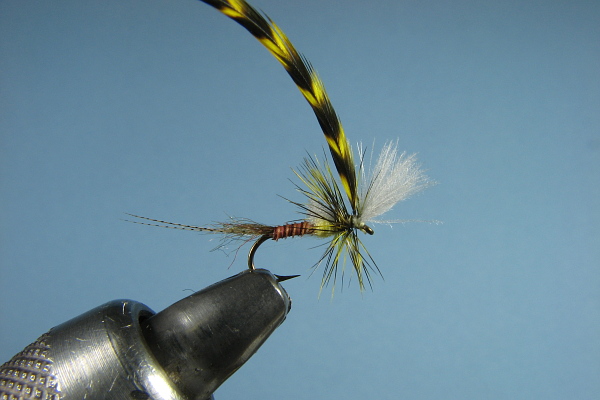
The Harrops tie the hackle off in front of the wing. I find this difficult
to do on the small flies, but it gives a neat result.
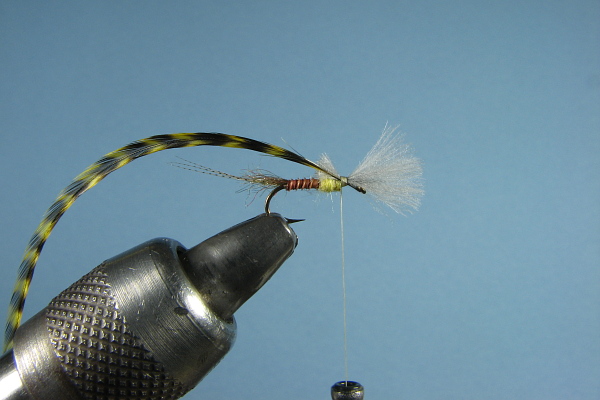
Here’s the Baetis version done in size 18.
…
For more great info, check out:
|
|
Originally published October 26, 2009 on Fly Anglers Online by Eric Austin.