|
The Clothespin Vise
By Ed Engelman
Let's first examine the definition of a vise in the
Webster's New Collegiate Dictionary: vise, vice
Any of various devices having two jaws, closing by a
screw, lever, cam, or the like for holding work.
This clothespin vise meets all of the requirements of
this definition.
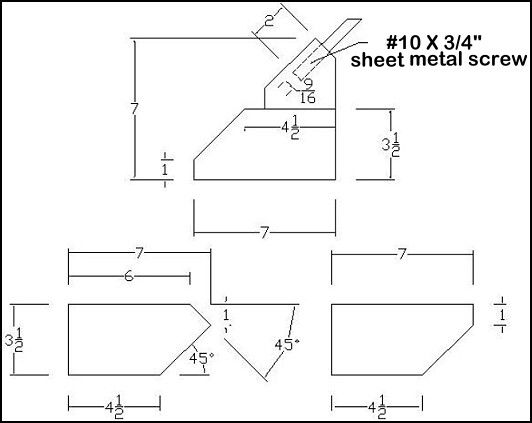
The ends of the clothespin have been cut and sanded at
a 45 degree angle. Each prong of the clothespin becomes
a jaw in the vise. A hole is drilled along the centerline
˝ an inch from the sanded edge. A 3/16 diameter eyebolt
is placed though the hole with a washer on each side of
the clothespin to reduce the occurrence of splitting of
the prongs of the clothespin. A wing nut is provided to
compress the jaws and to hold the hook. The jaws of the
clothespin vise have a short life. Splitting of the jaws
is common when clothespins are used. Splitting is less
frequent when hardwood dowels are used in place of a
clothespin.
I became aware of the clothespin vise when I was demonstrating
one of my other vises at a show. A visitor to my tying station
related that while my vise was simple, he had used an even more
simple vise when teaching a fly tying class to youth. I still
remember him telling me that all of the youngsters had great
fun with their clothespin vises. I don't doubt it for one second.
All clothespins are not created equal. Before you start to build
your vise, experiment with the clothespins you have selected. Is
it made with a hard wood? What are its dimensions? Is the hole
diameter and depth shown on the drawings below, too large or too
small for the clothespin you have selected? Would a ˝ inch dowel
work just as well or perhaps better? If you use a dowel, plan
your cut for the slot (that forms the two jaws), so that the wood
grain runs parallel to the direction of the hook. The plans below
are offered as a guide. You may desire to adapt them.
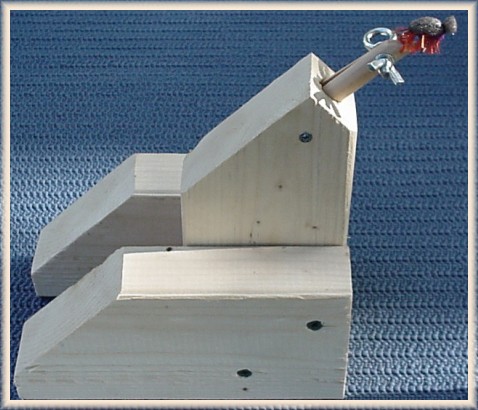
 I have been building low-budget vises for about ten years now. One design was previously posted on here on this site at: Steve's Vise. The reason I present more than one vise is that the tools and skills required to build each one vary. There is a trade-off with each vise. Generally speaking, vises that take more skills and equipment to build have features that make them easier to use. The ease of operation of some of these may fit your personal style more than others. It is my hope that individuals select a vise that matches the tools and building skills they have. It is also my hope that individuals who first build their own, may decide to make up kits that youth may assemble as part of a fly tying class or project. Consider the end result, you will make fly tying accessible to youth that are often shut out by the cost of a "good vise." To me a "good vise" is a vise that an individual uses to create a fly that will land a fish. ~ Ed Engleman
|