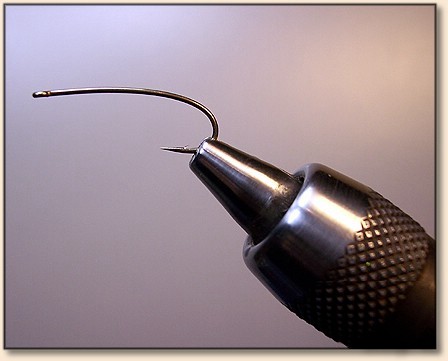
1. Mount the #1260 hook securely in the vise.
2. Start the thread two hook eye spaces behind the eye
and make a thread base down to the hook bend and back.
Secure base wraps with a hitch or two.
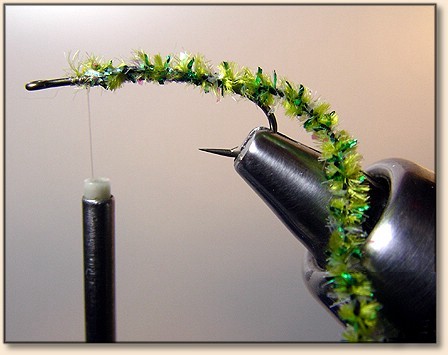
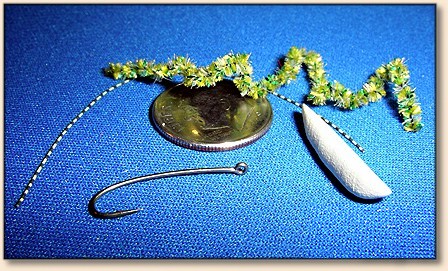
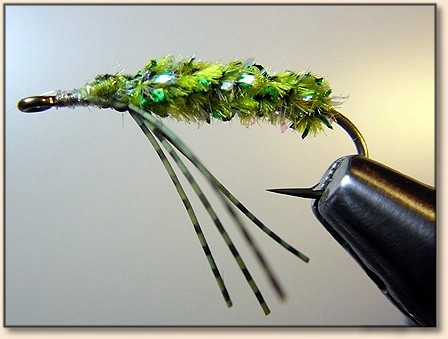
3. Tie in the chenille at the front of thread base
and spiral wind thread to bind chenille in place along
the hook shank to the bend. Leave a good amount of
chenille hanging down at hook bend. Return thread to
front of fly.
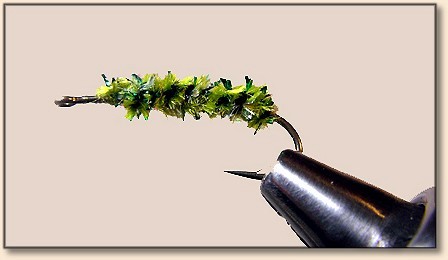
4. Wind the chenille forward over itself in closely
touching wraps and secure at the front tie-in location.
Trim Chenille and secure wraps with a hitch or two.
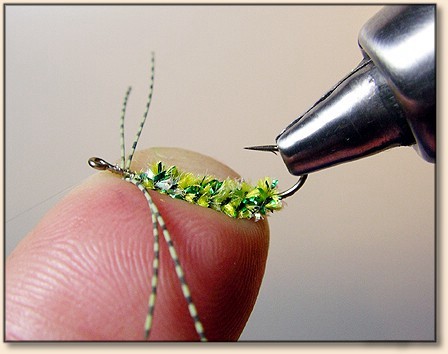
5. Use one-half of a rubber leg. Double that piece and
cut in two. Center that pair of legs on the hook. Fold
them upwards and tie them in at the front of the chenille
to create 4 legs that angle to the rear and also downwards
towards the hook point.
6. Bind down legs and trim legs evenly to desired length.
Secure thread wraps with a hitch.
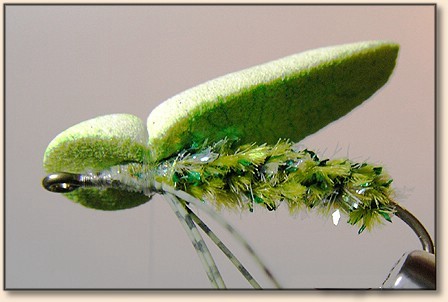
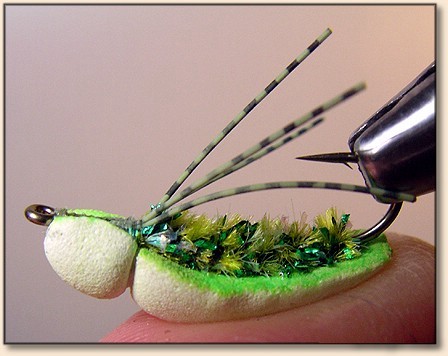
7. Color underside of foam body. Next, position foam
body on the top of the hook shank to allow the formation
of a separate head and body. Near the beginning of chenille
tie-in point, bind down foam 1/5 of the way back aft on the
foam body. Compress the foam with several thread wraps. Throw
in a hitch to secure wraps. Lift head portion of foam and
advance thread to the hook-eye.
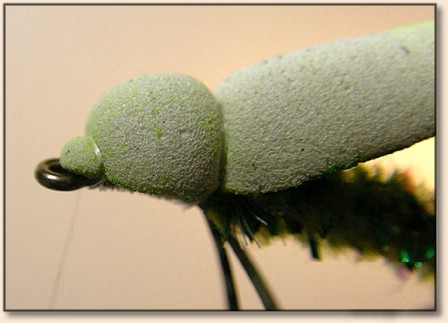
8. Trap a small amount of foam with the thread and bind
down the front of the foam head just behind the hook eye.
It will compress neatly with several taut wraps. Make sure
the foam does not block the eye of the hook. Finish with a
few hitches and trim thread.
9. Add a tiny drop of adhesive to the center of the underside
of the head and pinch the sides of the foam together. Lift the
rear section of foam body away from chenille and spread a thin
layer of adhesive (superglue) upon the flat underside of the
foam. Quickly press and hold the foam to the chenille.
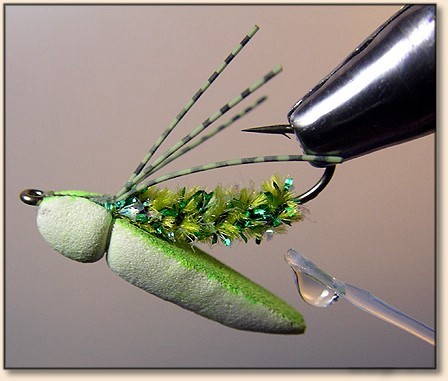
10. Form the body to the curve of the hook with your finger.
Keep pressure on the foam for a few seconds (count to eight)
to allow the glue to set.

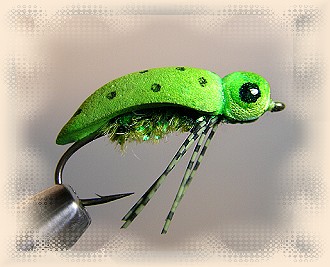
11. First - apply a light base color to the head and body
of the foam. Next, add darker spots to the body. Use a black
marker to make a bold eye on each side of the head. Cover the
eyes with a single drop of "Hard As Nails" polish to make
them stand out 3-D.