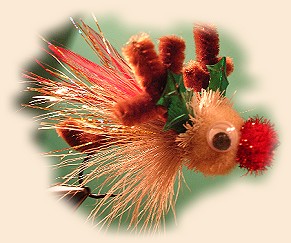
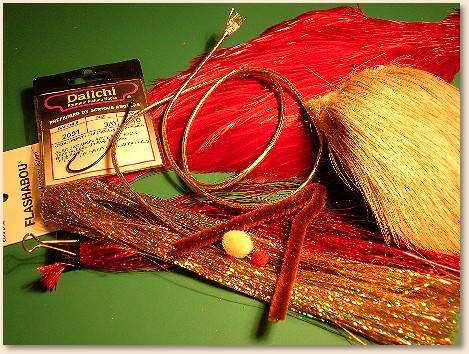
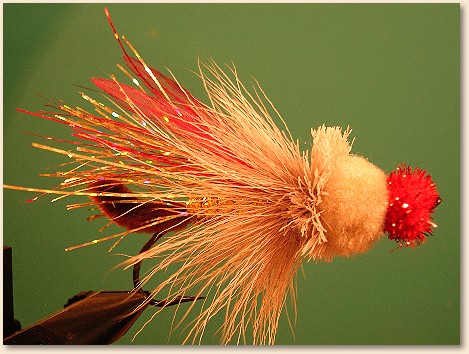
Hook: Alex Jackson 3/0 I used black but a silver
or gold presentation hook would really be neat.
Thread: Brown or tan to match the elk hair. I used 6/0.
Nose and head: Craft balls appropriate size for the hook.
Tail: Brown pipe cleaner and gold Flashabou.
Body: Large gold mylar tubing.
Wing: Elk hair with Red Flashabou and two matched red hackle tips.
Thorax: Spun Elk hair.
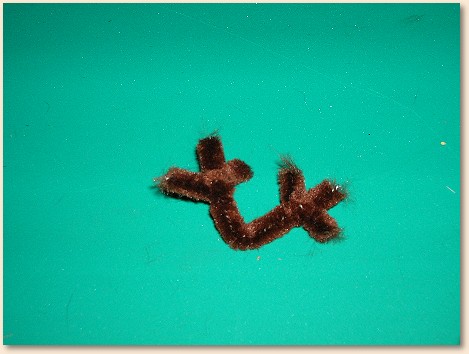
Antlers: Brown Pipe Cleaner.
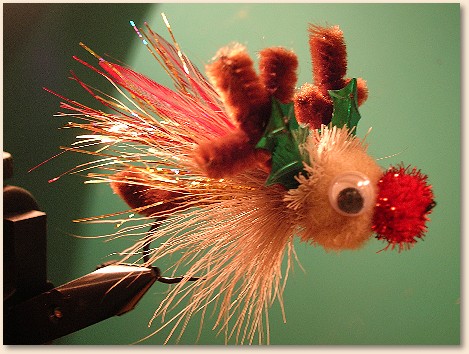
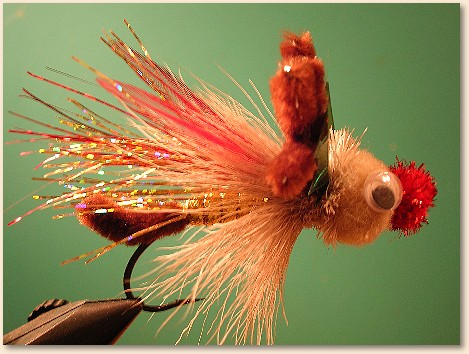
Accessories: Google eyes and metallic green holly leaves.
Be creative with colors and accessories that you may have,
each one of these I have tied is a little different.
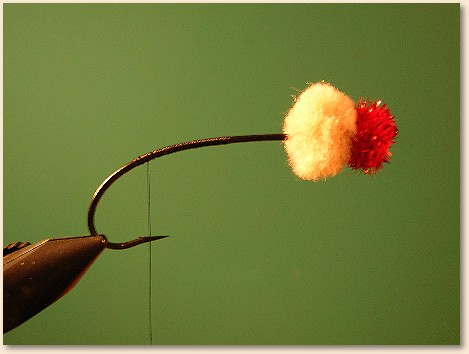
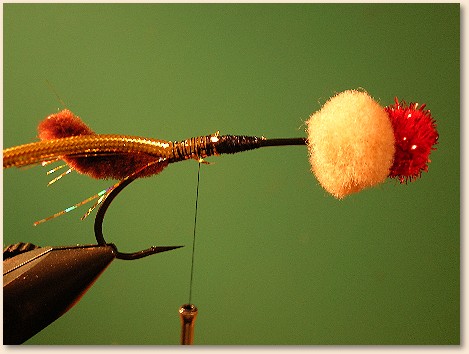
1. Hook in vise with craft balls threaded through hook and
pushed to eye. Start thread behind craft balls to rear of
hook. I like to keep the area that I am spinning the elk
hair as bare as possible.
2. Brown pipe cleaner and gold flashabou tied in and
shaped for tail. Large gold mylar tubing tied in.
3. Mylar tubing run up the hook and red holographic
flashabou tied in. Leave plenty of room for spinning
the hair.
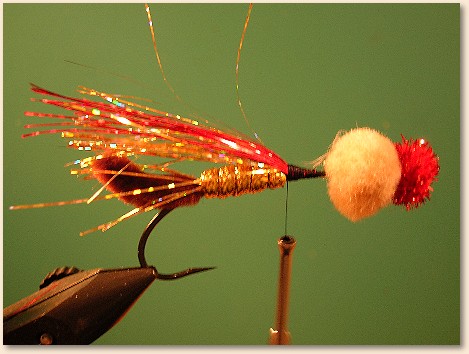
4. Select a large bunch of long elk hair. I used a color
to match the craft ball. Tie the hair in so that the ends
will extend to the back of the hook. Spin and trim.

5. Now tie in a pair of red hackle tips extend to hook bend.
Secure the hackle tips and the first batch of spun hair
securely.
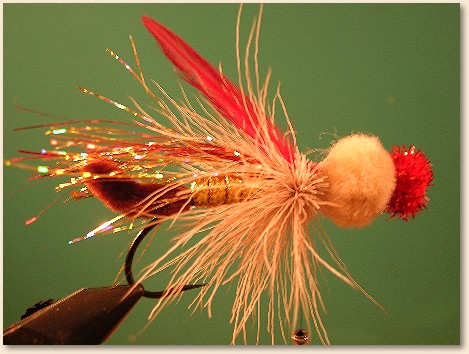
6. Tie and spin elk hair to fill the space left up to
the craft ball. This example was two large bunches of
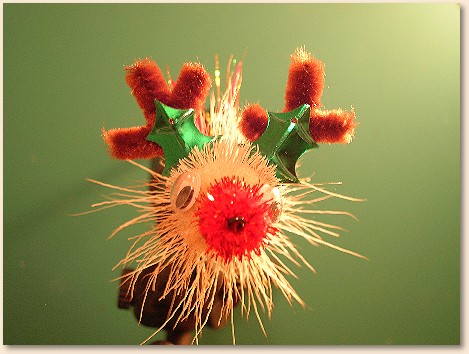
hair. This picture shows the hair spun on and untrimmed.
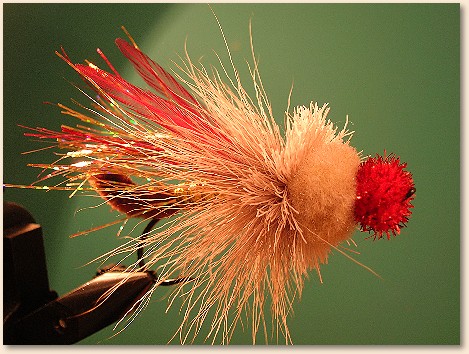
7. Elk hair trimmed. I trimmed the front of the hair at
the craft ball to form a kind of "ruff" or collar right
behind the craft ball. The rest of the "thorax" was
trimmed pretty close. This gives a place to tie in the
antlers and the tie in will be hidden behind the "ruff."
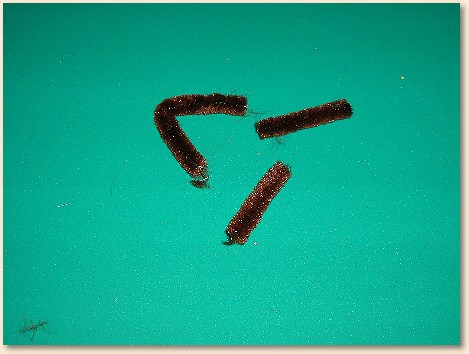
8. This is how I made the antlers: bend a brown pipe
cleaner in a 3in. u-shape. Cut 2, 2in. pieces of pipe
cleaner and wrap one turn around the u-shape one each
side. Now trim to size as needed.
9. Tie in the antlers at the base of the u-shape behind
the "ruff" use a figure eight style wrap to keep them
straight and secure. Add a few half hitches over the
antlers and cut the thread. Use craft glue and add the
google eyes and the holly leaves.
~ Jesse Clark