If you do indeed need a topwater bait, then use
a thin, light wire, wide gap hook. It will float
and pop just fine made on your favorite freshwater
popper hook.
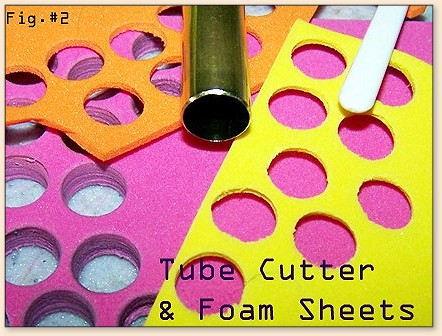
Fig. 2: The craft foams of different thickness
are used to fashion the disks used for the face
of the Rattle Pop Popper and the rear support
disk. I like to use a simple cutter made from
hobby shop grade brass tubing. I use a file
and abrasive paper to chamfer the tubing's
cutting edge. I size the disk to be a snug
fit in the Pencil Pillow tubes. In other words,
the face disk is oversized slightly.
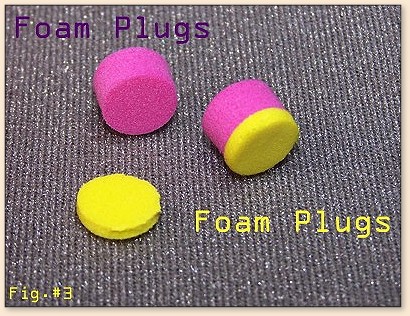
Fig. 3: Foam plugs cut from craft foam sheets
with the brass cutter. I like to use a color
for the face disk that contrasts with the head
color. It is easy to cap the thicker disks with
variant color, thin foam disks and then bond
them together with a few drops of cyanoacrylate
adhesive. Gold Bond or Zap-A-Gap thin are wise
choices. You'll need two disks for this fly. The
rear disk's color is insignificant, as it is not
visible when the fly is completed.
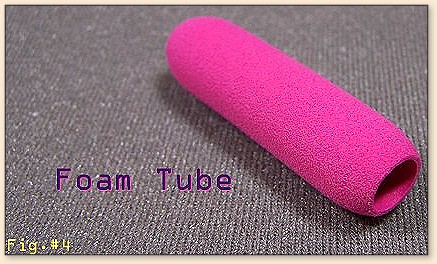
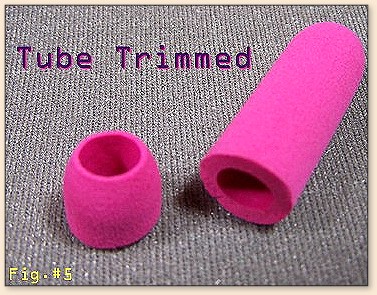

Fig.6: Pierce the foam face disk with a bodkin.
Backup the disk with another piece of foam, such
as a foam Pool noodle. If you want to place the
hook below centerline of the fly, then just offset
the hole from true center. I make them centered
most of the time, if there is enough hook gap.
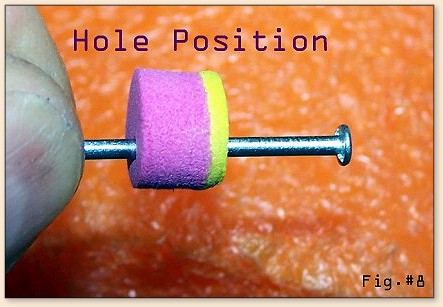
Above: Open up the hole with a nail to make it
easier to slide the foam plug over the hook.
Actually, the foam is so resilient that you
can even thread the face disk on right over
the hook eye if a lightweight hook is used.
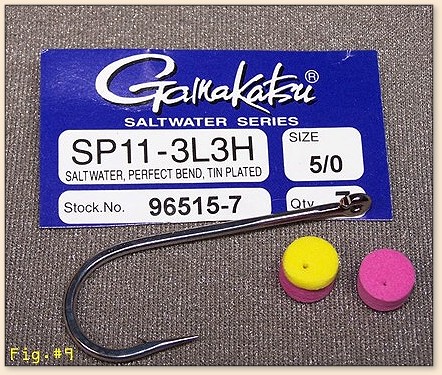
One very heavy saltwater approved hook is this
Gamakatsu 5/0. You can use a lighter hooks for
freshwater applications, such as the Perfect
Popper hook, Owner wide gap bass hooks, or Mustad
Signature Model Popper Hooks.
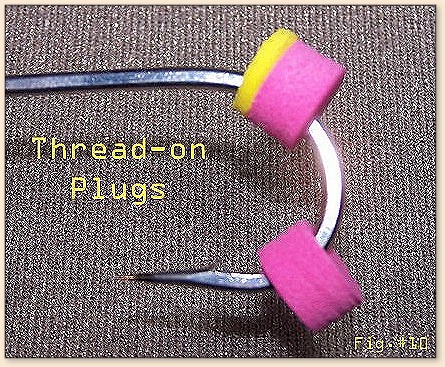
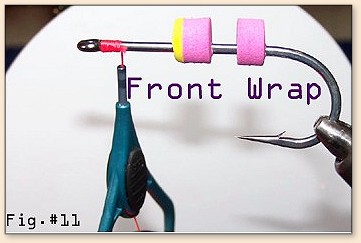
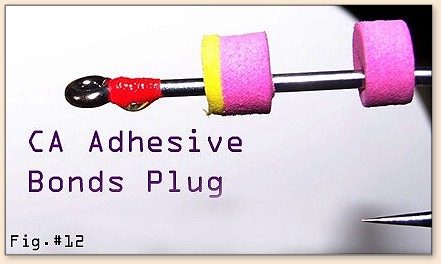
Fig.12: The front thread wrap and CA adhesive. I
use Uni-Stretch floss. It is very brightly colored
and also absorbs the CA adhesive nicely to promote
a good bond. For the heavy saltwater fly example
shown above, heavy Kevlar thread was used.
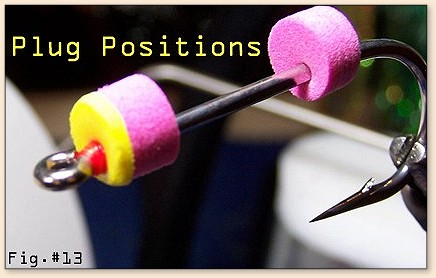
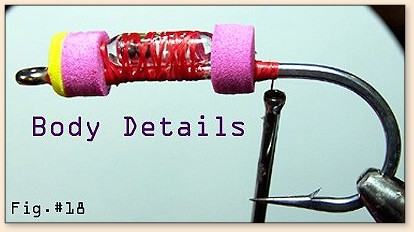
Roughly position the rear foam disk/plug as shown in Fig.#13.
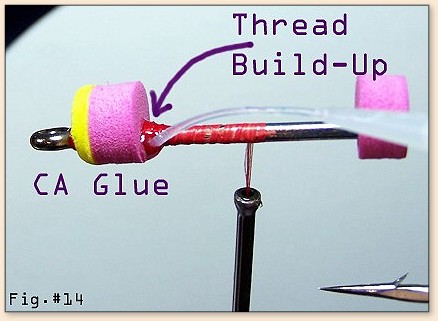
Buildup additional floss behind the front
disk and saturate it well with CA adhesive.
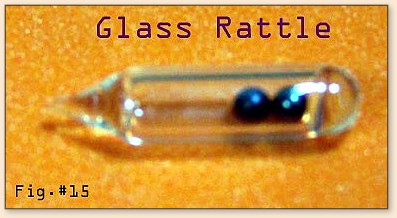
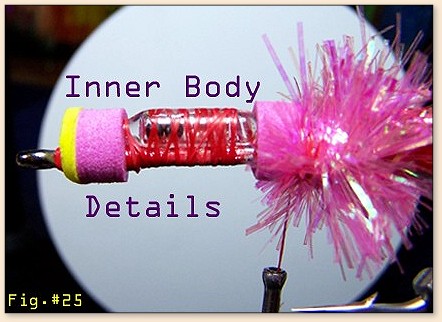
These glass rattles can be purchased through
most fly shops, or on-line fly tying supply
sites. Make a little hole in the backside of
the front disk with your bodkin to accept the
tip of the glass rattle and then spot bond it
to hold it in position.

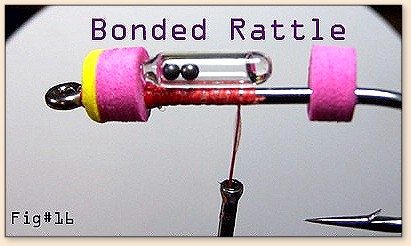
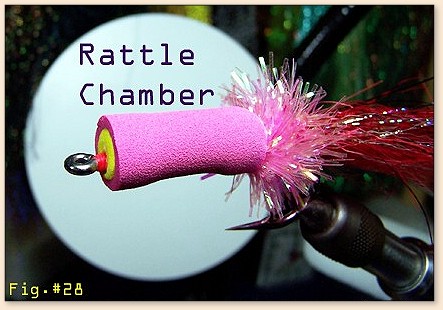
Tie-off thread at rattle, push rear disk up
against rattle and re-tie to hook. Make another
buildup behind the disk to secure it in place
on the hook shaft. Bond it down with a drop.
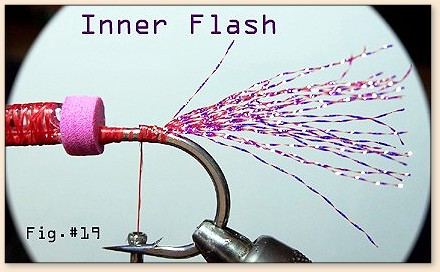
Add Rainbow flash or Krystal Flash at hook bend.
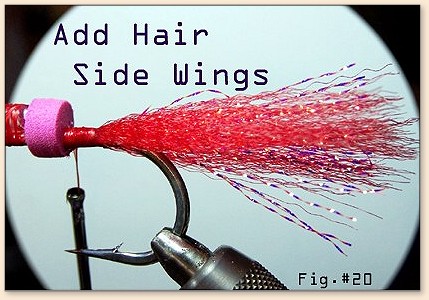
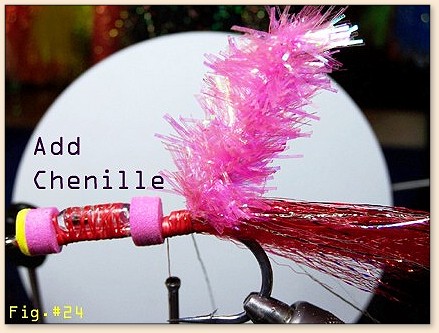
Fig. 24: shows the tie-in point for the heavy
Salt Water Chenille by Cascade Tool.

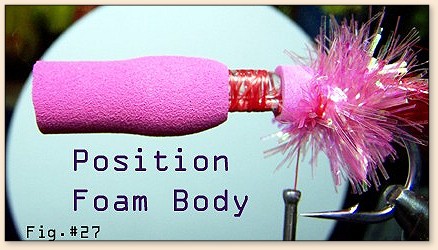
Stretch tapered end of prepared foam tube over
from disk. Slide the tube aft over next disk.
Squirt a few drops of CA into the crack around
the front of the fly's face. Roll the head between
fingers to distribute the CA before it dries. Add
favorite eyes and bond them.
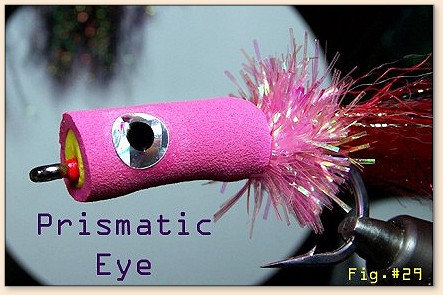

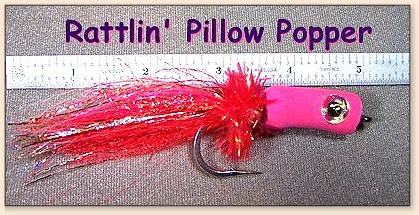
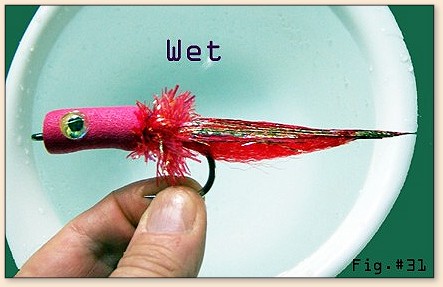
The Rattle Pop (Pillow Popper) is complete and
ready to fish. It has a nice profile when wet.
Add epoxy or head cement or polish to the front
thread wraps to secure.
That's all there is to it. ~ Richard