 |
 The Minnow Crease Fly |
|
|
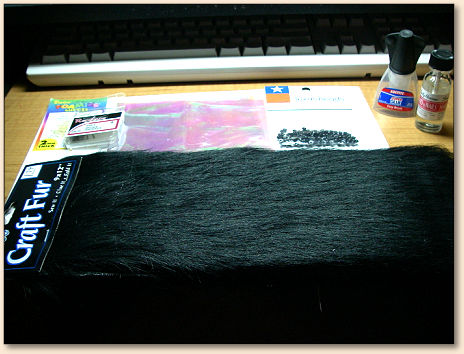
Bill of MaterialsHook: Aberdeen sizes 4 and 6 Method: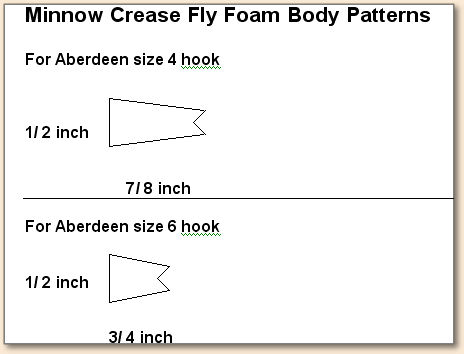
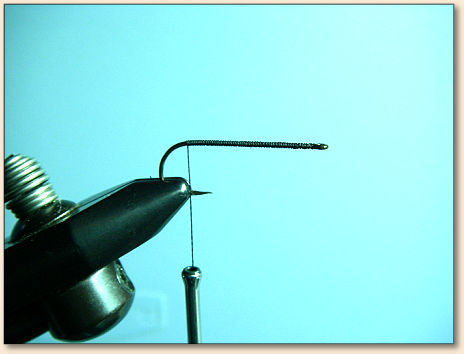 1. I first lay down a thread base on the hook shank. I am using a size four hook here so I will be using the size 4 foam pattern above.
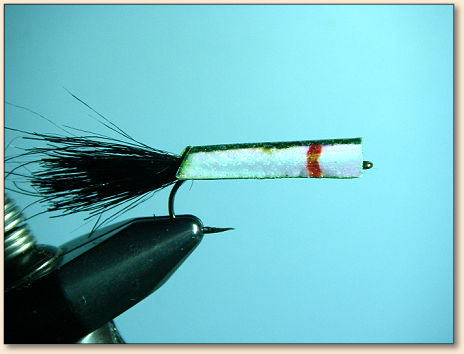
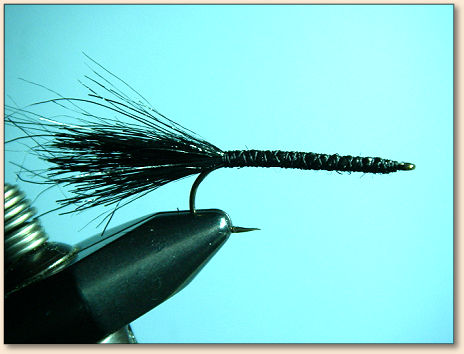 2. Then I tie in the black shag craft fur tail about three quarters to one full length of the hook shank long. I whip finish behind the hook eye and cut thread. I have to be careful not to put too much craft fur in for the tail along the hook shank or it will be too thick for the foam body but this gives a good base for the adhesive on the body to adhere to.
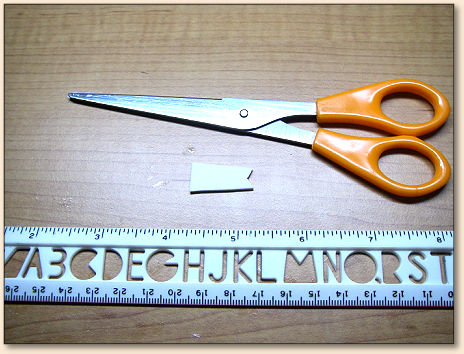
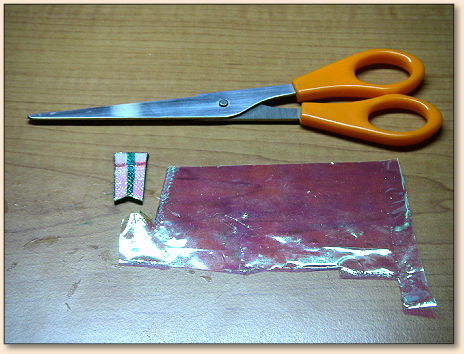
 3. I score the foam sheet with the bodkin before cutting the foam piece using the dimensions on the foam body pattern sheet for the foam underbody.
 4. I score a line down the middle of the piece lengthwise and then shape the cut foam piece as to the shape of the foam body pattern. I trim at a slight angle on either side keeping the one half inch on the front. Then cut a shallow notch for the tail area in line with the middle score line.
 5. Then I highlight the foam underbody with the waterproof permanent markers.
 6. Set aside the finished underbody to let the marker ink dry for the time being.
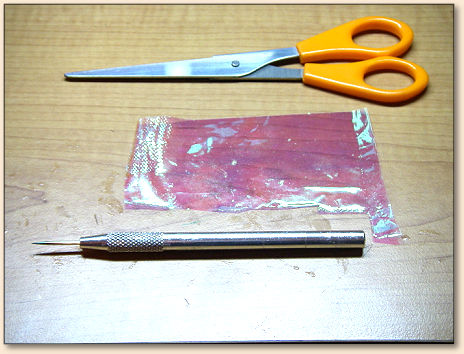 7. I use a knurled surface such as a metal or wood file to create the scale pattern or texture on the iridescent gift wrap paper I use for the overbody. I used the knurled gripping surface of my bodkin in this case but a file would be better because it is a flat surface. The plastic handles on the craft scissors work good as a smooth surface rubbed over the paper on the file.
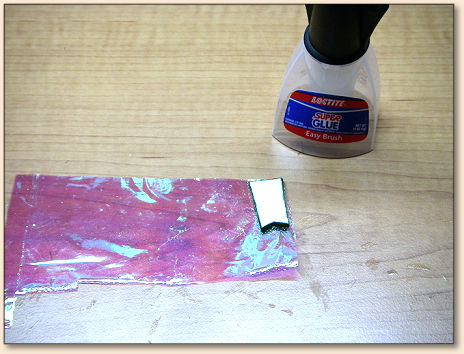 8. I lay down some adhesive Super Glue onto the textured portion of the gift wrap paper and then press the foam underbody highlighted side down or bottom up onto the knurled or texture scaled gift wrap paper.
 9. I cut out the completed body from the gift wrap paper. Careful to trim the overbody edges flush with the underbody. I also check to make sure there has been a good seal as I may have to add more adhesive to unsealed areas.
 10. The highlights and knurled texture scaling are more visible from this angle. The reason I like to use the iridescent gift wrap paper beyond the pearly flash of the paper is that the highlights of the underbody are visible through the paper and the textured scaling effect can also be used. But other overbody paper material also can provide very nice effects.
 11. I form fit or crease the body so that it fits on the hook. Then I apply adhesive Super Glue to the underside of the body and fit onto the hook shank in a squeezing manner, careful to try and keep most of the foam body above the hook shank.
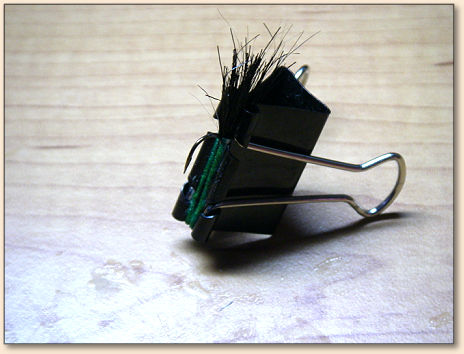
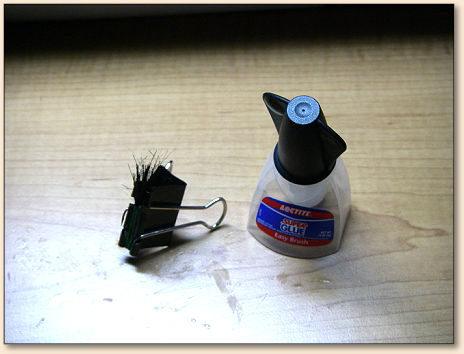 12. I place the fly in a bulldog type paper clip to hold the body and hook in place until the adhesive Super Glue has dried. I may add extra adhesive as needed.
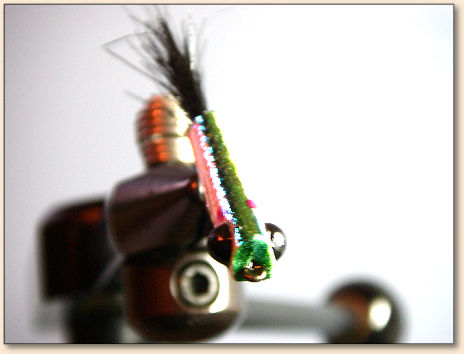
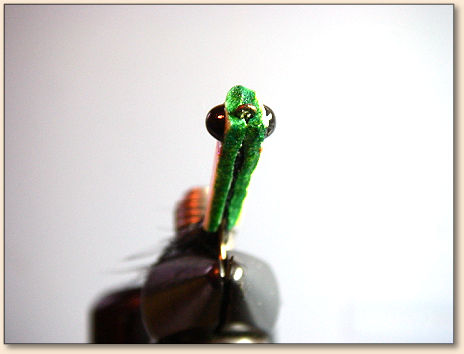
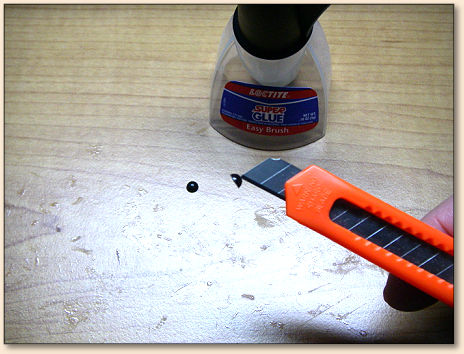 13. After placing some adhesive Super Glue onto the eye area of the fly, I use a craft utility knife tip to apply the black plastic half-round eyes. Be very careful not to cut yourself on the knife razor edge if you use this method. Sometimes I use my fingertips to hold the eye in place on the body but I have to be careful not to stick my finger to the eye or the body. I overcoat the finished fly body after the eyes have dried.
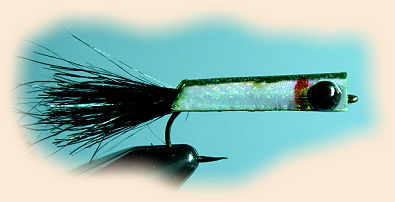
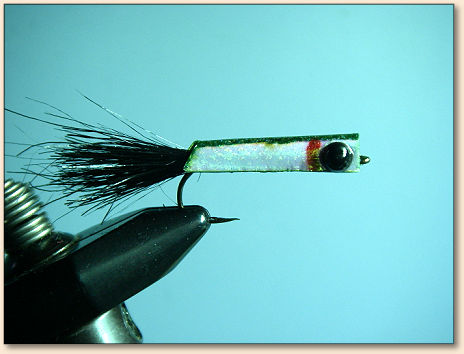 14. The Finished Minnow Crease Fly.
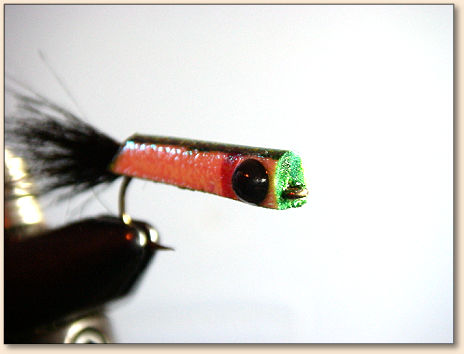 15. Side View.
 16. Side View.
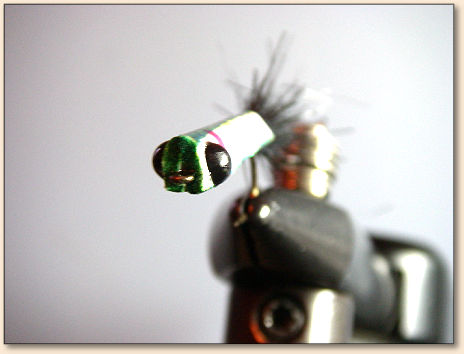
 17. Top view.
 18. Bottom view.
https://www.flyfishsaltwaters.com/Creasefly.htm https://chemprof.tripod.com/crease.htm
For more great flies, check out: Beginning Fly Tying, Intermediate Fly Tying and Advanced Fly Tying.
|