 |
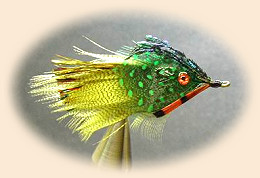 Perch |
|
|
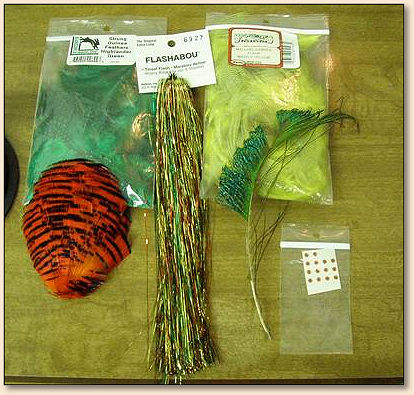
Method: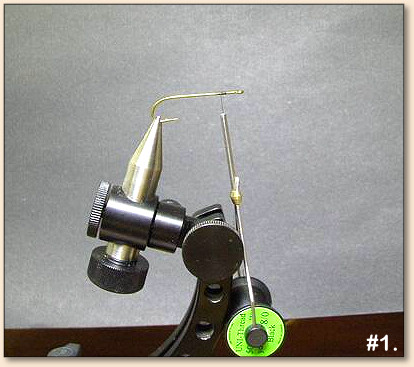 2. Attach several strands of Perch Flashabou. I fold it over to double. Again, toward the front of hook:
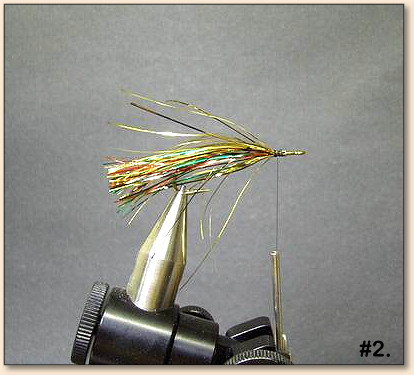 3. Attach first set of mallard feathers, favoring the bottom portion more. One on each side of hook:
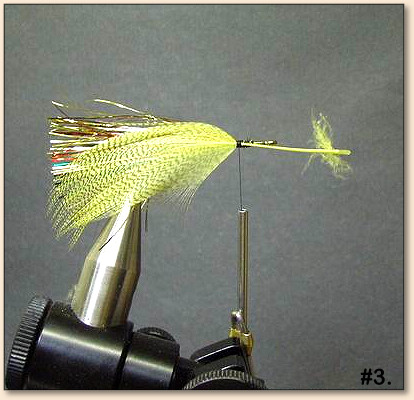 4. Next Attach second set of Mallard, favoring top portion, One on each side of hook:
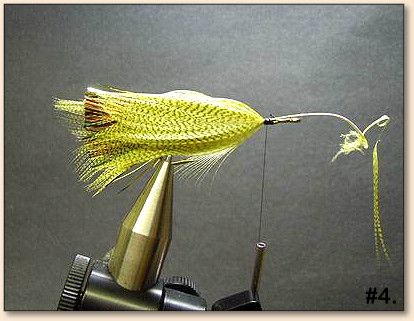 5. Now, attach Guinea. Try to match size, print, and shape on these. One on each side of hook:
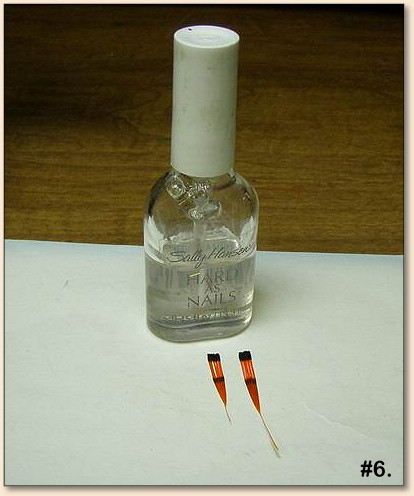
 6. On to the gills, I found that by putting a light coat of Sally Hansen Nail Polish to the feather, it holds it's shape better and is easier to work with. Plus, helps to make the fly a little stronger:
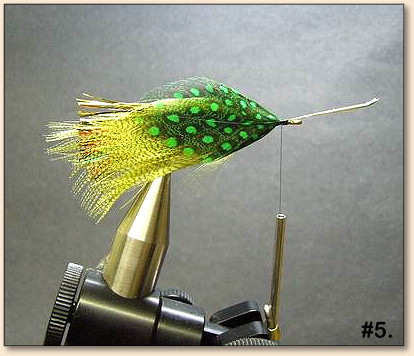
 7. When dry, attach the Gills to each side of hook right behind the eye of the hook and towards the bottom of the hook:
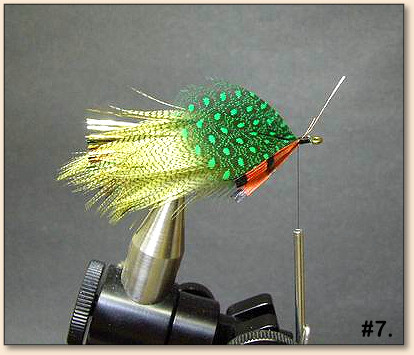 8. Next, take 4 or 5 Peacock Swords, but be careful to try to keep all curving in the same direction. This can be tricky. Attach them just behind the eye of the hook on the top of the hook:
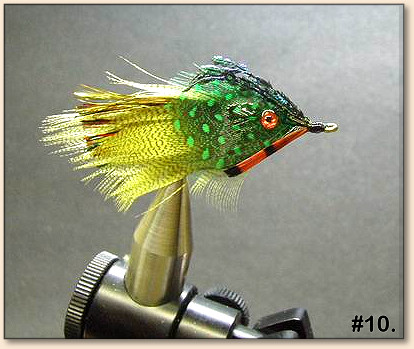
 9. Finally, stick the eyes on. I use the vein of the guinea feather to line them up evenly: 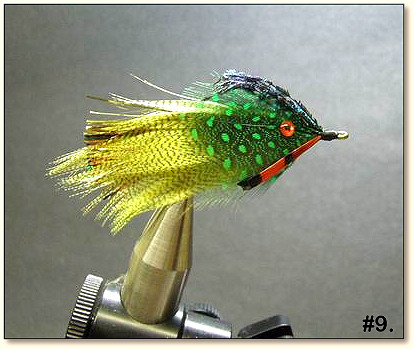 10. Lastly, an option, I put a thin coat of Sally Hansen Hard as Nail Polish on the thread at the eye of the hook and stroke it back onto the guinea and the eyes. Just to make the fly more durable.
For more great flies, check out: Beginning Fly Tying, Intermediate Fly Tying and Advanced Fly Tying.
|