 |
 Electric Dread |
|
|
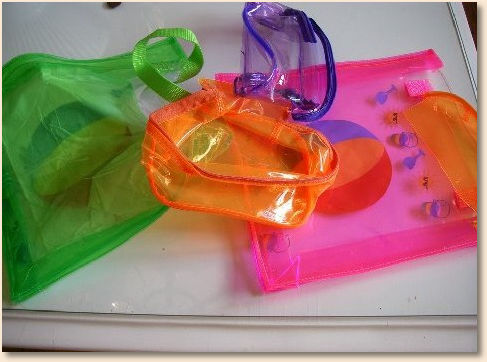
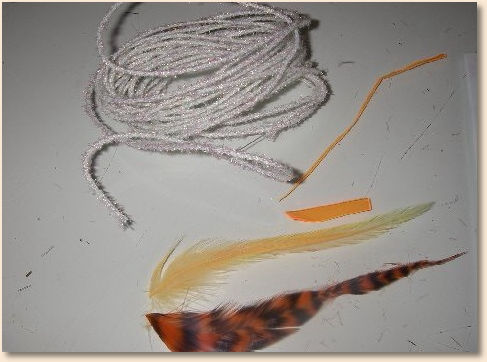
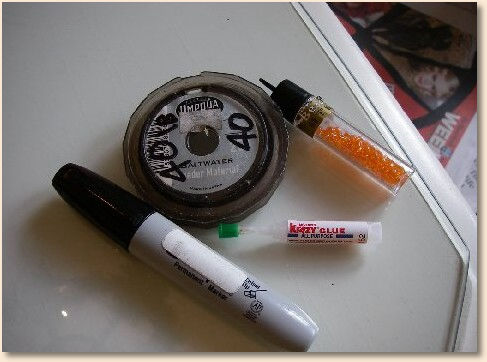
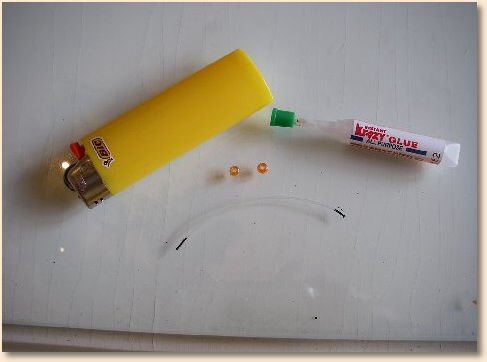
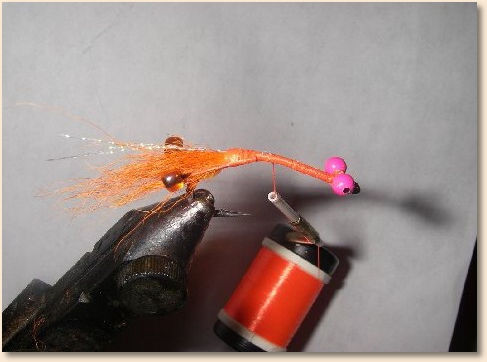
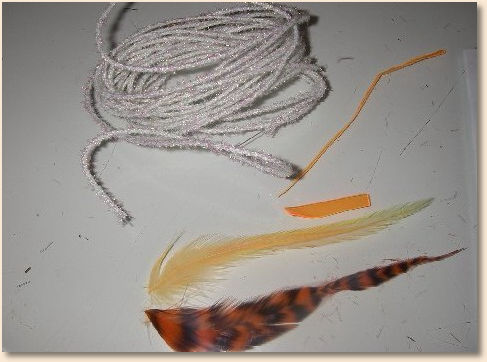
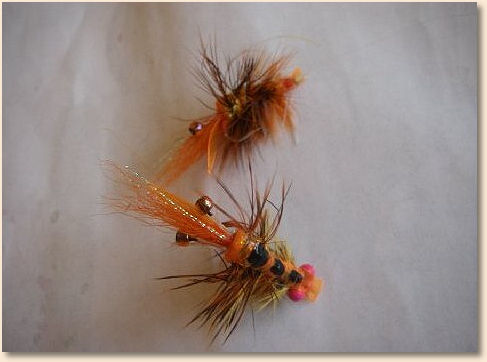
PHASE 1- 1st find the raw materials as shown such as hook size, feathers, glass beads, beadchain, crystal wire and most importantly the EDGEBRIGHT…I went to the dollarstore and found some cheap trinkets made from the same material…I have not seen edgebright in years but it was used for a fly called "Dean River Lantern" and this fly is a hybrid from Alaska…you will need to cut a thin strip to be used for ribbing, a piece for the shell and a piece cut like a goose biot.…shown in pictures ALSO you need to cut a 4 inch piece of 40lb mono and bend as shown then color the ends with BLACK SHARPIE as shown…this is important to bring out color in the eyes...slide the bead on and melt the mono slightly and push down into the bead to form actual eyeball…now take the eyes and hang them so you can fill the bead itself with superglue…this secures the bead and also brings out the black core and adds overall iridescence to the eyes…see picture…I let it dry for 10 minutes because it will be ruined if you leave a fingerprint on the bead.
 PHASE 2- Secure the hook in vise and wrap the hook with the flourescent orange floss…while doing so secure the beadchain eyes and tye in the goose biot shaped edgebright as shown….now you are starting to roll…note position of edgebright…this is why we used this style hook son.
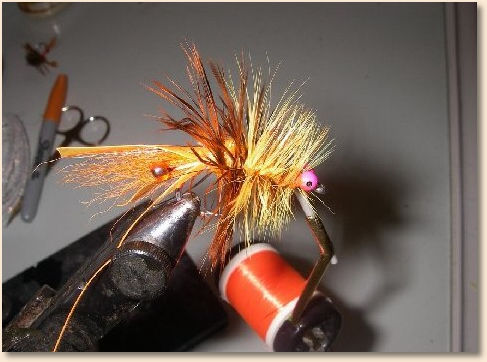
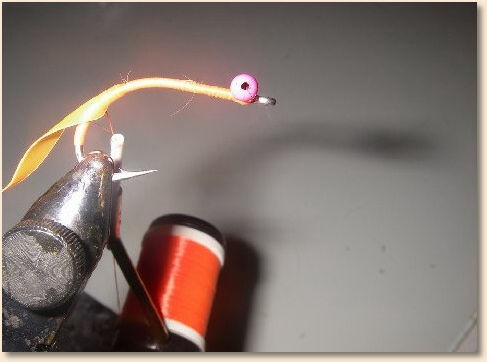 While you are at it you should now add a pinch of flourescent CALFTAIL…I like pastel orange but you can use safety orange also…then a few stands of FLASH and the all important EYES…then put a small drop of superglue at the tye-ins and let the thread soak it…CAREFUL with the glue…1/4 drop will do…don't forget to do the same for the beadchain because nothing sucks like sloppy loose wraps…picture gives detail of placement and amount…eye placement is important and will have effect of making the fly inverted or not…I prefer inverted so I angle them as shown…are you still with me here?
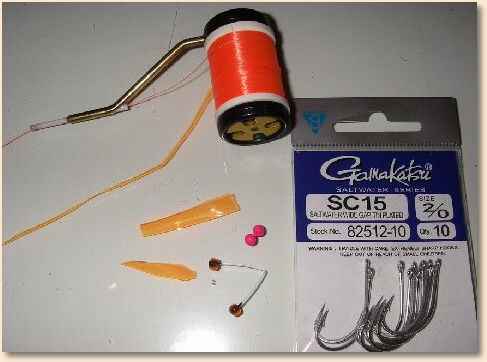
 PHASE 3- OK now you have your framework done and time to add the meat…this is the exact material I use…many substitute chenelle for crystal wire…if you do 'YOU'RE FIRED'…best place is to go is an art store because the color sharpie is the entire key to the fly…it simply can not be substituted IMO…also I will most times leave the wire inside for extra weight but also for the effect of 'MOLDING" the shape without stacking wrap over wrap…got that Vern? pictures will help you find the truth…its out there.
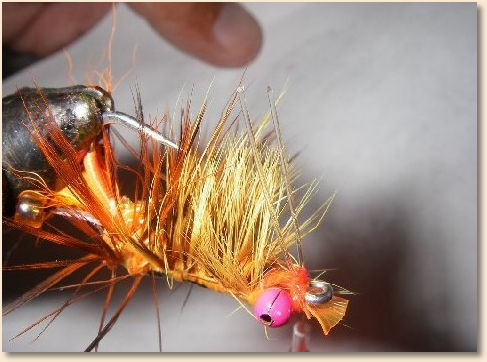
 Wrap crystal wire forward and shape into shrimpy type body…remember why you left the wire inside? Well use it to help you now…this really stacks the wire tight and sets the lines for you feathers to follow…all part of the plan Dan…look at pictures to make sense of what I am saying…as stated the SHARPIE color shown is what the fly is all about…I'm watching you so don't let me down.
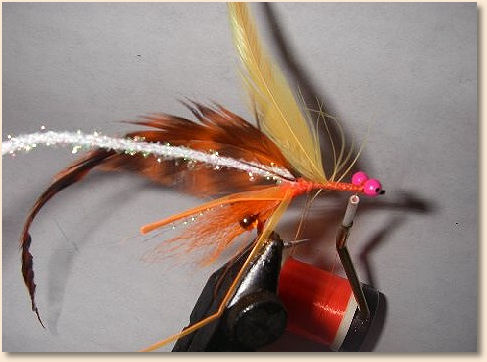
 Now that you have colored it two times and let it soak into the material you can wrap the feathers forward and secure behind the beadchain.
 Now you are going to pull/stretch the shellback over the body and secure IN FRONT of the beadchain…before that you should kinda adjust the hackle to make it more creature like and even because as you wrap the RIBBING forward you will be segmenting the LEGS…look at the pictures.
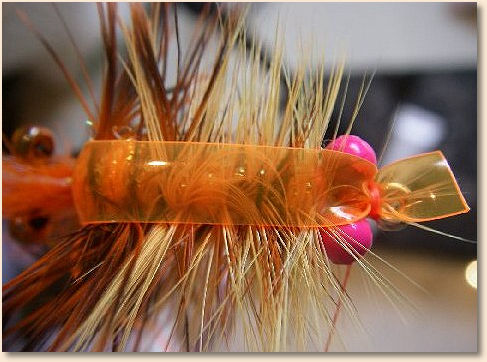
 Now that it is ribbed nice and tight you add the 3 'DOTS OF DEATH with Sharpie and coat entire shell with superglue and let dry.
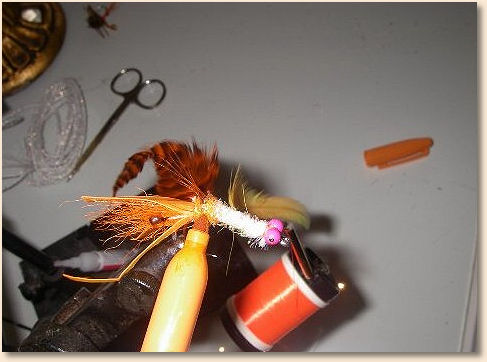
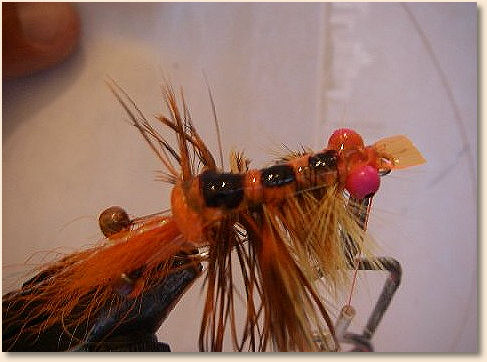 You're not done yet....you totally forgot the weedguard dude!!!! jeez.
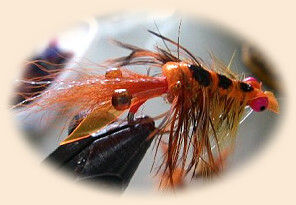
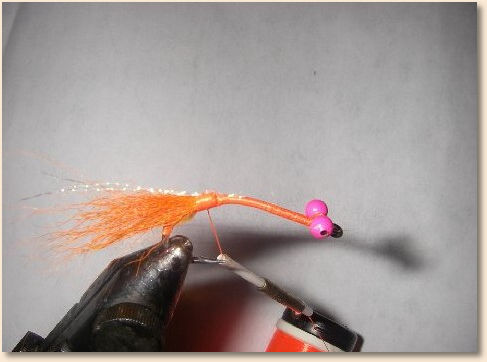
 Of course you need to leave it a little long and trim on location and press into shape. Here is a brother of the one in the text…it is unweighted.
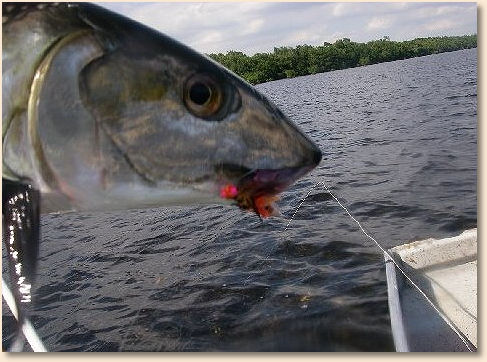
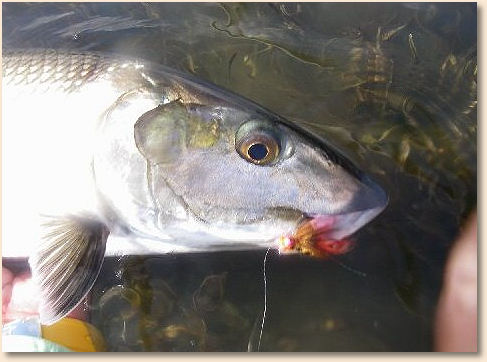
 Now you have the keys to unlocking Biscayne Bay…the results will be this…good luck and thanks for following along…now go get you some!!!! 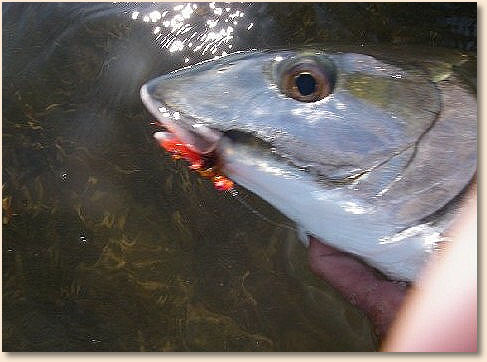
 ~ Cordell Baum Jr. (bonefishwhisperer)
About CordellCordell is a guide for world class fishing in Miami, FL.You can read more about him, and reach him at www.bonefishwhisperer.com_ ~ DLB For more great flies, check out: Beginning Fly Tying, Intermediate Fly Tying and Advanced Fly Tying.
|