If tying your Muddler weighted, wrap on weight then proceed.
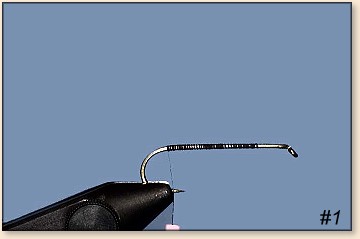
1. Flatten barb if tying barbless, place hook in
vice and start thread ¼ shank length behind the eye.
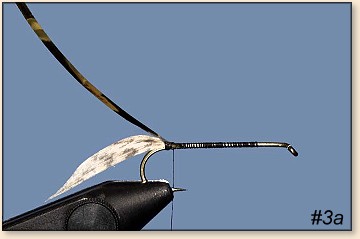
2. Attach the tail with a couple of wraps. Select
the turkey segment with care, looking for a great
"curve" to the section. The length of the tail is
really to personal taste, taking into account
regional preferences.

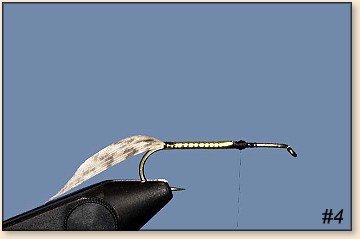
3. Tie in your tinsel with a couple of wraps and
then wrap thread forward (I used size 10 Mylar).
Next wrap your tinsel forward, overwrapping the
previous wrap by ½ the width of the tinsel. Tie off.
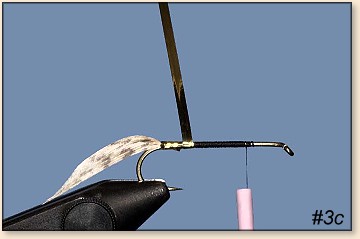
4. At the tie off point, I personally like to make
a few extra wraps of thread to create a hump to push
up the squirrel tail underwing. This is similar to
what you do when tying with turkey biot on Prince Nymphs.
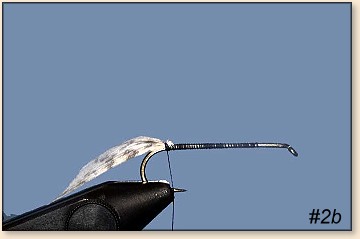
5. Select a section of squirrel tail approximately
twice the thickness of the hook shank. Cut fur off
the tail, comb out and attach to shank. I tie the
tail in between the hump I create and the eye of the
hook to make sure the underwing has a rise to it. Make
sure your wraps are tight! Trim off as cleanly as you
can. I then add a drop of head cement to the underwing
wraps.
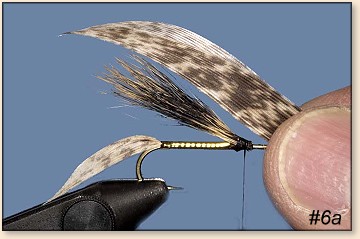
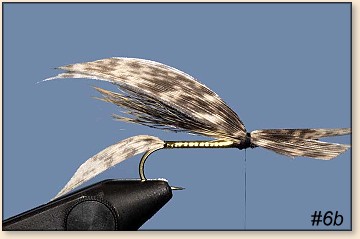
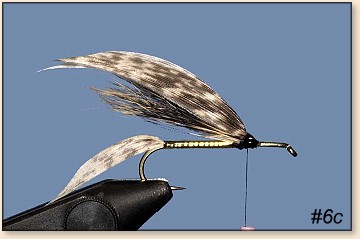
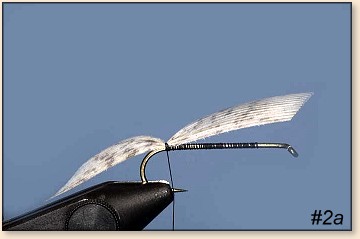
6. Take care in selecting two matching turkey segments
from two opposite wing quills. The width of the segment
can vary from ¼ to three eights inch, depending on fly size.
Align the two turkey wing segments so their tips match.
I like to dry fit my wings prior to attaching them. I
like to have my wings length to reach approximately ½
the length of the tail. Once the length is determined,
make sure you tie the wings so the wings are attached
to the top of the hook shank and not the side. Tie down
with a couple of wraps, trim and finish with a couple
of wraps. A drop of head cement doesn't hurt.
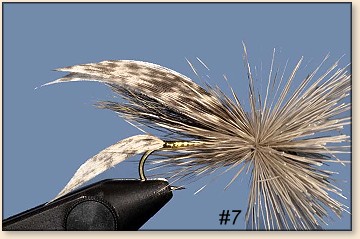
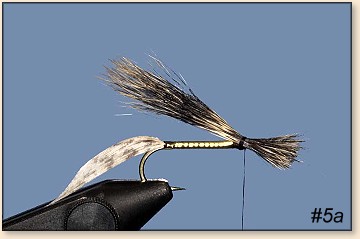
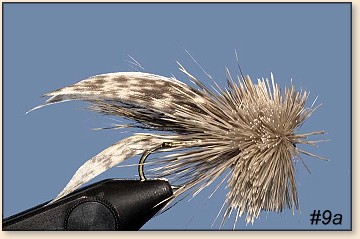
7. Wrap in your first deer hair bundle. Be sure to
set the length that you want the deer hair collar
before wrapping in the hair. There are many methods
for making hair heads, so use the one you're most
comfortable with. I learned by spinning, which is
the method I've always used. Make three or four
wraps, pull thread tight and spin hair around the
shank. I use a pair of tweezers and push the hair
bundle back on the hook shank against the wing as
tight as I can in preparation for the next hair bundle.
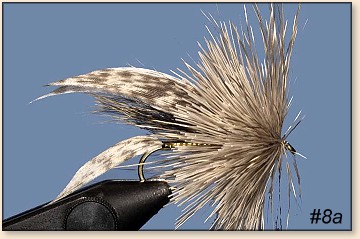

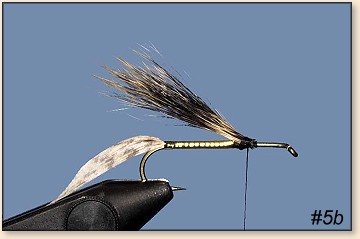
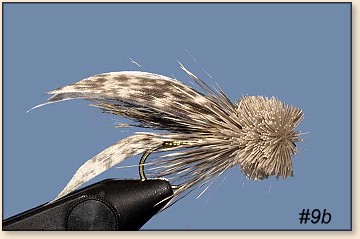
8. Following the step above, I tie in two more hair
bundles. The number of hair bundles you can tie in
is determined by the size of the hook. This is a size
8 hook in this illustration so I could attach 3 bundles.
Once you have your hair attached, bring the thread
forward, create your head and tie off.
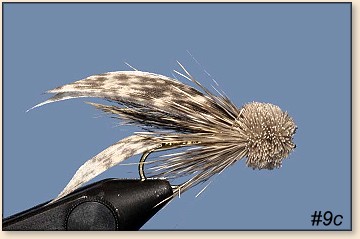
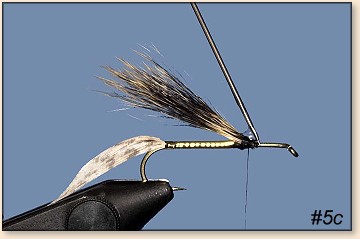
9. Now's when the really hard work starts as far as
I'm concerned. Trimming the deer hair head takes time
if you want "the" shape to be aesthetically perfect.
I personally take time to trim it down since each fly
and hair head is slightly different. I spin the fly
in the vise and slowly trim off the hair, taking a
little off at a time, shortening the hair with each
rotation.
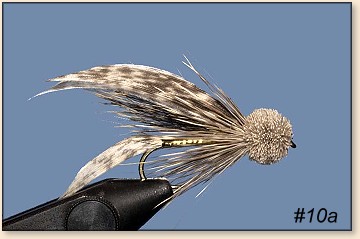
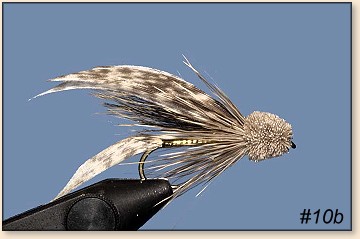
10. When I get down to the nearly finished head, I
take a look at the shape and make my final cuts. Then
it's ready to tie on the end of the line and go after
some fish!