 |
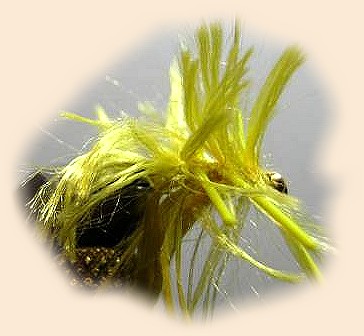 Boa Leech Variation By Richard Zieger, Iowa |
|
|
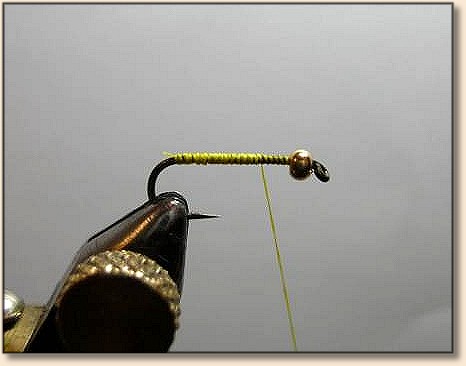 Step 1. Wrap thread to bend and back to near the beadhead. This makes it easier to wrap the rubber legs on, at least for me, than doing it on the bare shank. You can see my thread wraps are not tight against each other. I think the rubber legs set in these grooves a little bit and that makes them more secure.
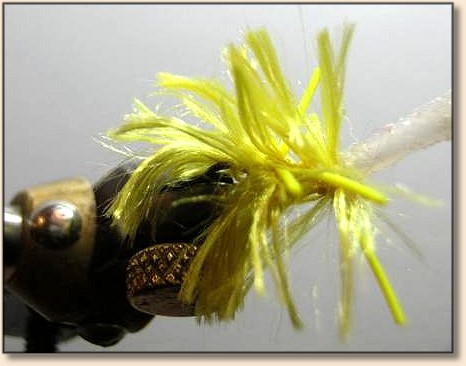
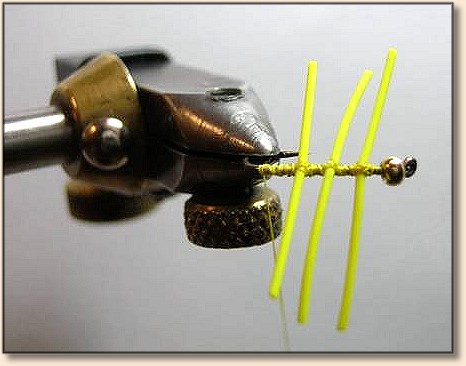 Step 2. Tie in three rubber hackle legs. I leave enough room to make two wraps of boa yarn between each of the legs.
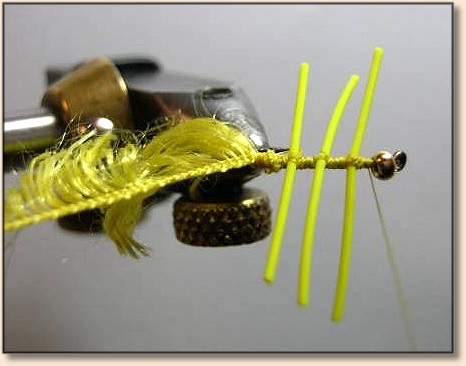 Step 3. I hope you can see that the base of the boa yarn is secured to the hook shank. Also the fibers are pointed to the back of the hook to make it easier to wrap up the hook shank.
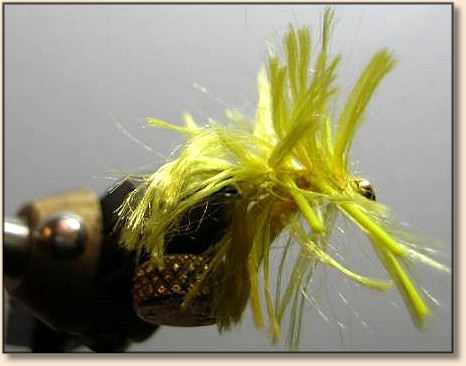 Step 4. Wrap the boa up the shank to the front and tie it off. I do not use the rotary function of the vice to do this. I find it easier to wrap the material with the vice stationary to get it between the legs. I pass the boar over the top of the legs on the top of the shank also. That is just easier for me to see where it is at and keep the same tension.
 Step 5. This is showing the end of the zap-a-gap tube over the whip finish. I get the liquid to the end of the tube on the bottle and get just a little on the thread wraps. This make the fly much more durable than head cement or Sally Hansens does. This is the one thing that I find that most tyers do not do in tying these flies with boa yarn, that leads to non-durable flies.
|