
 |
|
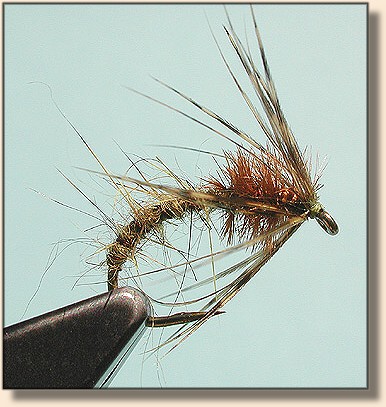
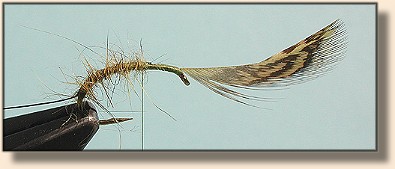
Partridge & Olive Emerger
|
|
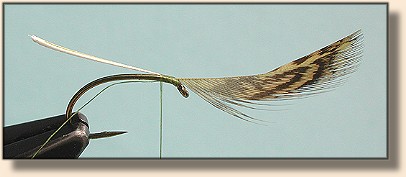
2. Tie in the copper wire, tip touching the snipped off hackle stem to form a level underbody
as you make touching turns of thread to well into the bend of the hook. And then two or
three touching turns of thread going back towards the eye.
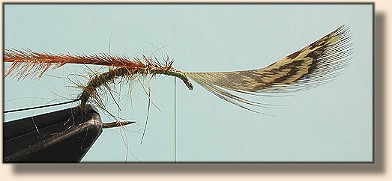
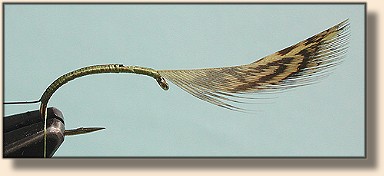 3. Next we want to create the body. As I want this to be an extremely sparsely tied fly (sparse being the operative word in tying any kind of spider/softhackle pattern) I use the touch dub method here. This is the only time in all my flies where I use wax, and sticky wax at that. I can recommend wax produced by John Betts or BT Wax, in either case the tackier of their two 'grades' of wax. Coat about two inches of thread by gently running the wax stick along it. Next take a small clump of hare or mole dubbing and just 'dust' the thread by touching it with the clump of mole. A fuzzy looking thread will be the result. Leave as is. Do not try to twist/rub into a rope.
|
|
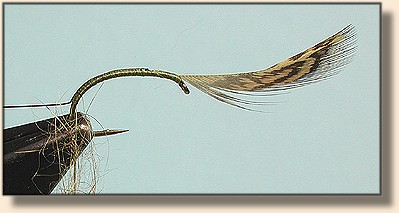
4. Start winding the body. Make the initial turns towards the bend to the point
where the copper wire is tied in to cover any visible thread wraps, then in touching
turns towards the point where the thorax will start. Your two inches of hare/mole
should be just about right.
 5. Take one or two strands of ostrich herl (depending on hook size and quality of herl) and tie in by the butt, then run the thread towards the eye. Leave a small gap for winding the hackle. In keeping with the sparse nature of this fly, ostrich will give the illusion of volume without the unwanted bulk.
|
|
6. Wind the ostrich in touching turns towards the eye, then tie off.
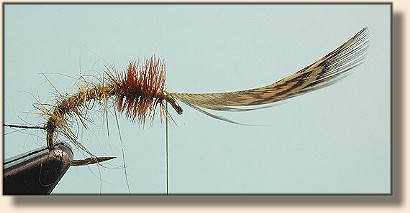 7. Using the copper wire rib both abdomen and thorax. I generally prefer to counter-wrap my ribbing material. Make sure to keep the spaces between turns even and the angles identical. Uneven ribbing destroys the looks of a fly like few other errors. The fish may not notice, but it takes as much time to tie a neat fly as it does a sloppy one. I prefer them to be neat ;-) Tie off the copper wire and trim waste of both ostrich and wire.
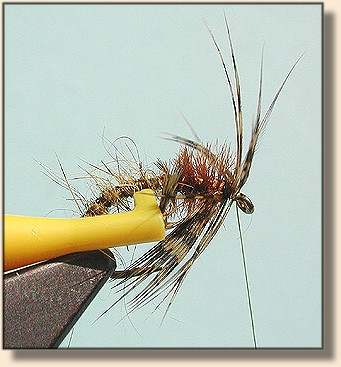
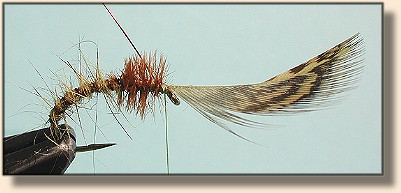 8. Now, with the thread hanging behind the hackle we are ready for one or two turns of partridge. Clip hackle pliers to the tip of the partridge feather. (For softhackles, with their delicate structure, I like to use the plastic EZ pliers found in Radio Shack and the like.) Make (generally) two turns of partridge in touching turns towards the bend of the hook. End with the hackle pliers straight up (this gives you two complete turns of hackle, resulting in an evenly distributed number of barbules) and trap the partridge with one or two turns of thread. A third turn works through the hackle towards the eye. At this stage snap off the partridge feather. (Sometimes the tip breaks at the hackle pliers, but mostly you get a clean break where it is tied down. Much easier than trying to cut close with your scissors.)
|
|
9. Finish the fly with a three-turn whip finish. As there are no materials to tie down at
the head, you should end with a very neatly finished fly. Optionally you can tip the head with
some thin, penetrating varnish.
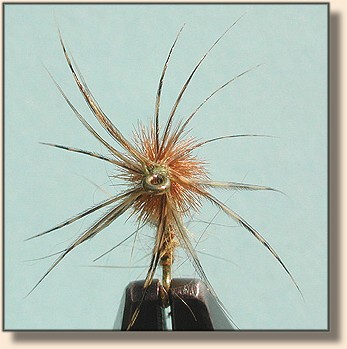
10. Front view of the finished fly. Note the sparse hackle, and aim for an even distribution of the fibers.
Fishing suggestions:
Note: For more terrific flies from all over the world visit Hans website, Flytier's page at: https://www.danica.com/flytier/index.php
|
|
For more great flies, check out:
Beginning Fly Tying,
Intermediate Fly Tying and Advanced
Fly Tying.
|