1. Slide the conehead onto the hook and
secure the hook as shown with the shank
pointing straight down. Apply a drop of
Loon UV Knot Sense into the concave side
of the cone. Do not use too much as we
want to keep some room inside the cone
head to allow the materials to slide in
when finishing up. More on this is STEP 5.
I want to take a moment to discuss the Loon
UV Knot Sense. This is a GREAT product that
most fly tiers could find some neat applications
for. I was introduced to it back in January
and have been using it a lot ever since. When
you apply it, it is something like thin epoxy
before curing. You can easily work with it but
once you hit it with the UV light, the product
becomes rock hard and crystal clear. I use it
all the time to finish off saltwater fly heads
(instead of Epoxy or other compounds), the shell
for a scud back, wing cases, freshwater streamer
heads, securing coneheads like on this fly and
soon and so on. I'm trying to figure out how I
lived without something like this all these years.
While tying at some of the shows I have gotten
several other tiers very interested and "hooked"
on it as well. Be sure to ask your local shop
about it.
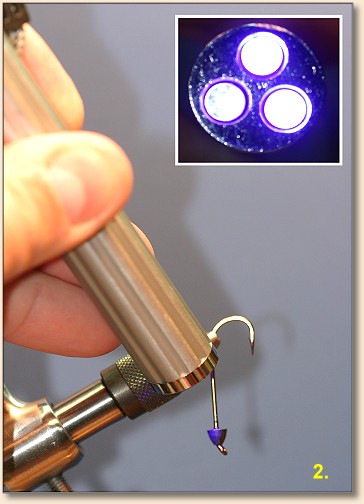
2. Use one hand to properly position the
conehead. Use your other hand to shine the
Loon UV Power Light onto the Knot Sense to
instantly cure it and lock the conehead into
position. The photo inset shows the 3 UV
beams that do the work.
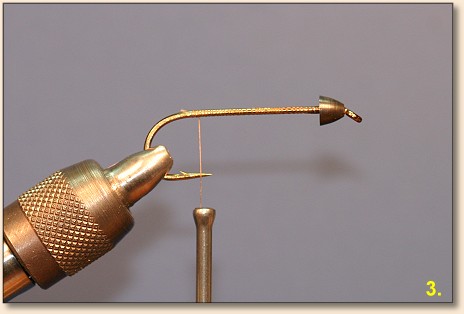
3. Start behind the conehead and wrap a base
of thread covering the shank back to the start
of the bend.
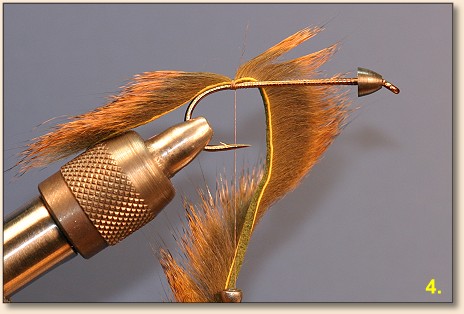
4. Cut a piece of the Zonked Pine Squirrel
at a length of around 5 inches. A slightly
longer piece is OK. When securing one end
as the tail, I like to have a tail that is
equal to the overall length of the hook I'm
tying on. To secure it, I use my bodkin and
part the hair in one spot so that my thread
only wraps over the skin and not the fur.
After 5 secure wraps, lift the squirrel out
of the way and continue wrapping the thread
to the base of the conehead. Apply a drop
of head cement to the wraps securing the tail.
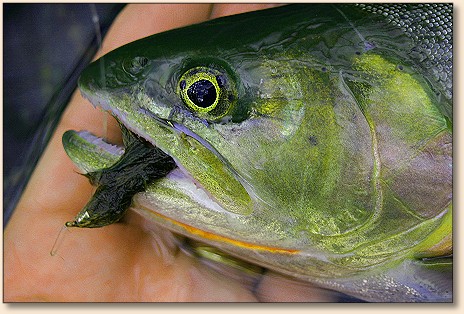
This will help keep the fly from coming apart
when the teeth of a large trout contacts the
thread here.
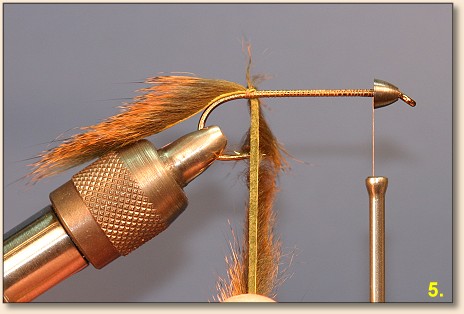
5. Now start palmering the squirrel zonker
around the hook shank toward the conehead.
When doing so, try not to wrap over the fur
as you go. I use a small bowl of water to
moisten fingers while doing this. I can then
wet the fur and have it all standing up
straight and keep it from getting caught
under the wraps as I go.
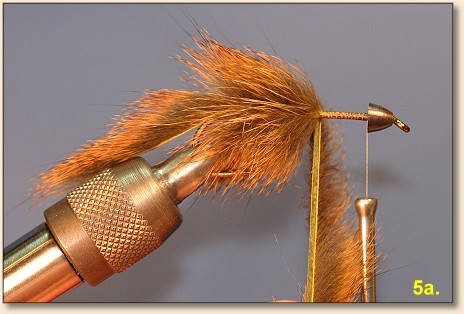
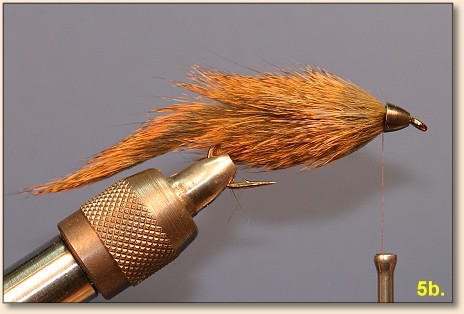
When I get the squirrel wrapped to the cone
head I make 1 or 2 wraps at the base of the
cone head and then use my bodkin to slide
that final wrap up and into the conehead.
Hopefully you left enough room to slide this
in as well as allowing the final thread wraps
to slide up and inside. This not only gives
the fly a great finished look, it also protects
the thread from getting cut by those big trout teeth.
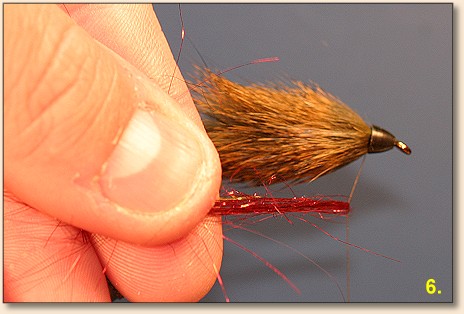
6. Get a small amount of Wing N' Flash and
loop it around your thread. You can now
precisely position this as the gill on the
underside of the fly. After securing it
with a few wraps, give it a whip-finish and
try to get the thread to slide up inside the
conehead. The more durable your flies are,
the longer they last and the less you have
to tie. Once done, a drop of head cement
will do the trick.
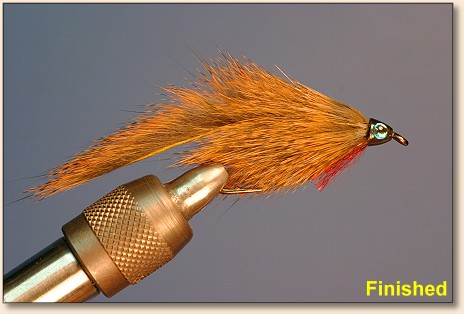
For added realism I then like to add a couple
3D eyes to the conehead and then apply a coat
of Hard as Hull to the head. I've said it many
times before and I'll say it again. There are
many fish out there with false eye spots on
their tails. This is to confuse the predators.
So, if millions of years of evolution say that
predators key on their preys eyes, my streamers
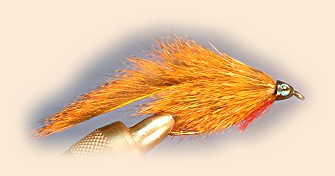
will have eyes on them. Once the eyes are on,
the fly is finished and ready to fish.