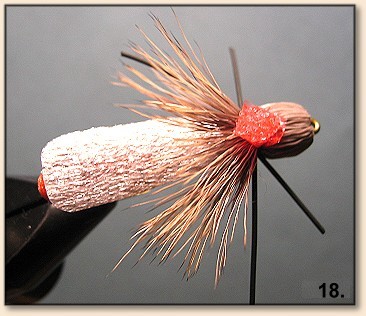
You'll want to start with a good iron and some
Rainey's sheet foam. Here I am using a size 4
Tiemco 200R. Take the foam and cut it as wide
as it is thick so that you have a long rectangle.
Tie in your thread and take it back so that it
hangs down somewhere in the barb of the hook.
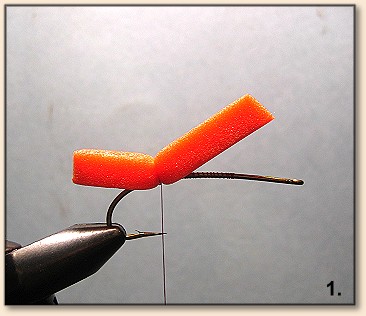
1. Bind down the foam on top of the hook. This
might take a little practice. You want to be firm,
so the foam won't rotate on the hook when you fish
it, but not so firm that you slice through it. You'll
learn the proper tension quick.
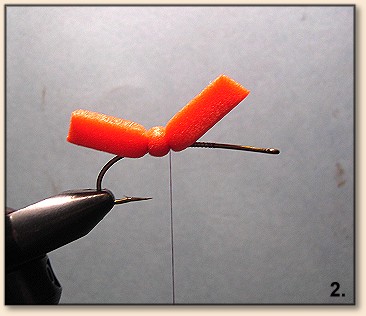
2. Wrap your thread towards the eye of the hook
on the shank until you feel it's time to bind
down the foam again, forming the next segment.
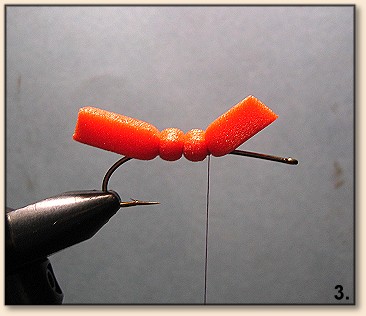
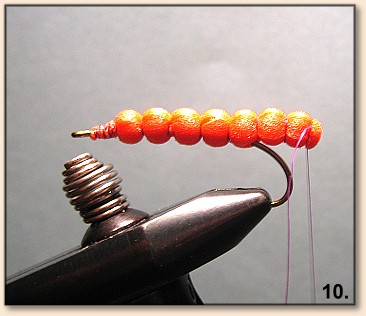
3. Repeat this process a few more times leaving
some space for a nice head. You can see here that
it doesn't look like I've left myself enough
space, which is true, I'll just cover up some
of that segment with other materials and not
worry about it too much.
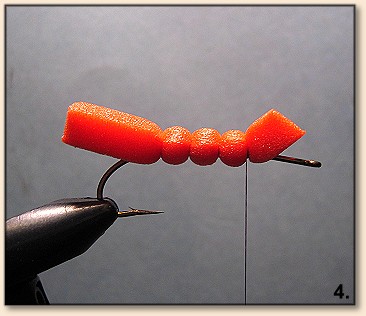

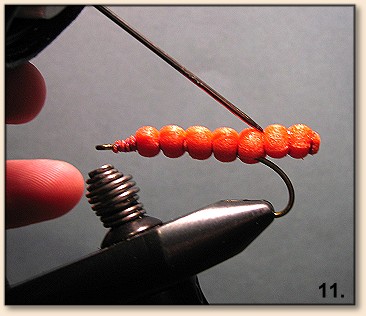
4. Now the trick. Whip finish on the head.
5. Take the fly out of the vice and turn it around.
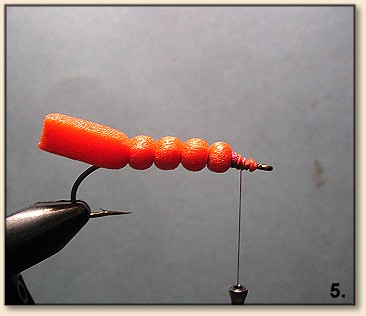
6. Gently, but firmly start your thread to form
the segments that will extend beyond the hook.
Careful not to slice it here. After you tie in,
be sure to take the tag end of your thread to
the right and bind it under a new wrap of thread
to keep it from falling apart. Whip finish on
the foam.
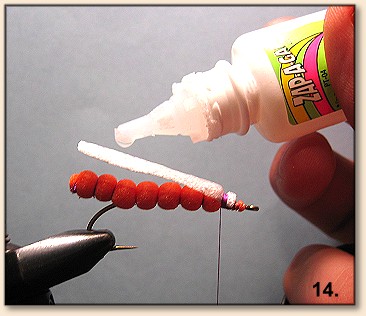
7. Repeat this a few times until you're satisfied
with the number of segments that extend. You can
now hit those whip finishes with some cement.

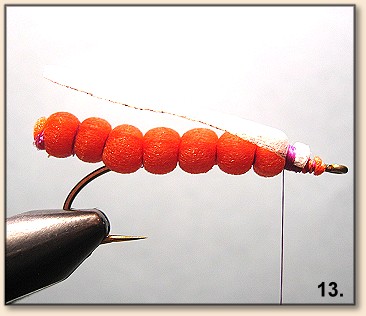
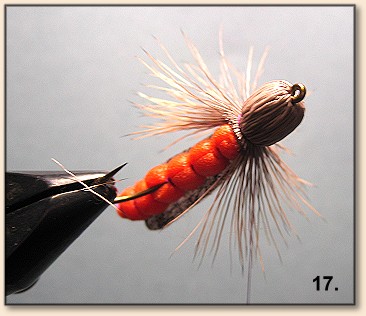
8. Turn the fly around in the vice and tie in a wing cut from Montana
Fly Company's "mottled web" etha-wing material. You can try to make
something like the stuff yourself using thin packing foam and a colored
dryer sheet glued together, but I prefer the MFC material.
9. If the wing won't lie flat for some reason or another, hit the back
of the body with a drop of Zap-A-Gap and press the wing down.
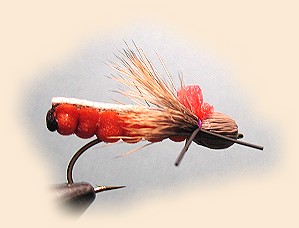
10. Clean, stack and spin a generous clump of elk hair.
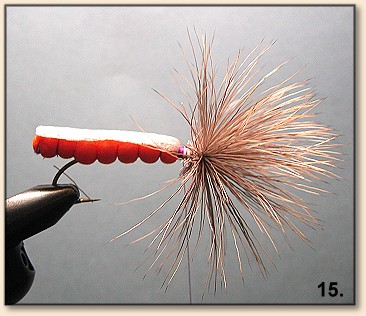
11. Clip the elk and pull it back to make the bullethead.
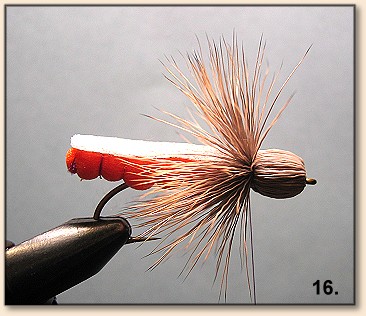
12. Clip the elk flat on the bottom.
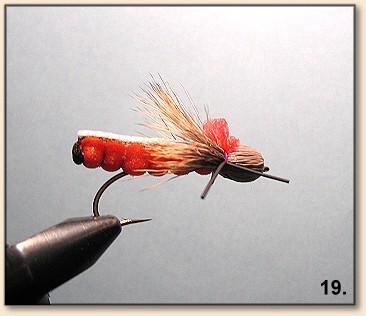
13. Add some round rubber legs and something to
make it more visible if you're so inclined.
14. Color the egg sack with a black permanent marker.