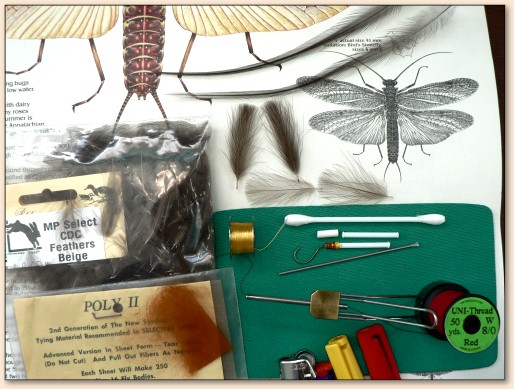
Mandrel: 0.055in. diameter spring wire.
Tube: 1in. long Q-Tip (Cotton Swab), section with
both ends cinched to form a flare.
Hook anchor: 1/4in. long section of 1/8in. white
Shrink tube, heat shrunk to one end of Q-tip tube. Make
sure that during the shrinking process you end up with a
free end of shrink tube sufficiently tight for the solid
grip on a chosen hook's eye. Color this free end rusty brown
and yellow with permanent marker.
Thread: 8/0 red.
Dubbing (body and thorax): POLY II- Fly Rite- rusty brown.
Ribbing: yellow Monobond or single strand floss.
Wings: two sets of three matching CDC feathers - natural color.
Hackle: Iron Blue Dunn.
Hook: Daiichi 4250 # 8 or 6.
TYING INSTRUCTIONS FOR THE TUBE STONE:
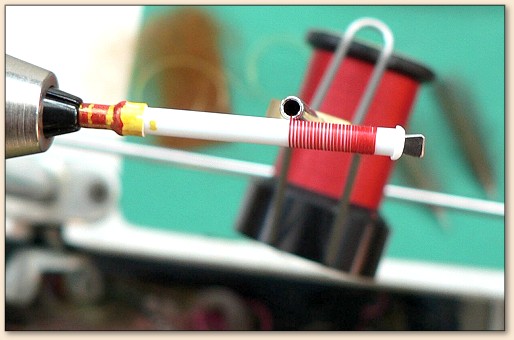
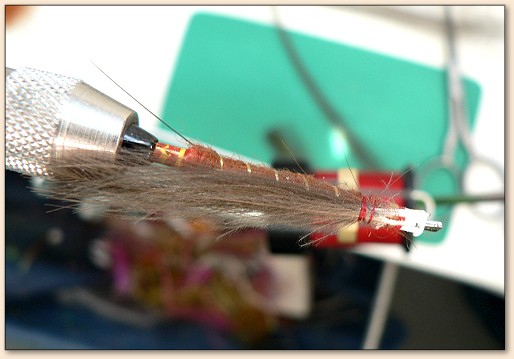
Step 1: Slide the tube assembly over the mandrel so that
the flared end gets stretched over the flat part of the
wire mandrel. This will distort the end of the Q-tip tube
(temporarily) and will provide a solid hold on the tube.
Slide the free end of the wire mandrel into the vise
until the shrink tube touches the jaws. This will assure
that the tube does not slide off the flat end of the mandrel.
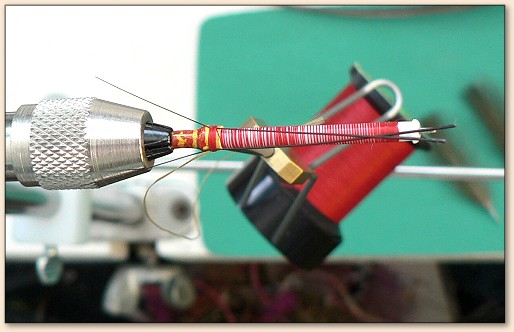
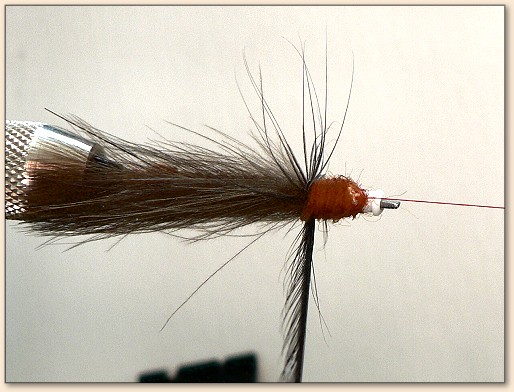
Attach the thread just short of the head's flare on the front.
Attach the ribbing and wrap the thread right up the shrink
tube, short of the bump formed by the flare.
I use the tube vise and automatic Ekich Bobbin. As shown
in the photo, a rotary vise allows you to let the bobbin
hang, and the controlled constant tension of 1.1 oz
(33 g) will lay out even and secure wraps, strong enough
to bind and hold even the Monobond ribbing.
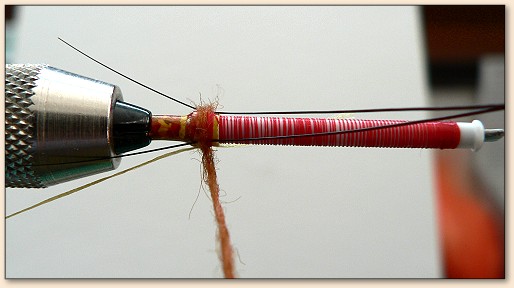
TYING IN THE TAILS:
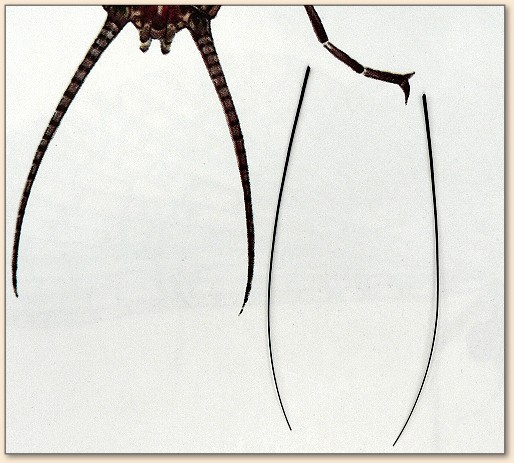
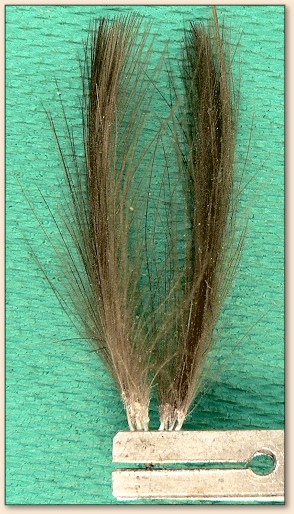
Step 2: Select a pair of tail fibers. I use the whiskers
from a hare's mask but any stiffer fiber will do.
Attach the tails just ahead of the flare bump as shown
and add a half hitch.
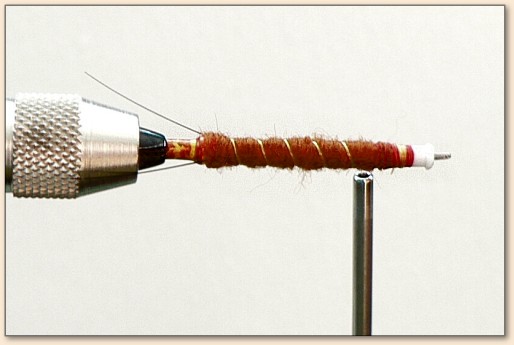
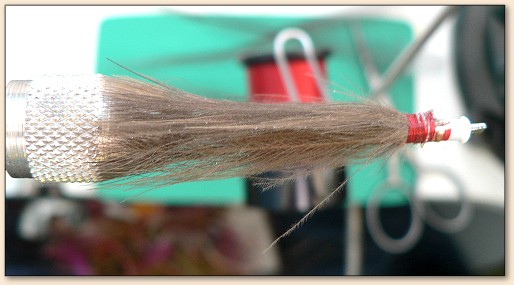
DUBBING THE BODY:
Step 3: Start the body on the tying point of the tails
and cover ľ of the tube. Half hitch it.
RIBBING:
Step 4: Wrap the ribbing in the opposite direction
and tie in just about a quarter length from the flare.
(I whip finish the ribbing or wrap a couple of turns
tightly, then hold the tag end of the ribbing towards
the back and wrap again over it).
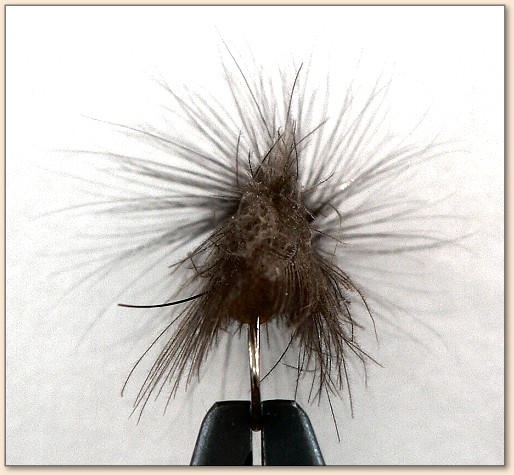
PREPARING THE WINGS:
Step 5: Select six CDC feathers of the same size and
curvature. The wings should be slightly longer then a
tube. Form two pairs of three feathers and apply glue
or head cement to the base of the feathers to bind each
wing in advance.
TYING IN THE WINGS:
Position the wings on a slight downward angle,
tent-like fashion.
ATTACHING THE HACKLE:

Attach the hackle right over the tying point of the wings.
DUBBING THE THORAX:
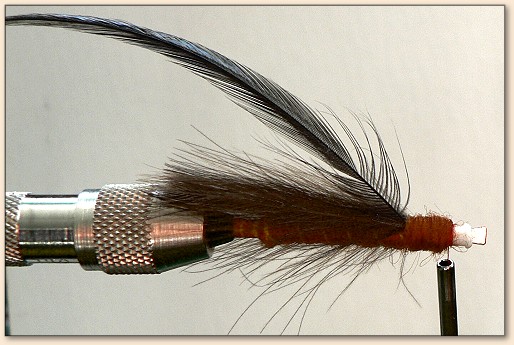
Using the same dubbing material as in the body, cover
the remaining part of the tube, leaving just enough
space for the whip finish.
WINDING IN THE HACKLE:
Wrap the hackle sparsely. All of the materials that
form this fly are lighter then water (except the hook
of course, but that too is one third of the weight
that this fly would have to support if it was tied
conventionally on a long shank hook), so there is no
need to use too much hackle.
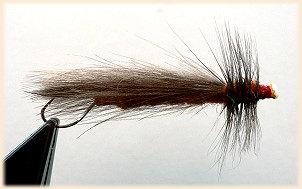
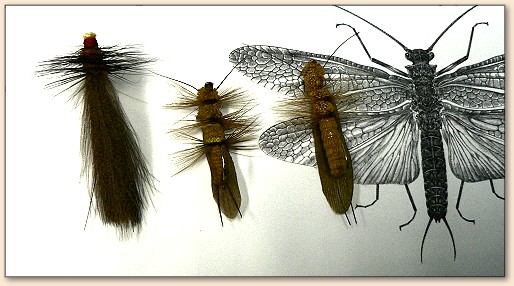
FINISHED FLY VIEWS:
Finished Fly - Back View
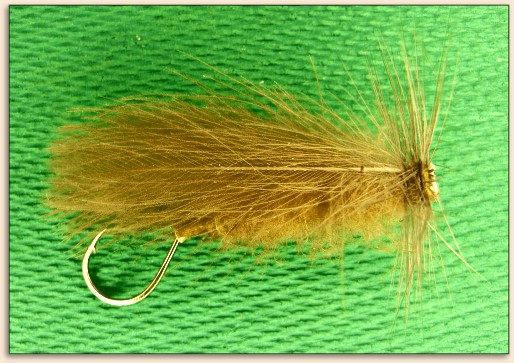
Finished Fly - Side View