
 |
|
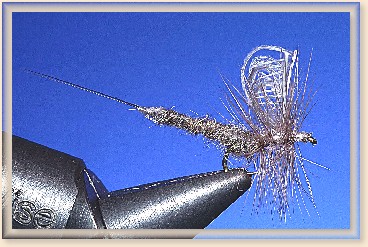
Silver Lake EB (Extended Body) Mayfly
|

|
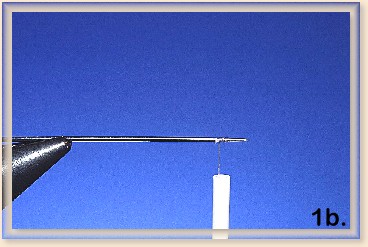
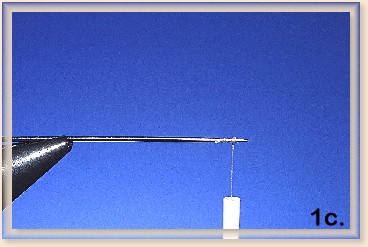
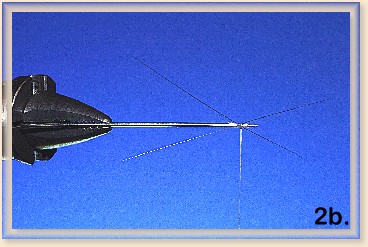
2. Tie in the micro-fibbets being sure that
they spread open. Wrap behind the bump you
created to spread the fibbets. The length of
the fibbets should be about 75% of the length
of the dubbed section. Once the fibbets are tied
in, wrap on back on the needle the entire length
you want the dubbed section to be. The removal
process of the tail from the needle condenses
the tail's length by about 20%, so keep that
in mind when determining length. I don't trim
the fibbets so the ends are extending out beyond
the base of the EB.
|
|
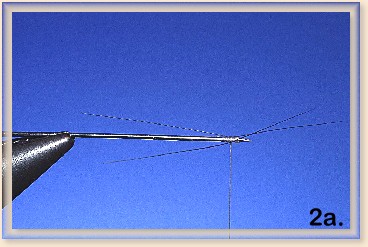
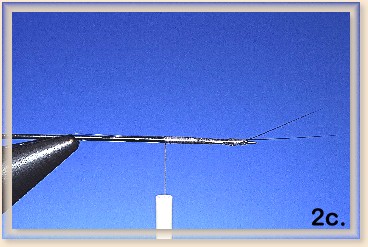
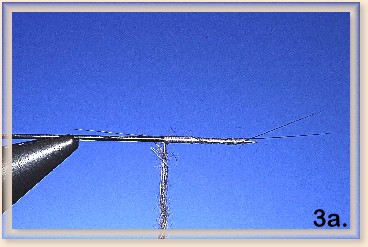
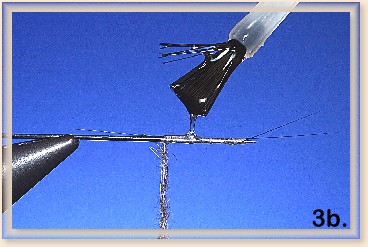
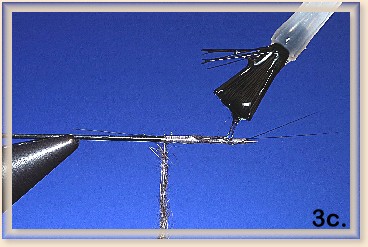
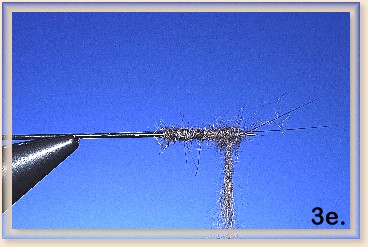
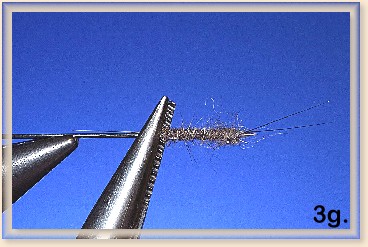
3. This is the tricky part where you need to be
quick. You're going to coat the section of wraps
you just created with Krazy Glue and then wrap
dubbing on top of it. You're starting your dubbed
wraps at what's going to be the base of the
extended body. So you want your dubbing a tad
thicker at the base and thinner at the tip. You
want just enough dubbing on the thread to create
the EB and no more. Since Krazy Glue dries rather
quickly and sticks to ever stray dubbing hair,
preplan and think it all out before applying the
Krazy Glue. I use a bottle of Krazy Glue which has
a brush applicator. Coat the top and bottom of the
threads, avoiding getting any on your fingers. I
quickly wrap the dubbing up to the fibbets, tie off
the thread just like finishing a fly. Carefully, take
needle nose pliers, grab the needle with some pressure
at the base of the EB and then push off the EB. And
with that, the extended body is created.
|


|
|
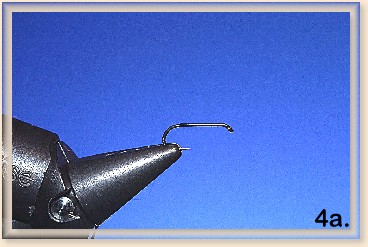
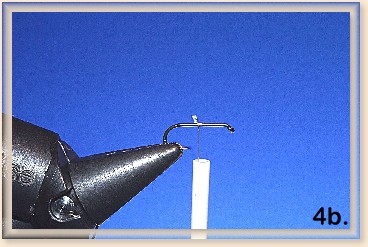
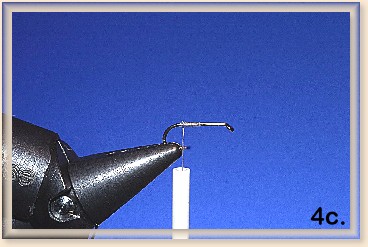
4. It's time to finish this baby off. Place a
hook in the vise, attach your thread and then
wrap back to the bend.
|
|
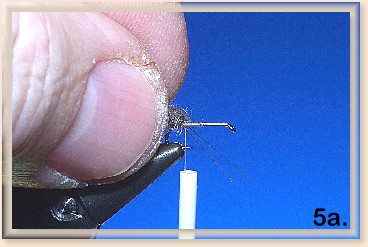
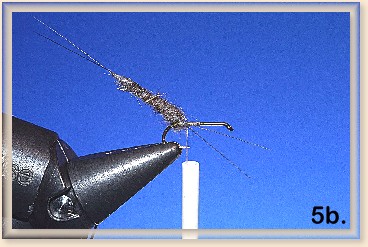
5. Tying on the EB is simple. First, I take
twisters and flatten just a breath of the base
of the EB. Using the fibbets that we didn't trim,
make a couple of wraps to attach the EB. Once this
is done, make a couple of more wraps on the part
of the EB you flattened with the twisters. Be
careful to make sure the fibbets are orientated
correctly on the hook. Finish it off with a drop
of head cement.

|
|
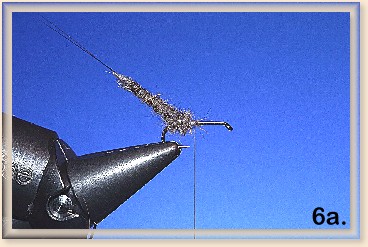
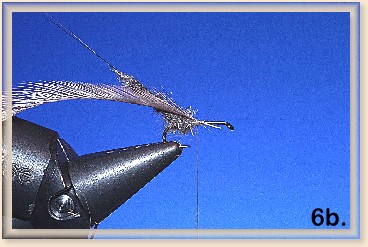
6. With a very small amount of dubbing, make a
wrap around the base of the EB and forward just
a wrap or two. Tie in your hackle, dry.
|
|
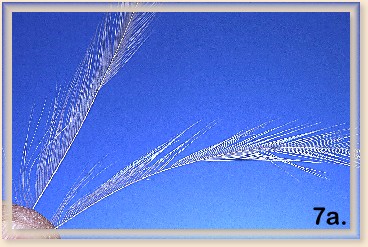
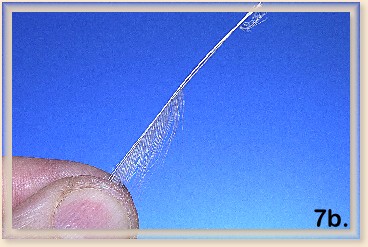
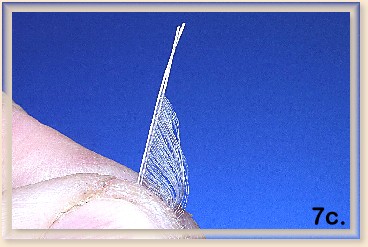
7. Making the wings might be difficult your first
time, but after that it's really simple. These
half-hackle wings don't have to be perfect to
catch fish, so don't get all worked up about
making them as such. Strip off the barbs from
one side of the hackle. Take two hackles and
hold them in your fingers so the natural curve
of the hackle curves the hackles together. With
this done, strip off the barbs on one side. Line
up the ends of the half-hackle and gently pull
them through your fingers as if smoothing out
the barbs. Then, pull the hackle back through
your fingers in the opposite direction. The
trick is to hold the barbs but not the whole
feather as you pull. You want to plan this all
out thinking about having to hold the hackle
and tying it on as well, so adjust your grasp
accordingly. I leave a little hackle shaft on
both ends so I have something to grab and pull
with the twisters to align them just right in
the next step.
|
|
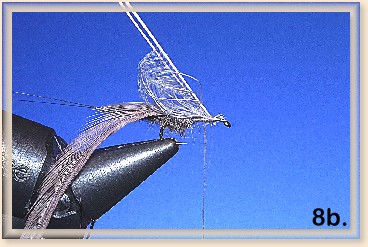
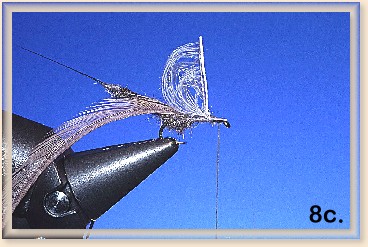
8. Tie the wings on with a couple of wraps, then
pulling them vertical and tying them open with a
couple of figure eight wraps. Once in place, trim
to perfection.

|
|
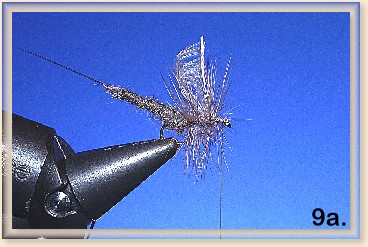
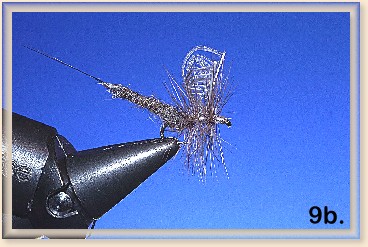
9. Finish up the fly by wrapping the hackle forward,
a couple of wraps behind and in front of the wings.
Tie off and you're ready to fish. I have a minimum
of four of these in my box during a hatch so I don't
miss any opportunities to catch just one more fish
before the sun sets.
|
Photographic note:Photos captured by D2H, 60f2.8AF micro with SB-29s on Lexar digital film. ~ MP
About Moose:
|
|
|