 |
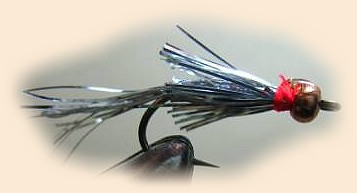 Goldie Jr. |
|
|
Materials:Hook: Size 10.  TIP: Always pull the thread between your fingers after you take it off the spool. It will make it much easier to work with. Step 1. Wrap thread about 2/3 to 3/4 way down shank and then back to about 1 bead head width behind bead head. This will be important later.
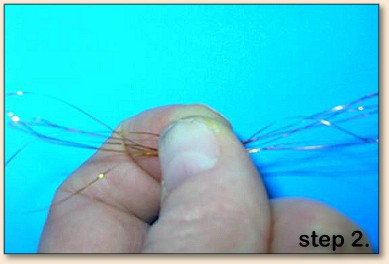 Step 2. Pull about 14 or 15 inches of metallic thread off the spool. Straighten it. Then fold the thread in half three times. It should look like the picture above.
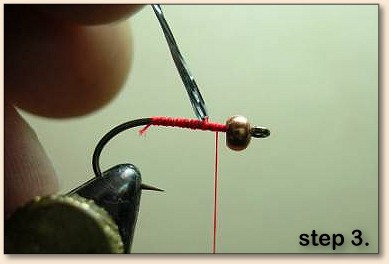 Step 3. Fold the Metallic thread in half over the tying thread and tie in behind the bead.
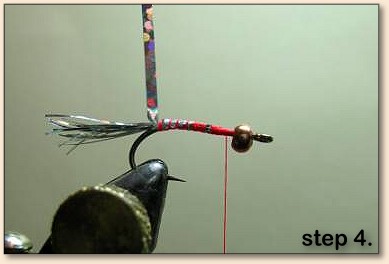 Step 4. Wrap thread down shank to end of bend. Cut tail to about shank length. Tie in silver Mylar and wrap thread back up hook to the bead.
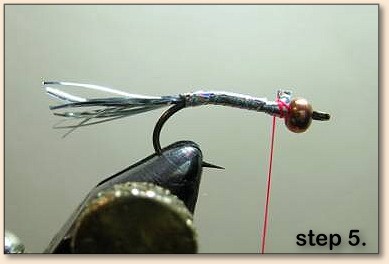 Step 5. Wrap silver Mylar up body and tie off.
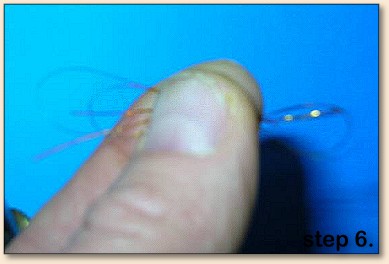 Step 6. Pull off about 9 inches of thread from the spool. Fold over three times as you did the longer piece. It will look something like the above.
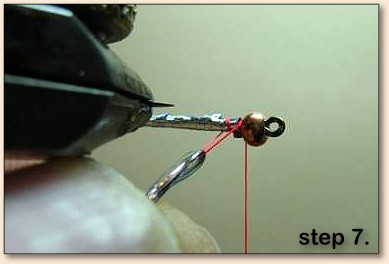 Step 7. Fold the silver metallic thread over the tying thread and tie on the bottom of the hook. Make 4 wraps from the bead head back to where the thread on the left is. Repeat steps 6 and 7 three more times. Tie a clump in on each side and then the top. Trim each clump as you tie them in to the length you want.
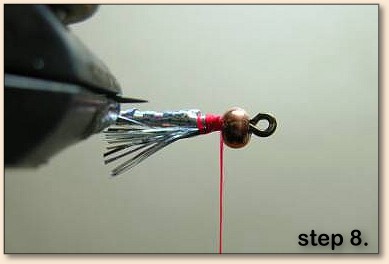 Step 8. This is the bottom clump tied in. This is the reason for tying the tail clump in part way down the shank. By the time you make all the thread wraps for the four clumps you will need the space around the shank.
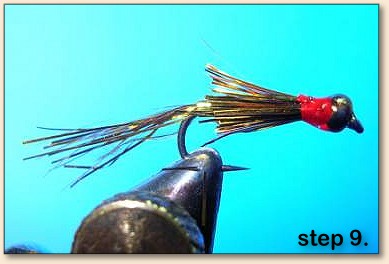 Step 9. Whip finish and put a drop of zap-a-gap on the tying thread wraps. I trim some of the fly collars a little shorter than this also. Anywhere between the Point and the end of the barb seems to work.
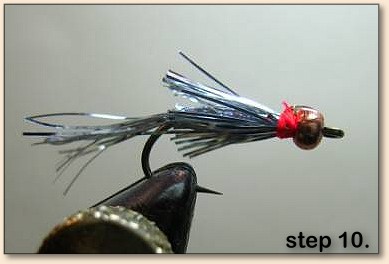 Step 10. Tied with silver metallic thread. The collar is shorter on this fly than the gold one above. ~ Rick Zieger For more great flies, check out: Beginning Fly Tying, Intermediate Fly Tying and Advanced Fly Tying.
|