 |
One for Martha
|
I've selected a fly I named "One for Martha." My mother sensed
my fishing ambition when I was five and purchased a Noll tying kit
for me. Although it is not my most colorful or fancy fly, it is the
most productive in taking fish. So as a tribute to my Mom, I wish
to share this fly with your readers.
I tied this fly on an 8x Mike Martinek Rangeley Streamer Hook using 8/0
white and black threads. You may not be able to see it from the attached
photos, but each wrap of thread is next to each other. I use about 1,600
wraps to make a smooth foundation for the tinsel body. I use several coats
of latex head cement to finish the streamer. I also finish the head in a
"non-traditional" fashion. I prefer a bullet finish to a streamer as
opposed to the traditional finish.
Materials List:
Hook: 8x Mike Martinek Rangeley Streamer Hook
Thread: 8/0
white and black threads.
Body: Mylar piping and 5-minute or 20-minute
epoxy.
Tail: Silver Monkey.
Tag & Rib: Small Oval Silver Tinsel.
Body: Large Flat Silver Tinsel.
Throat: White Saltwater Bucktail.
Underwing: Peacock Hurl.
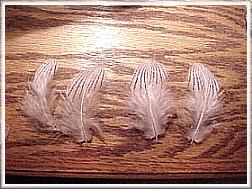
Wing: 2 Whiting Natural Black American
Rooster Hackles Flanked by 2 Whiting Variant American Rooster hackles.
Shoulder: Silver Pheasant.
Cheek: Jungle Cock.
Tying Instructions:
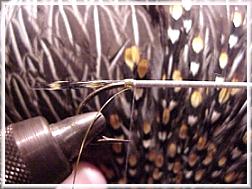
1. Start the thread near the taper of the hook and break off the
excess.
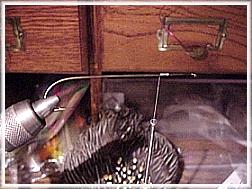
2. Wrap one wrap of thread next to each other and work your way down
the shank and stop just before the bend in the hook.
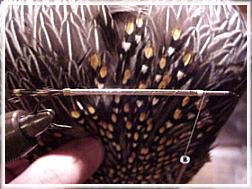
3. At this point tie in your tail.
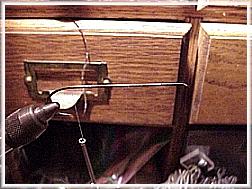
4. After the tail is secured in place wrap back towards the eye of the
hook stopping just short of the eye (again, a "non" traditional technique,
most traditional streamer tiers crowd the head.)
|
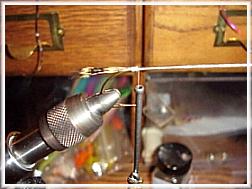
5. Tie back to the taper and tie in the small oval tinsel and wrap over
the tinsel and hook shank back to the tail.
6. Step 6: Wrap the tinsel to make the tag (butt), about 5 - 6 wraps of tinsel
should be sufficient. Tie off and wrap thread once again back to the taper.
|
Step 7: Tie in the tinsel at this point and wrap it back to the tag (butt)
with no overlap or bumps. Then wrap it back up to the taper, tie off and
snip excess.
Step 8: Wrap the oval tinsel over the flat tinsel towrds the taper (3-5 wraps
should be sufficient.)
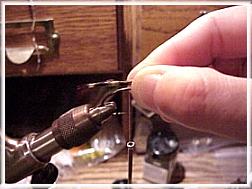
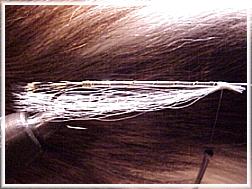
Step 9: Tie in small amounts of stacked bucktail for the throat. Build up
the throat until it completely covers the gap and point of the hook.
|
Step 10: Tie in 6-8 strands of peacock hurl as an underwing.
Step 11: Select matching black hackles with right and left bends.
Step 12: Match the black hackles together and flank them with the variant
hackles. Strip about 10 barbules from the assembled wing where the wing
meets the hook shank. By doing this your wing will lay flatter on the
streamer. * Do Not glue the feathers together, tie them in with loose wraps
and secure them in place with a couple of X wraps.
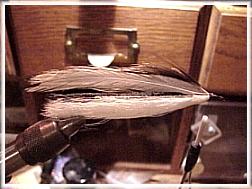
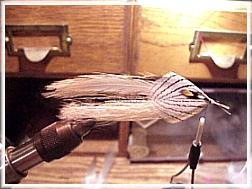
Step 13 : Tie in your wing.
|
Step 14: Select the Shoulder/cheek feathers again use matching pairs with
right and left bends to them.
Step 15: Assemble the shoulder and cheeks with a small amount of
head cement.

Step 16: Tie in the shoulder/cheek assembly.
Step 17: Finish the head with a couple of coats of head cement.
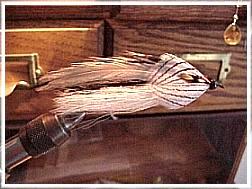
Finished Streamer
|