|
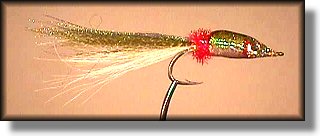
Pete's Slider
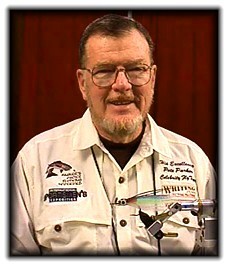 Pete Parker is well known among professional fly tiers, and those who
attend the Fly Tying Theaters at the International Sportsmen's Expositions.
Pete is the one who organizes the schedules and arranges for all the
guest tiers. He is also a contract fly tyer for Umpqua, ties flies for
the FFF Museum and the FFF National Conclaves.
Pete Parker is well known among professional fly tiers, and those who
attend the Fly Tying Theaters at the International Sportsmen's Expositions.
Pete is the one who organizes the schedules and arranges for all the
guest tiers. He is also a contract fly tyer for Umpqua, ties flies for
the FFF Museum and the FFF National Conclaves.
His flies are regularly featued in books and magazine. In additional to
Pete's Slider, he invented the Tuna Helper, Pete's
Mackerel, Pete's Prop Fly and other patterns.
We've known Pete for years and were delighted when he agreed to tie
a couple of his flies for us at the Seattle ISE Show for use here.
This fly (and it's inventor) holds several IGFA records on blue water fish, including
Giant Travelle! If you are into big fish - blue water, salt or maybe
some tough freshwater fish, give it a try. ~ DLB
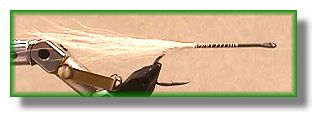
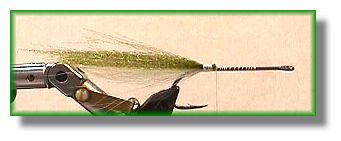
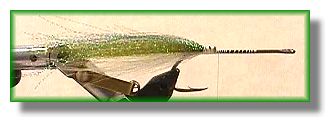
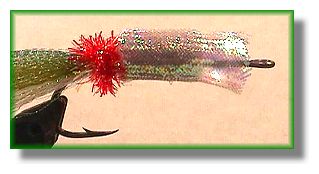
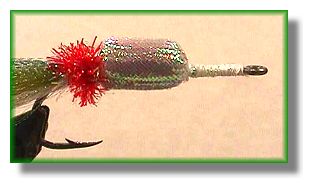
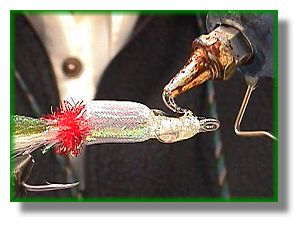
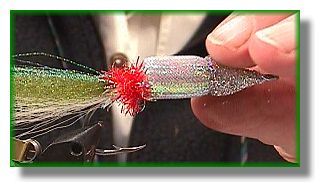
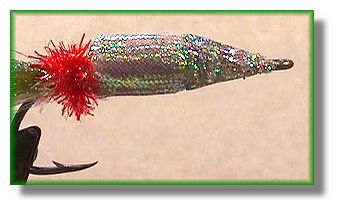
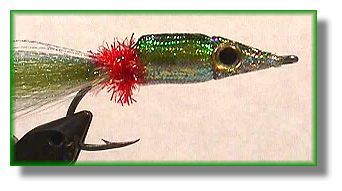
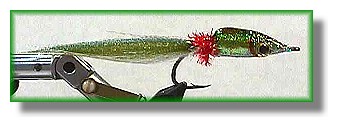
Materials List:
Hook: Eagle Claw 66s or equalivant.
Thread: Gudebrod, size 'G,' any color.
Tail: White bucktail, Olive Super Hair, and Peacock Crystal Flash.
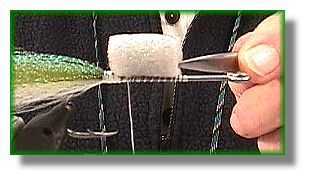
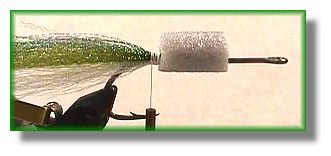
Body: 1/2" caulking rod.
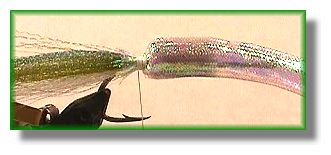
Overbody: Pearlescent 1/2" mylar tubing.
Butt: Red Cactus Chenille.
Head: Layer of hot glue, dipped in holographic glitter.
Eyes: 4mm 3-d stick-on eyes.
|