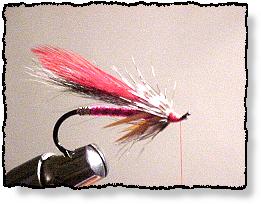
 Hank's Red Apple By Henry Chan
|
|
|
|
Tying Instructions:

8. The best thing about this step is that it's cheap. The wings are just a pair of rooster
neck. I use red rooster neck here, but you can substitute with any red-like color. I
prefer a red wing because it matches the body. Perhaps the toughest part of this step
is to tie down the wings without it turning sideways. The best way to do this is to practice,
and to do it slowly.
The easiest way is to tie down the wings with just a few turns of the thread first.
Then after it is somewhat secure on the body you can adjust it. When the wings are on
upright finish tying it down.
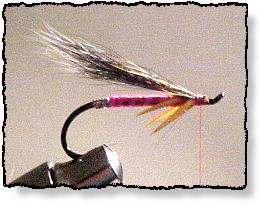
9. Now I know this fly is taking some time, but if you think this fly takes a long time,
you should see some of my presentation flies! This next step is the collar hackle.
I use some guinea hackle, natural color. There are MANY substitutes for the collar
hackle. You can use grizzly rooster neck or any grizzly hackle. Just be sure there's
a pattern within the hackle. I have used solid color hackle and it just doesn't look as
good!
Tie down the hackle and make sure that it's not too far back. It's better to tie
this collar hackle too close to the eye rather than too far back. This is because when
you make the head of the fly you want the collar hackle to be pushed back.
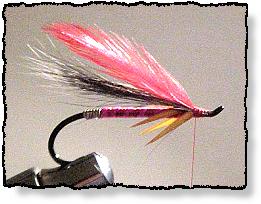
10. This FINAL step is easy. Just make a few turns with the collar hackle (two-three
turns will suffice). Tie it off and cut the excess. While making the head slowly push
the collar hackle back. This will give it a wonderful look. After you've got the collar
hackle where you want it just finish off the head with a whip finish and cement! And
there you have it! Your very first Hank's Red Apple fly!
About Henry:
|