+ Reply to Thread
Page 1 of 2 12 LastLast
Results 1 to 10 of 14

Thread: How to tie the EZ Mite?

  1. #1
    Join Date
    Sep 2009
    Location
    shenandoah valley, va
    Posts
    638

    Default How to tie the EZ Mite?

    I was fishing yesterday and ran across a friendly FF. We compared fly boxes and he coveted one of my pink retrievers, so he traded me one of these
    http://www.orvis.com/store/product.aspx?pf_id=09PR

    He said it was the best smallie fly ever.

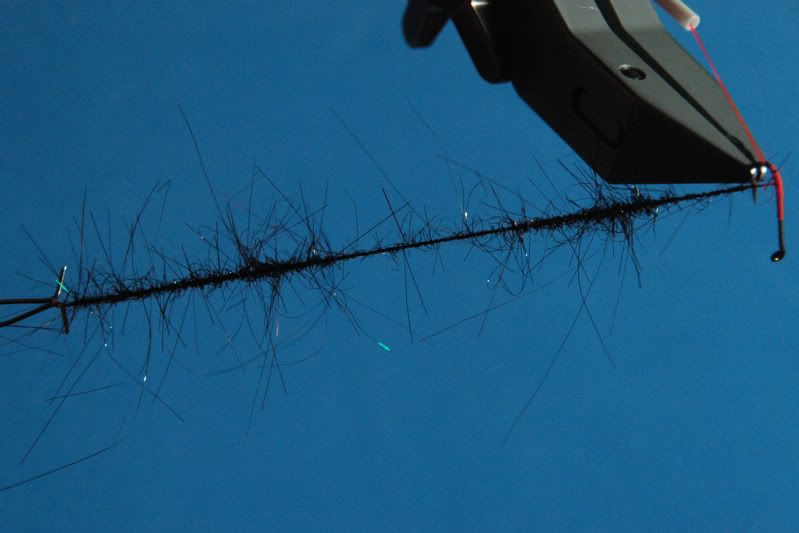
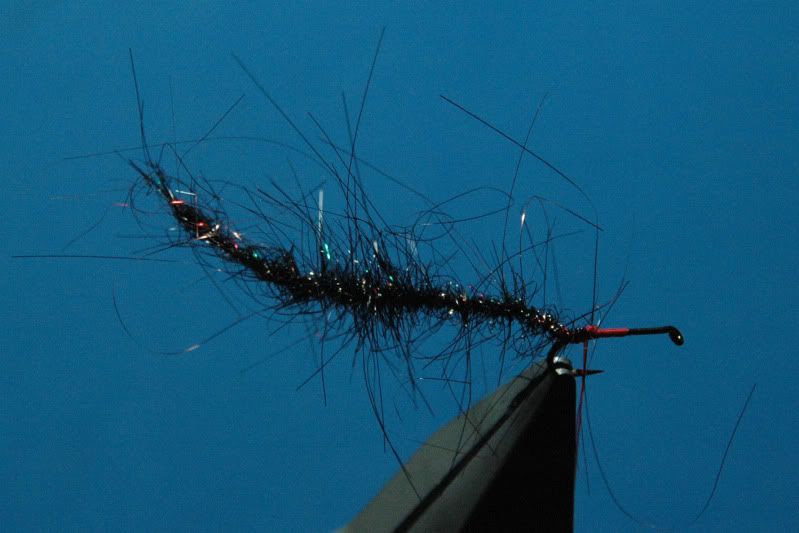
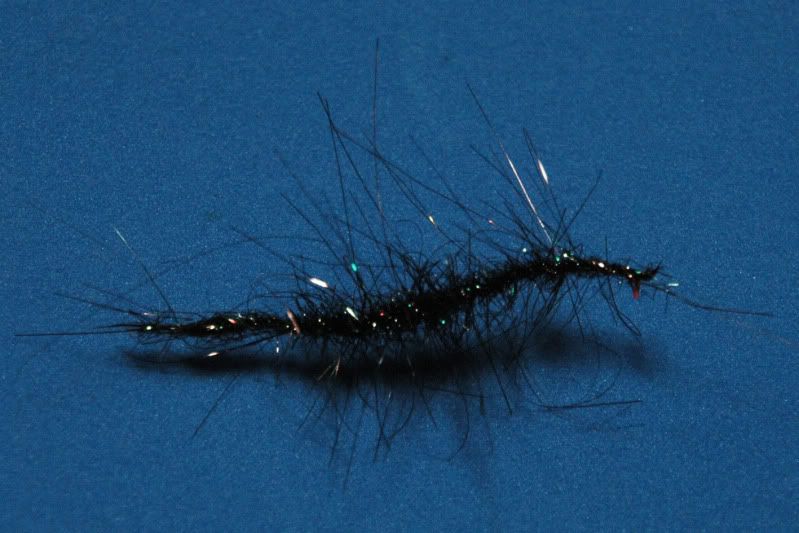
    He said he bought these because he could not figure out how to tie them. The tail is kinda articulated yarn with some type of wire reinforcing it. The freedom of the tail seems to be the secret.
    Any ideas on how to tie?

    Thanks
    "Fishermen are born honest, but they get over it"
    Ed Zern

  2. #2
    AlanB Guest

    Default

    It looks like a furled body. Fold a dubbing loop in half (Round your bodkin then remove once you have secured the end) after you have twisted it and it will twist up around itself. The dubbing looks like some kind of wool but I can't be sure. Let me see what I can come up with. You can make the dubbing loop from wire but it will not be as mobile.

  3. #3
    AlanB Guest

    Default

    Well I've had a go but its not the easiest thing to do while holding a camera. Video would be better but I don't have the facility.

    First put a hook in the vice. Any hook will do, the larger the easier it will be (up to a point). Start the thread, Make a dubbing loop about 3 times the length of body you want. (You can use a dubbing block if you have one. Donald posted a picture of one. Quite simple to make, but not essential).
    Make sure you take a turn of thread around the base of the loop to close it. Either whip finish or move your bobbin out of the way.

    Put your dubbing whirl into the loop. Then fill it with your dubbing. I'm not sure what dubbing the pattern you showed is. It is one that clags together. I've just used what I had to hand to demonstrate the technique.

    Spin your dubbing whirl (you can put your hackle pliers on the bottom if you don't have a dubbing whirl. That's how I originally learned)

    Fold the twisted loop around your bodkin and take the loose end back to the hook shank. Either whip it to the hook shank or take a few turns of undubbed loop around the shank.

    Remove your dubbing whirl then remove your bodkin. The folded loop will twist around itself to form a rope. If you are using wire to do this then you will have to "encourage" this to happen.

    Finally trim off the loop close to the hook shank. I've made this one quite small to be easier to photograph, you can make them as large as you like.

    Thats the tail, for the body do the same again and wrap it around the hook shank. Now all you need is the right dubbing.
    Cheers,
    A.

  4. #4
    Join Date
    Mar 2006
    Location
    Auckland, New Zealand
    Posts
    2,555

    Default

    You know, that really should be put in the Feature section as a tying tip/instruction. Thanks Alan.

    - Jeff
    Am fear a chailleas a chanain caillidh e a shaoghal. -

    He who loses his language loses his world.

  5. #5
    Join Date
    Aug 2010
    Location
    Piedmont, S.C.
    Posts
    191

    Default

    Very nice work. Thank you for sharing the tutorial.

    Ronnie

  6. #6
    Join Date
    Sep 2009
    Location
    shenandoah valley, va
    Posts
    638

    Default

    Thank you alan, I will give it a try....
    "Fishermen are born honest, but they get over it"
    Ed Zern

  7. #7

    Default

    Good job Alan and thanks for the tip. #1 tie small lead eyes on the hook near eye, leave about 1/8". #2 tie in some "mirage tinsel". #3 make dubbing loop with string AND tinsel approx 3X desired end length. #4 apply dubbing. (I used rabbit but I am possitive wool would work a LOT better, the rabbit is slick and pulls out some.) #5 twist dubbing loop, hold with bodkin in center and attach loose end. #6 assist the dubbing loop to furl. #7 pinch dubbing and twist approx every 1/4"

    This is what I came up with... well, everytime I try to upload the picture I get called a failure. I uploaded it to my facebook page http://www.facebook.com/pages/Phils-...03?ref=tn_tnmn you don't need facebook to see the pics. Hope this helps, I'm going to keep working on it... it's looks like something a fish would eat

  8. #8

    Default

    Alan,
    Great explanation and photos! Thanks for sharing and Best Regards....
    Exploring the waters of western Montana...

  9. #9
    Join Date
    Mar 2005
    Location
    Nashville, TN. USA
    Posts
    4,109
    Blog Entries
    1

    Default

    Alan,
    It looks like you already have about half of a Fly of the Week there.

    Ed

  10. #10
    AlanB Guest

    Default

    Yes but I don't have the dumbels for the rest. If it is FOTW you want I'm sure I can do something. Will message you.
    Cheers,
    A.
    p.s. Please clear some space in your inbox!!!
    Last edited by AlanB; 01-10-2012 at 04:24 AM.

+ Reply to Thread

Similar Threads

  1. Egg Sucking Mite
    By NJTroutbum in forum Fly Tying
    Replies: 2
    Last Post: 04-10-2015, 03:45 PM
  2. My Black Mite
    By Byron haugh in forum Fly Tying
    Replies: 9
    Last Post: 04-22-2012, 11:32 AM
  3. Mighty Mite
    By mathcarver in forum Warm water Forum
    Replies: 13
    Last Post: 02-28-2012, 11:02 PM
  4. Sandy Mite juice bug
    By DonO1 in forum Fly Tying
    Replies: 13
    Last Post: 08-03-2011, 04:34 PM

Posting Permissions

  • You may not post new threads
  • You may not post replies
  • You may not post attachments
  • You may not edit your posts