I wanted to try snowshoe rabbit foot for something other than
the well known flies out there that use it. This fly works great
for trout and bass.
Materials:
Hook: Bass Hook Special Use Tiemco, size 2/0-1.
Tail: Shammy (painted brown).
Body: Snowshoe rabbit (natural).
Ears: Shammy (painted brown).
Whiskers: Moose Mane.
Method:
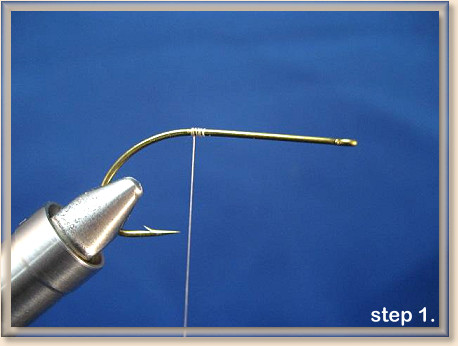
Step 1. Start the thread at the bend and wrap a few turns
to secure the thread. A lot of tiers would rough up the hook
before tying the tail. It’s really up to you. I personally don’t
think it matters. Just make sure you make a thread base so
the material doesn’t shift to one side.
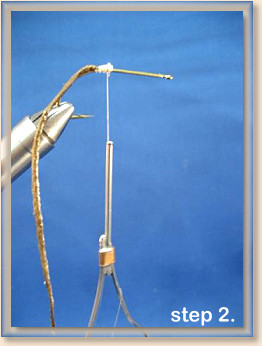
Step 2. After making a thread base you’ll tie in the tail. The rule
of thumb when measuring the length of the tail is two an a half times
the hook shank. I’m using a shammy you dry off your car with. I’m
sure you’ve seen them, they’re yellow. I color mine with a brown
prism color marker. How to cut the tail is start the cut larger to
small keeping it tapering all the way down. It doesn’t need to be
real wide so make note of that. When tying it in make sure you at
least tie in about an inch in length so I doesn’t slip out from a fishes
mouth.
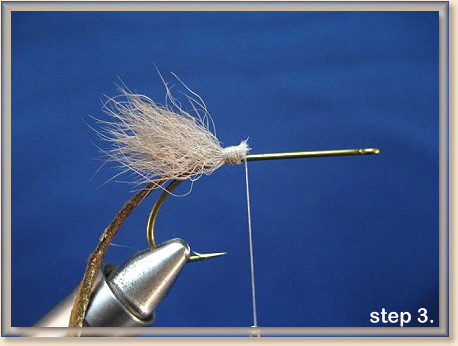
Step 3. Ok, your going to tie three clumps of snow shoe rabbit
for the tail. The one on the top will be a little more then on the
sides. When cutting this out from the rabbit foot make sure you
cut all the way down so you get the longest amount you can.
You’ll find that at the tip of the foot and a little ways down is
going to be the longest hair on the foot. Cut three clumps and
do like you would with deer hair, pull out any excess hair that
will create added bulk when tying this in. Tie the first clump on
the top on the hook shank. How you will measure the length is
kind of figuring out the good part of the hair and where the light
part ends at the ends where you cut it.
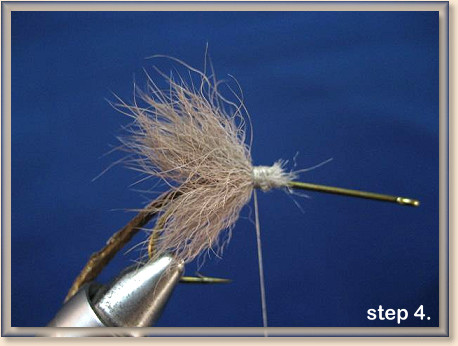
Step 4. Notice the amount of hair that is tied down on the
hook shank. When tying the tail in, don’t go crazy with thread
wraps everytime you tie in a clump because you will have too
much build. After you tie in the other two clumps then you can
make enough thread wraps to secure everything in. After you’re
finish go ahead and add some glue to hold it together. I tie the
first clump to the side facing me, then do the opposite side.
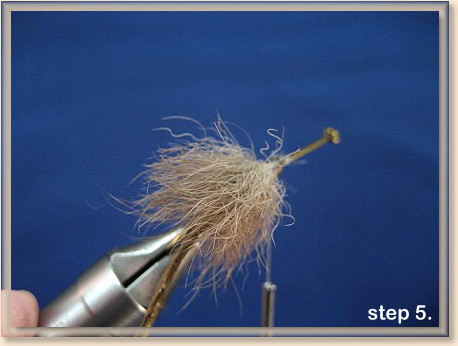
Showing you the top profile.
Step 5. Take some closed cell foam and cut a length about
four inches. When making the cut you don’t want it to be too
wide because you’re going to wrap around the shank like you
would thread once you tie it in.
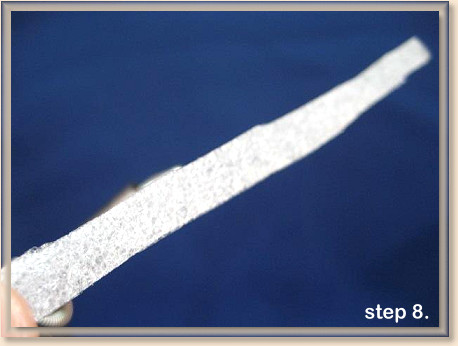
This is about the width you need.

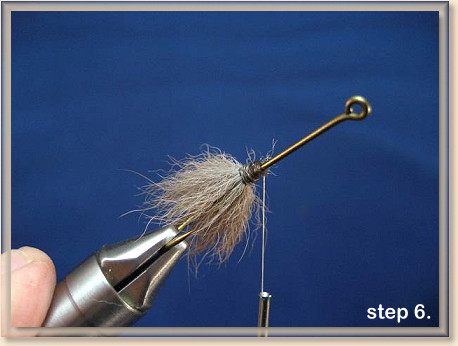
Step 6. Advance your thread about three thirds up the
length of the hook shank. This is a reference point where
the ears will be tied in. At one end of the foam cut an angle
and tie it in with the point is facing towards the eye of the
hook.
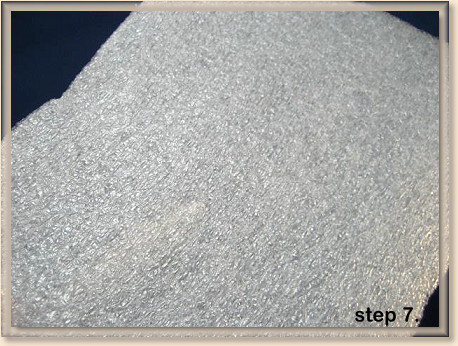
Step 7. Wrap the foam back until you meet up with
the tail and back up where you tied it in at. Cut the
excess off if you have any.
Step 8. Tie over the foam keeping the wraps side by side
so you secure the foam close to the hook shank. You don’t
want to leave any spaces of foam sticking out because of
the hair that needs to be tied all the way up the hook shank.
You need an even base to accomplish this right.
Step 9. You’ll need to prep the hair before putting it in
the dubbing loop. Cut five clumps of hair and pull any
excess out of the bottom where you made the cut. Make
a dubbing loop long enough to put five clumps of hair in.
When you add the clumps make sure you keep the hair
out on one end and none on the other end of the loop.
What I mean by that is you don’t want to put the clump
in the loop where the hair is in the center. Remember you
need long hair to make the mouse look right. Another thing
you can do is cut any hair that is sticking out the other side.
You really don’t want to do this if you don’t have to. This
might force the hair to shift and fall out of the dubbing loop.
The key is to put it in there correctly the first time you out it
in the loop.
If you notice how I have mine, you can see the hair needs
to be cut on one end. What I do is once I get the hair in the
loop and close it, I push with my finger on the end that needs
to be closest to the thread loop.

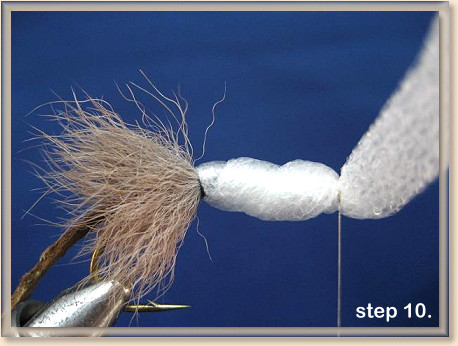
Step 10. Now make a dubbing loop and wind to the back
where you tied in the tail. Cut five clumps of hair off the rabbit.
The best place to do this is at the front of the foot. That’s the
longest part of the hair which you need to make the mouse
look right. You’ll also need to prep the hair before putting it
inside the loop. How you do that is the same way you did
with the hair before tying in the tail. Any little baby hairs or
excess hair needs to be pulled out. It’s the same way you
would do deer hair. Grab the tips and pull the ends with the
other hand. Once you’ve prepped all five clumps then add
them to the loop. Notice in the picture how I did mine. You
can see on the right side the hair is shorter than the left side.
The next thing you want to do is after you have it in the loop
and closed is cut the ends close to the thread. The key is not
to have hair on one side of the loop. Make sure you get enough
in the loop or you’ll be doing another dubbing loop. You’ll stop
right where you tied in the close cell foam. That’s really important
because of the proportion of the fly. That is where the ears will be
tied in so don’t go past that point. Now wrap it up, but everytime
you do this you’ll have to pull the hair back to force it to lay back
after each wrap.
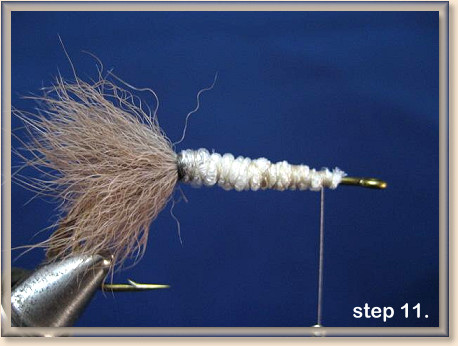
Step 11. Cut a square out in the shammy. Next thing you’ll
do is on the folded side you will start the cut there. You’ll do
a circle and come back to the fold and meet back up with just
a small amount of the fold still together. The goal is to make a
circle, but not cut it to where you have two individual circles.
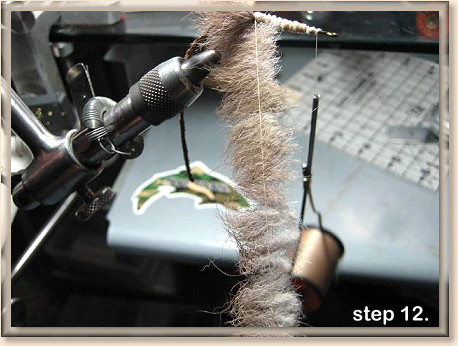
Step 12. Notice how I prepped the ears together. I use tear
mender and put a small dot in the middle where the fold is and
fold the ears together. After you’ve done that you can tie them
in like you would when tying in dumbbell eyes or any eye that
has a post in the center. Make two figure eights around the
center where you made the fold. Make sure you butt them up
to the hair. After you’ve tied them in make a few turns behind
and in front of them to lock them in place.
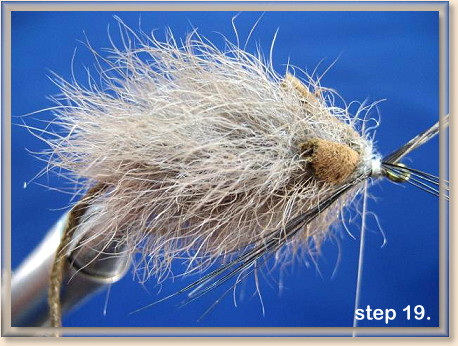
Step 13. Now make another dubbing loop and put another
clump in. Depending on the amount of hair you might want to
add two. Remember that you still have another clump that will
be tied in at the front after you tie in the whiskers. This clump
will be shorter than the body so make your cut in the middle of
the foot. You’ll notice the hair gets shorter going the opposite
way from the foot. If you find it to be too long you might want
to trim it to shape. Notice mine in the picture. You will also notice
that I’m right at the eye with the hair. Push it back a little bit (pack
it back) so you’ll have room for the whiskers.
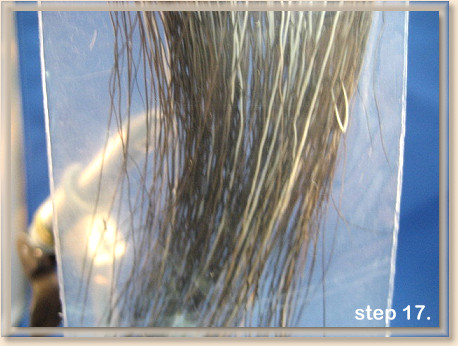
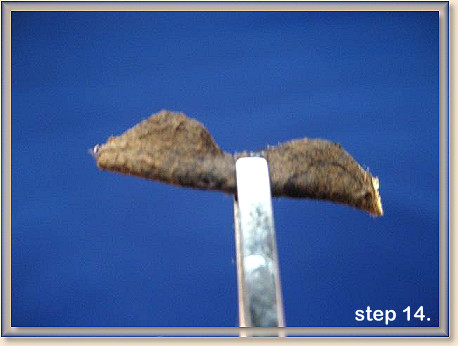
I like using moose mane for the whiskers.
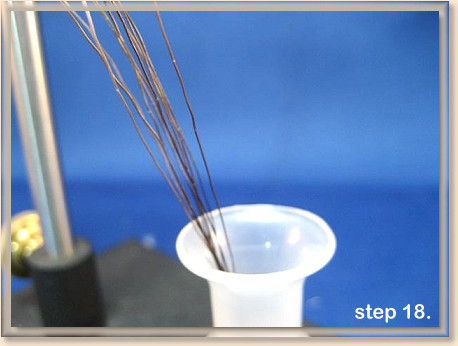
Step 14. Even the tips using a hair stacker.
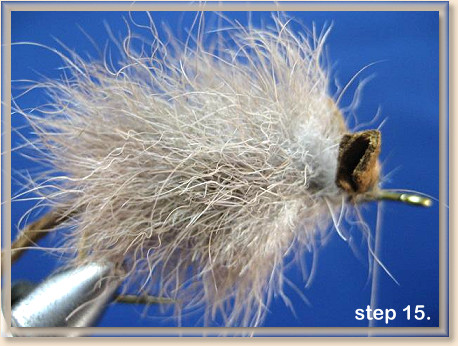
Step 15. Tie in about six strands of moose mane on each side.
I like mine to be a little longer than the norm. Tie both in before
cutting the excess off.
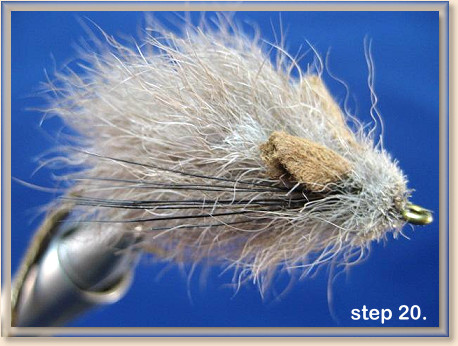
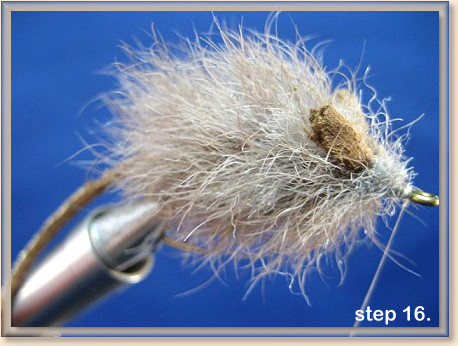
Step 16. The last step is one more dubbing loop. I know by
now you’re probably saying why can’t I dub this on the thread.
Well my answer is, I’ve tried that and it doesn’t look the same,
trust me. You’ll only need one clump and it needs to be shorter
than all the rest. After you’ve tied it in then you’ll probably make
some cuts to make a little face in front of the whiskers. I start at
the hook eye and make cuts at an angle. Whip finish the fly and
add some glue and you have the best mouse pattern I’ve ever
dished. ~ David Mergendahl
For more great flies, check out: and
Originally published July 27, 2008 on Fly Anglers Online by David Mergendahl.