About a week or so ago I was in my local fly shop talking
with John, who works there on the weekends. John knows
I like to fish wee wets, especially North Country Spiders.
He thought that I should try tying a spider that, well,
represented an actual spider rather than a spider that
represented an emerging or drowned fly.
The week prior I had attended the fly tying exhibition that
was being held at the same shop. One of the fellows
demonstrated his pattern of a large spider, tied with legs
made from trimmed furnace hackle and a wing case, or
body cover, of turkey quill. The “body cover” really helped
make the profile. That pattern, however, is tied quite large
(the legs are 2 or 3 inches across).
From the same shop I had ordered a starling skin. A few
years back my fly tying kit was stolen out of my car and in
it, among other things of course, was a starling skin. It was
the only one I had ever seen for sale here in New Zealand.
The shop ordered in half a dozen, and I asked them to save
me one. I kept a close eye on when they arrived.
Anyway, these 3 events all came together at the right time. I
had my starling skin for soft hackles, I had just watched a
demonstration of a real spider pattern, and then John suggested
I tie a NC spider as a spider (a spider – spider). Since John
suggested this to me, I call the resulting pattern “John’s Spider Spider”.
I’ve not had a chance to fish this yet, but I suspect it would do
well fished along a grassy bank when there’s a bit of a breeze
that might blow a few of the naturals into the water. It should do
well whenever the fish are feeding on terrestrials like spiders, beetles,
or ants.
Materials:
Hook: Size 12 (size to suit of course)
Thread: Black.
Abdomen: Black dubbing (wool or seal’s fur).
Wing case: Hen pheasant quill fibers.
Hackle: Starling body feather.
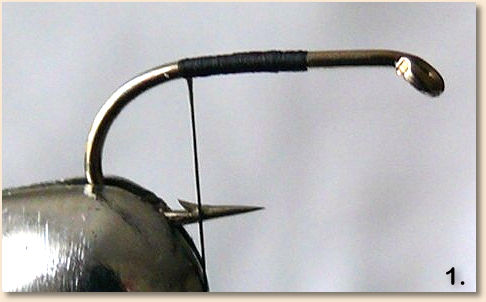
Step 1: Tie on the thread making a smooth underbody. Leave the front
portion of the shank bare. The reason for this is that we want to
create a nice fat abdomen but we want the body quite small in
proportion. So, to avoid any build up of excess bulk, we start
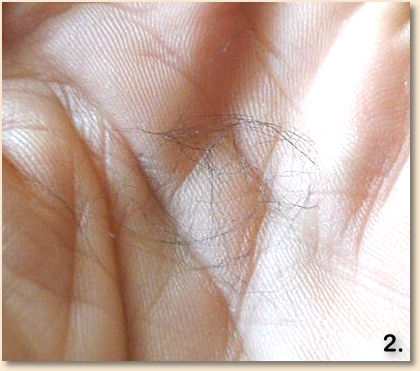
off leaving this area empty.Step 2: Now we’re going to build up the abdomen. It is made out black
acrylic yarn which has been pulled apart into dubbing fibres. You
know how in most fly tying books you read the advice of “take as
much dubbing as you think you will need, throw out half, and that’s
probably about right”? Well, for most people starting to tie, it’s
probably still way too much. Below is the amount of material I’ll
use for the first pass. And, if I weren’t building a fat ball, this would
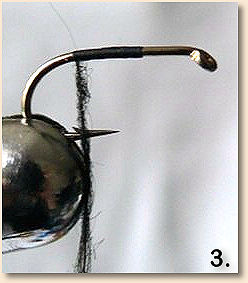
be enough to dub the abdomen of a nymph on this size 12 hook:Here’s the amount of thread this whiff of dubbing will cover:
And here it is turned onto the hook:
That would be just about enough for the start of a black nymph body.
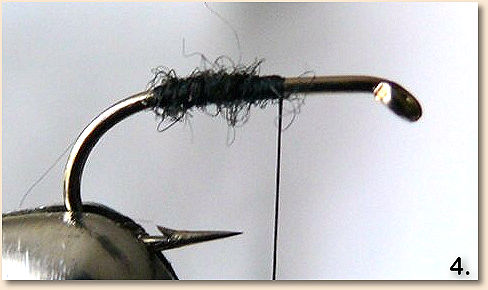
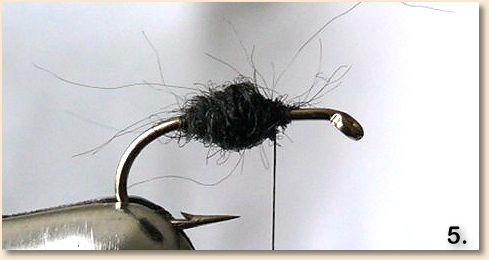
Step 3: Now, repeat this by adding about the same amount of dubbing
then wrapping back. Keep adding small amounts and layers so
you can build up and shape the abdomen of a spider:The reason I suggest building this up in layers rather than in one go
with a big fat ball of dubbing is because by doing this in layers it
should hold together a bit better. One big fat ball will, I suspect,
just get pulled apart once a trout gets it’s teeth on it. Hopefully
the multiple thread wraps, with smaller amount of fiber per wrap,
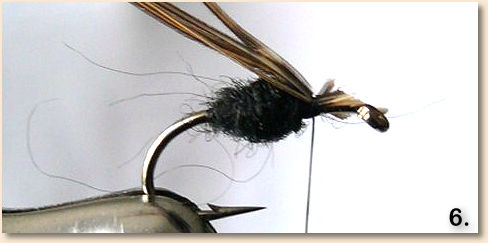
will hold together a bit more. That’s the theory anyway.Step 4: Tie in a small slip from a hen pheasant quill. This will get
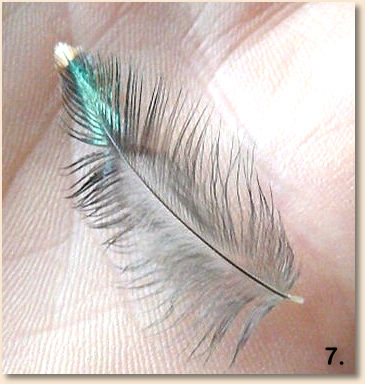
tied onto the bare front section of the hook.Step 5:
Select a body feather from a starling. Although any small dark
soft hackle type feather will do I like starling feathers and the
“sheen” that’s on them mixed with the dusty dun section as well.
The white dot at the tip will, on some feathers, give you white tips
to the hackles as well:Step 6: Tie this in by the tip just in front of the “wing case” and
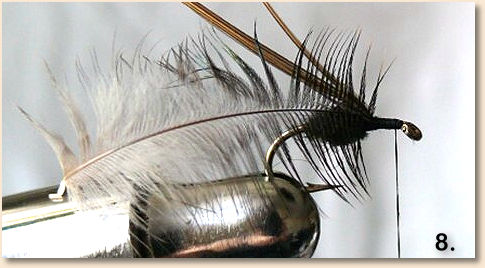
bring the thread forward.Step 7: Palmer the feather forward. This was four wraps of the starling feather.
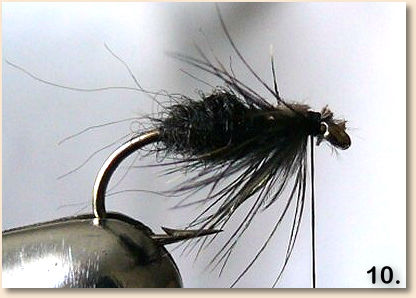
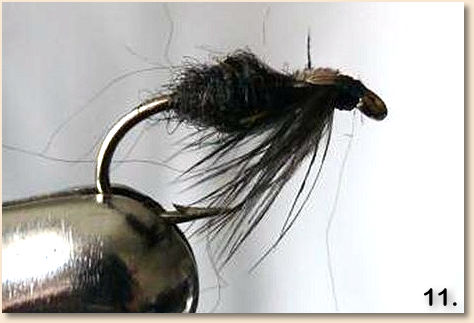
Step 8: Pull the hackles down under the shank and pull the wing
case down and tie in. Trim off the excess quill fibers.Step 9: Form a small neat head, trim the thread, and cement.
I’ve tied a few of these now, some in brown using fox squirrel
guard hairs for dubbing, and some in claret seal’s fur. I’ll be
interested to see how well they hold up to the fish, and just to
getting wet and cast about. Tight lines! ~ JHFor more great flies, check out: and

Originally published July 14, 2008 on Fly Anglers Online by Jeffery Hamm.