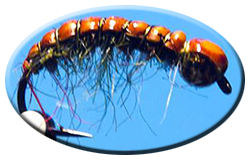
EZ-PZ CZECH NYMPHS
Since the Czech took the Rivers World Championship by storm many of us have had a go at the techniques and flies that they used. Most of us have not refined the techniques to the level of winning world championships. Some have rejected the technique as not fly fishing. To me it is just another tool in the box. Something to be used when needed.
There have also been lots of variations of the flies they used. This isn't a variation in that sense. It is a fresh look at how to tie them, with a little thinking outside the box.
One thing in the recent history of Czech Nymphs that causes me some amusement is that when he first saw them, my friend, Oliver Edwards couldn't work out how the pearl tinsel had been incorporated into the fly. He then started to tie his Czech nymphs with two ribs; one rib of pearl tinsel under the shell back, and another of wire over the shell back. This wasn't how the pearl tinsel was originally included, but if you take time to look at the Czech Nymphing sites it has now taken over as the recognised method. I suspect to keep the original method secret.
Anyway I digress. This is a method for producing Czech Nymphs quickly and easily. I have varied from the original tying in that I have included a gold bead. You don't have to. Simply leave it off if you don't want it, and continue the dubbing to the eye.
Working around the shell back is a little fiddly at first, but once you get used to this, this method will enable you to tie these nymphs very quickly.
Materials:
- Hook: Grub or Czech Nymph hook, basically any curved shank hook you like.
- Thread: Well yes you will need some! Use whatever you like.
- Shell back: It wouldn't be a Czech Nymph without one. Use whatever you like. I've used Nymph Skin for the best of reasons –it was to hand.
- Head: Bead if you want one. None if you don't.
- Weight: Lead wire or foil or substitute. (If you use self adhesive foil it is easier to work with if you wind it adhesive side outward)
- Rib: Wire. If you like you can put in a rib under the shell back of pearl tinsel.
- Body: Dubbing! Whatever mix you like. Put some sparkly stuff in with it.
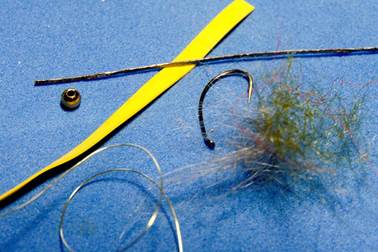
Here are the materials I used.
- Hook: Kamasan B100, Size 10
- 3mm Nymph Skin
- 4mm Gold Bead\
- Lead Foil
- Gold Wire
- Seal's Fur
If you are including a bead put it on the hook, but leave it away from the eye of the hook. Start the thread behind the eye.
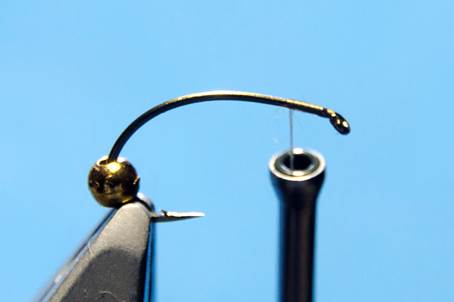
If you are including a bead put it on the hook but leave it away from the eye. Start the thread behind the eye.
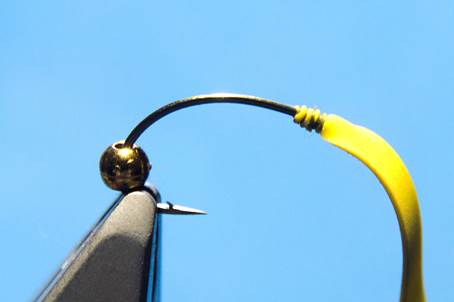
Tie on the shell back hanging forward of the eye. Try to get it to wrap around the hook shank. Whip finish and remove the thread
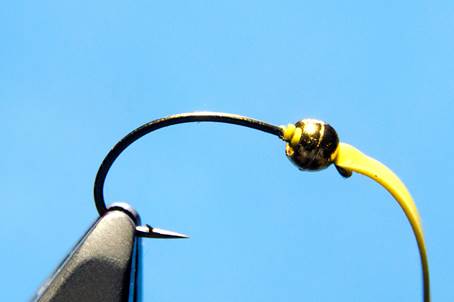
The bead that you may, or may not have, is now slipped over the shell back where it is tied in
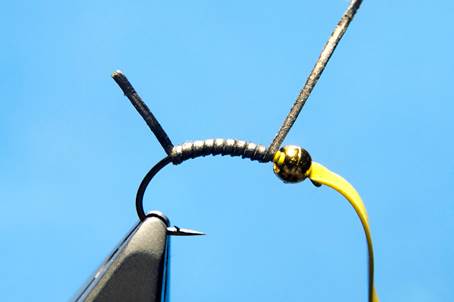
Weight the hook shank
Trim off the excess lead or whatever you use and start the thread at the bend and tie in the rib

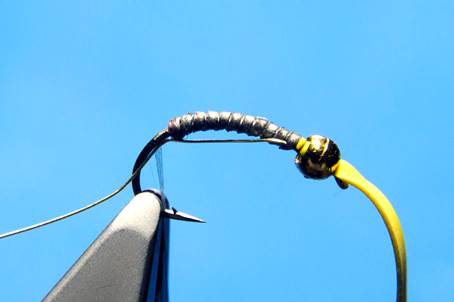
Whack some dubbing on and wind back to the bead. This is difficult to do if you haven't included the bead so wind it to the eye. Whip finish and trim out the thread
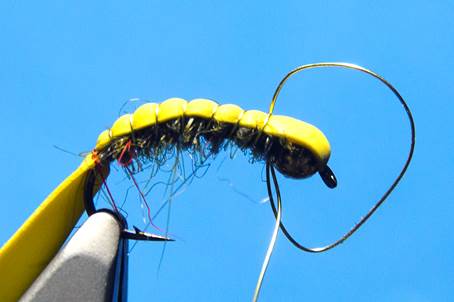
Pull the shell back over the body, and secure it with the rib. I make two turns right at the back of the body then continue the rib normally up to the bead or eye. Make a couple of half hitches to secure the wire

Worry off the excess wire and trim out the shell back
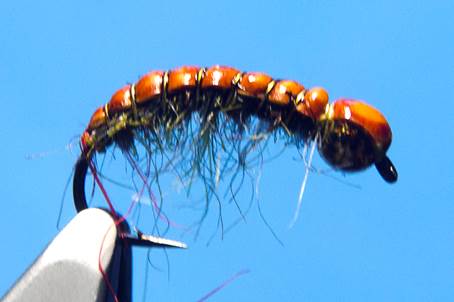
And that's basically it. You can colour the shell back if you like
These are not superbly neat flies, but they are quick and you will not mind too much when you loose them on the bottom. If you are fishing these properly you will need a good supply. You will loose plenty to the river bed.
Be creative with this. My example here is just that. This isn't a fly for you to copy; it's a technique to use on your flies.
Something occurred to me some years ago. Beads are more or less spherical. If you shine a light at a sphere the reflection will always be the same whichever way you turn it. That means light reflected from a bead will be constant. When your attention is needed for something, say a fire engine, they put a flashing light on it, not a constant one. I want the fish's attention to my flies. Therefore I like to cover part of a bead so that it flashes as it tumbles in the current.
For more great info, check out:
Beginning Fly Tying | Intermediate Fly Tying | Advanced Fly Tying.