
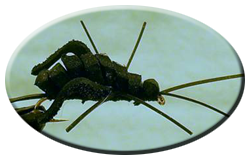
MORMON CRICKET
I thought I had seen a pattern similar to this before, but I couldn't find it online, so I may have just dreamed it. Anyway, I was playing around at the bench try to find a way to make decent-looking large-bodied bugs like katydids and humpbacked crickets. I got the ideas from roof shingles. This is an easy tie.
Materials:
- Hook: Cabela's Model 40 sz. 8
- Thread: Black 6/0 Unithread
- Legs, Ovipositors and Antennae: Black Silli Legs
- Body: Black 3mm Foam, shingled
- Rear Legs: Small 1mm foam hopper legs, cut with River Roads Cutter
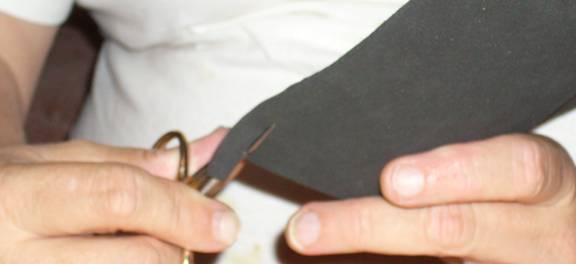
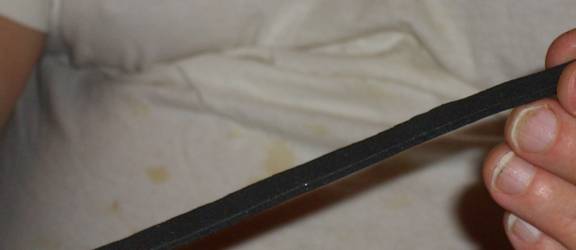
Step One: You need a little preparation before you start. First, cut a ½" strip of 3" black foam (or green or whatever color you want).
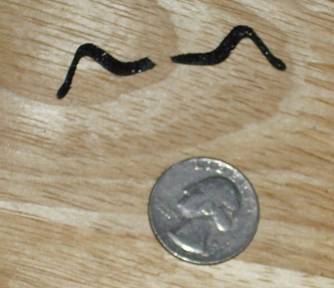
Step Two: Next, prepare the legs. Fold a length of Silli Legs in half and cut them. These will be the ovipositors and antennae. Fold another pair in half and cut them, then fold and cut once more. These will be the front legs.

Step Three: Cut out the hopper legs. I use a River Roads cutter, but you can also cut them free-hand, or use knotted feathers.
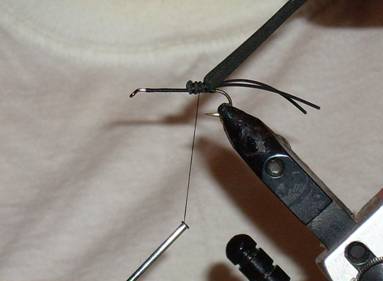
Step Four: Prepare the hook as normal, by placing it in the vise, brushing it with head cement, and wrapping a base layer of thread on it. Double one of the long pieces of Silli Legs and tie it by the looped end on to the rear of the hook shank. This is the ovipositors. (Omit if tying a male cricket) Now, Take the strip of foam, and tie the end down to the rear of the hook.
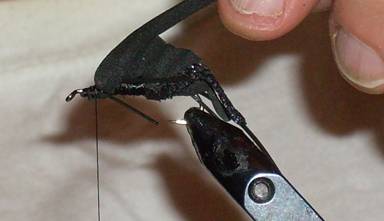
Step Five: Trim the 'shingle' to length. Don't worry about being precise at this point, because we will do final trimming and shaping.
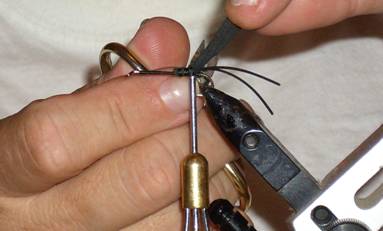
Step Six: Continue with the next shingle.

Continue with 3rd shingle….
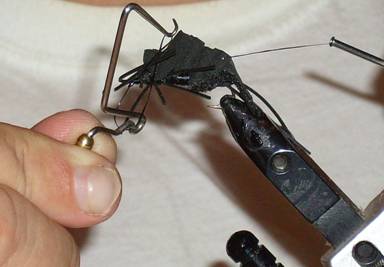
Step Seven: Attach Rear Hopper Legs. These are cut hopper legs, but you can also cut them free-hand, or use a knotted black neck hackle feather.
Step Eight: Continue with next shingle.
Step Nine: Attach front legs.
Continue with shingles.
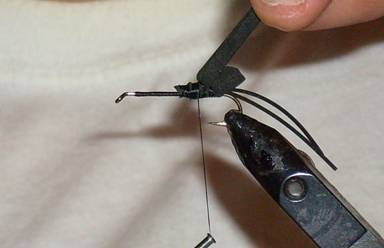
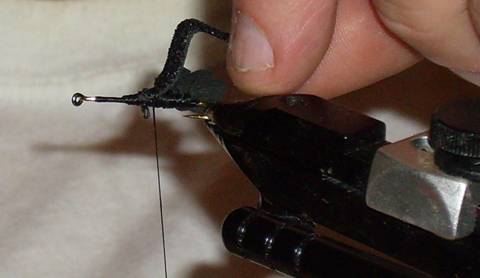
Step Ten: On the last shingle, you want a long tag end to double-over for a head and collar.
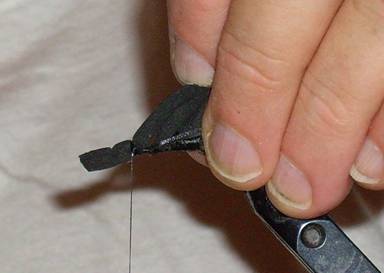
Step Eleven: After clipping the shingle, fold the tag-end over and make a head and collar with a few tight wraps of thread.
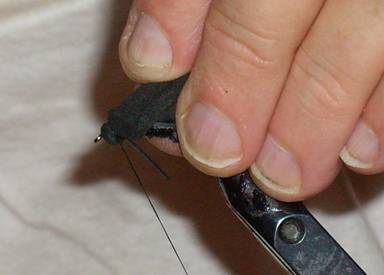
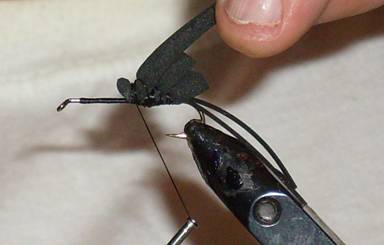
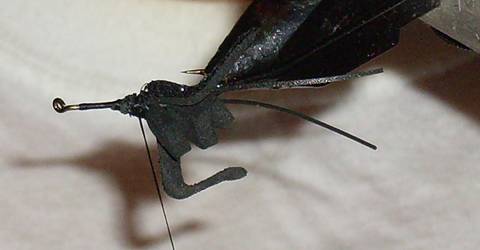
Step Twelve: Tie on the last long piece of Silli Legs to form the antennae, just like the ovipiositors, and then, whip-finish.
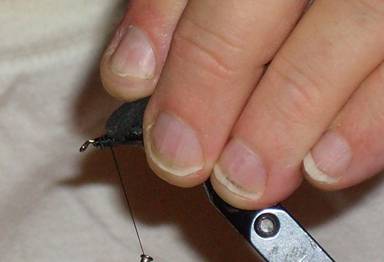
Step Twelve: Apply head cement to all exposed wraps (including the bottom of the hook shank), and do final trimming and shaping.

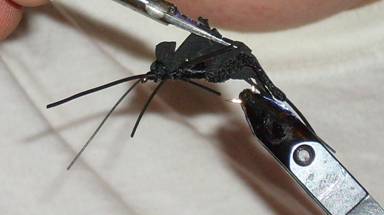
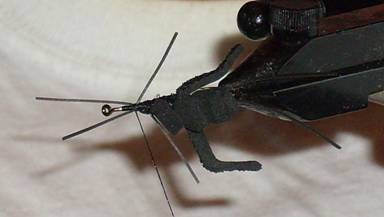
At this time, you can use markers to color and mark the bug any way you want.
……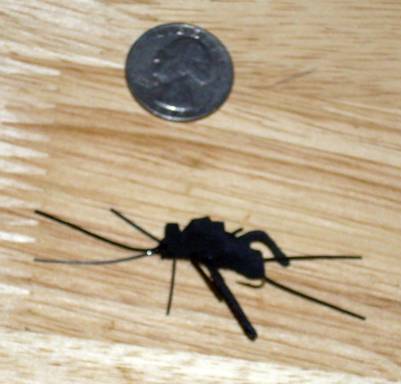
The completed bug
About the Author: Rev. Dr. Joel C. Brothers, aka Gigmaster, is an ordained minister, a Doctor of Naturopathy (ND), a free-lance writer, and professional musician. He is an avid outdoorsman, bicyclist, and plays 10 musical instruments. He writes regularly for several national publications.
For more great info, check out:
Beginning Fly Tying | Intermediate Fly Tying | Advanced Fly Tying.