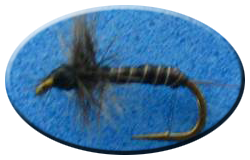
THE DJG MIDGE
I first started tying this pattern quite a few years ago. I just happened to come up with it during a trip to Bennet Spring State Park with my brother. There was a midge hatch coming off the water. I caught one out of the air to have a look. I didn’t have anything quite that small, so on our lunch break I bought a box of size 24 Mustad hooks and tried to come up with something that looked similar to the midge I’d caught. It took several tries, but I had a winner before lunch was over. I’ve been fishing them ever since.
Materials:
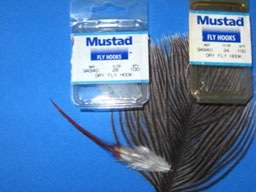
Hook: This pattern can be tied effectively on hook sizes 22-28.
Tail: Single strand of like colored feather
Body: Stripped ostrich herl
Hackle: Ostrich herl from the same quill.
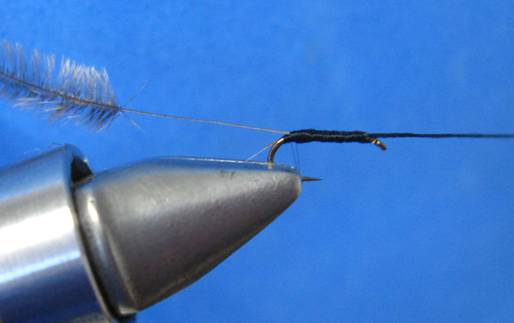
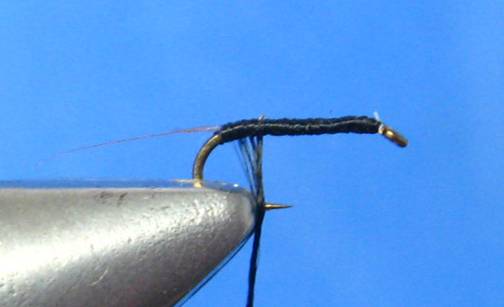 Step 1: Wrap thread from just behind the eye to the bend.
Tie in the single strand of feather for the tail with only one or two wraps.
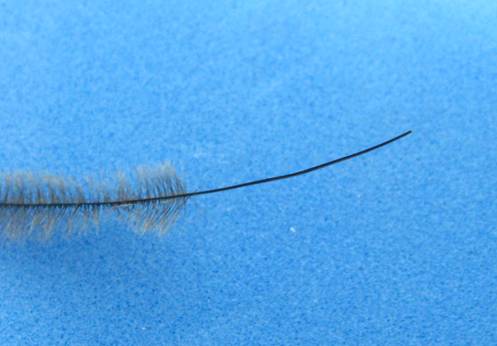 Step 2: Strip both sides of the ostrich herl for about ¾ of an inch up from the base of the herl
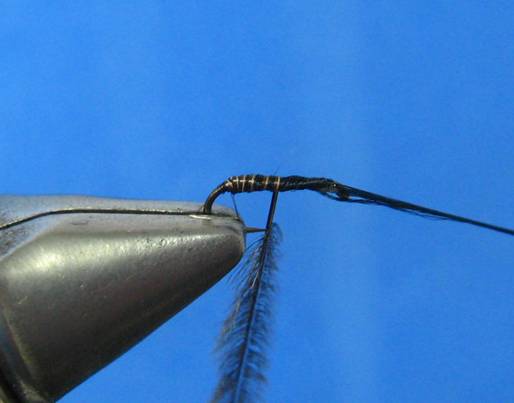
 Step 3: Tie in the stripped end of the ostrich herl and wrap the thread back to the eye of the hook.
 Step 4: Wrap the herl up the shank of the hook. The quill should be wrapped evenly, and it will leave a very nice ribbed effect. You should get into the unstripped portion of the herl before you get to the eye of the hook. Take two or three more wraps with the unstripped portion of the herl to form the hackle.
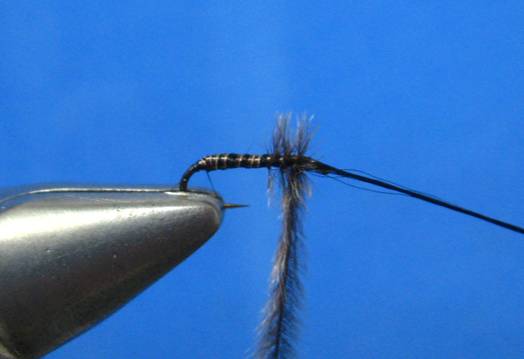
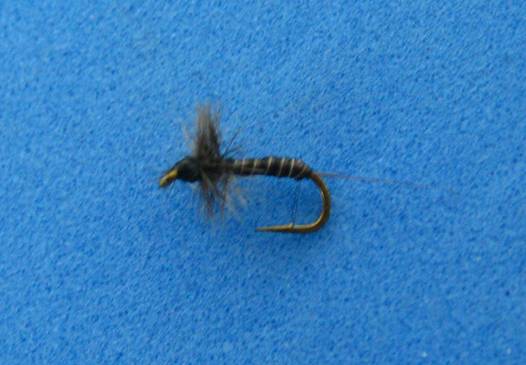 Step 5: Tie off the herl with 2 wraps, trim the excess and whip finish with 2 wraps.
Note: It will take you a few attempts to know how much herl to strip for the abdomen, but once you get the hang of it, you will have some very effective midge patterns that are easy to tie. I tie mine up in several colors; olive, ginger, white, and dark brown. This fly was tied on a size 20 Mustad dry fly hook for ease of demonstration.
For more great info, check out:
Beginning Fly Tying | Intermediate Fly Tying | Advanced Fly Tying.