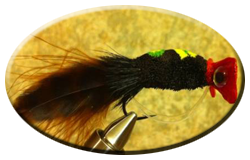
BASS BUG
The beauty of the bass bug is its open to what the tier wants to use. You can use Rabbit Zonker for the tail or palmer hackle for the skirt. It’s up to you. Also the shape can be a diver, a popper, ECT. Use your imagination. These flies are so much fun to create. ENJOY!
Materials:
- Thread: UTC waxed 140 (Olive) & Roman Moser Power Silk 3/0XXX (Grey)
- Hook: Stinger Type I used the Gamakatsu B10S size 2
- Tail: Blood Quill Marabou (Brown) Flanked by 4 Hen Saddle Grizzly (Brown) splayed out 2 on each side.
- Skirt: Deer Body Hair (Black)
- Body: Internal Rattle (Mini), Deer Body Hair (Black,Yellow,Green,and Red)
- Head: Deer Body Hair (Red) Finished with Sally Hansen Hard as Nails.
- Guard: 30lb Mono w Two Brass, or Glass Beads
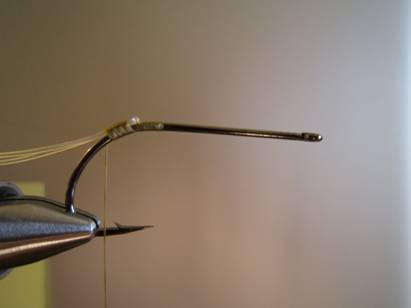 Attach thread at the point and work back towards the bend of the hook. Cut approximately 10 inches of mono, fold in half and tie in the loop at the beginning of the bend of the hook.

Wrap the thread down and back several times to adhere the weed guard, and apply some extra thick Maxi-Cure super glue. Make sure mono is attached on top of the hook shank, right at the bend. The higher up on the bend of the hook you attach the mono the better. The reason for that is this weed guard is going to be pulled so the angler can choose between a weed guard or no weed guard.
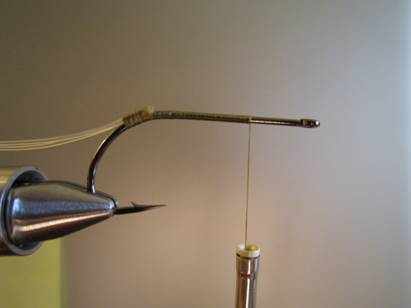 I pre measure my rattle by placing it on the hook shank. Then I run my thread up the hook.
 Wrap back and forth along the rattle several times to lock in the rattle. Bring your thread forward of the rattle and whip finish so you can change threads. You can tie the whole fly with Power Silk but the thread is pricey so I opt to use UTC for these steps. Now cover rattle with a thin layer of Super Glue.
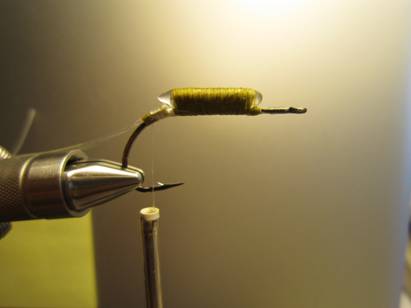 Attach Power Silk behind the rattle and build up a thread base.
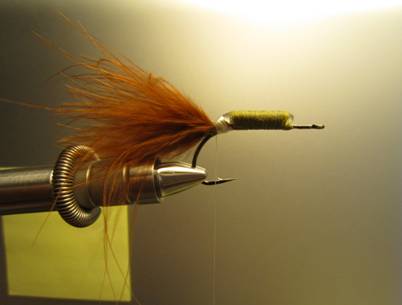 Tie in Marabou.
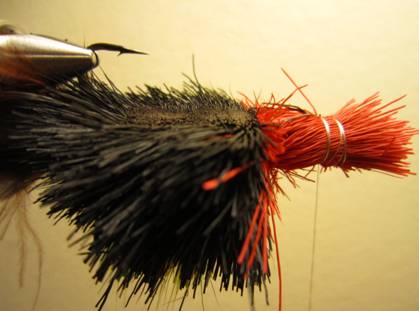
 Tie in Hen feathers and build your thread up at the back of the rattle, apply Super Glue to thread. This will keep your skirt from sliding off the rattle when you flare the deer hair.
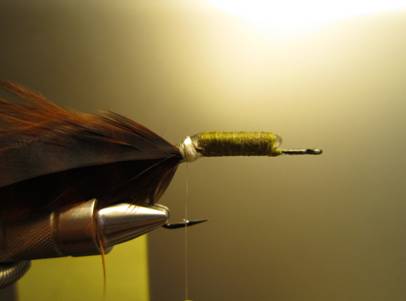
 Cut a clump of deer hair roughly two pencile sizes, clean. Place tips in packer and allign tips. Measure out how long you want your skirt to be and cut off excess hair. Place the hair on the side of the hook shank. Place two loose wraps on the hair and as you pull allow the hair to wrap the rattle on one side. Repeat for the other side. Remember the clumps are placed on the sides not on top and bottom.
 Example View
Now the fun begins!!
 Take a clump of black hair about the size of a sharpie pen. Place the clump inline with the shank on the bottom of the hook shank. Place two loose wraps around and pull straight down to get the hair to flair (hook is inverted). Add a third wrap once your hair is flared. (Step not shown.)
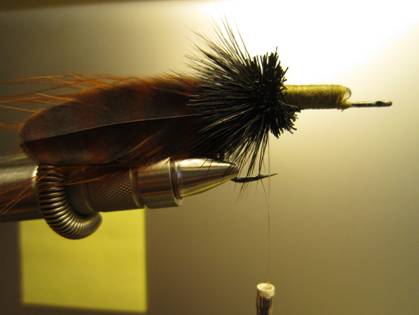
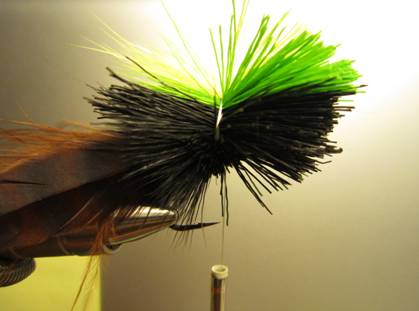
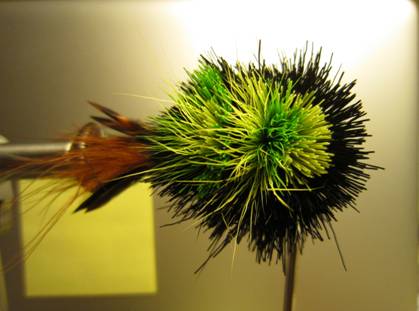
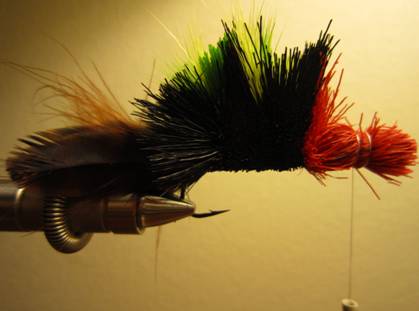
(Step Shown) Now repeat for the top of the hook.Place Sharpie sized black clump inline. Place two loose wraps. This time add some color in smaller size clumps. If you add a lot of color make your clumps progressivly smaller as you change colors. Each color only needs one wrap.
When all your color is set. Support the fly in the vise and pull thread straight down.
 Example View
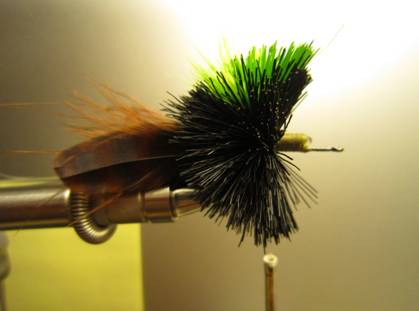 Once your hair is flared. Brush it back with your fingers and place a few wraps in front. Use your fingers to compress the hair and then add some super glue.
 Repeat steps. Try to put the bottom clump on before you do the top with colors. If you do the colors first on top the extra raps needed to tie in the bottom hair may mix your colors, or pull them off center when you flare the hair on the bottom of hook shank.
Remember to pack that hair tight and super glue each section!!
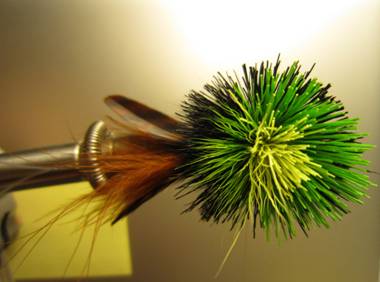
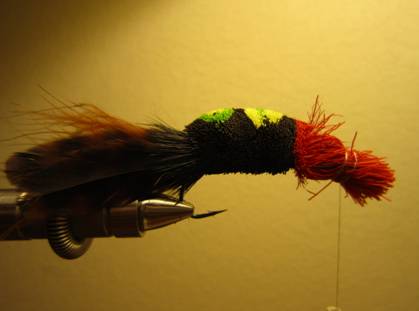
 Top View
Once you fully cover the rattle with stacked hair I’ll SPIN a pencil size clump of hair on the hook shank.
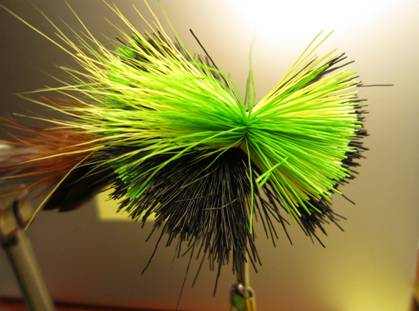
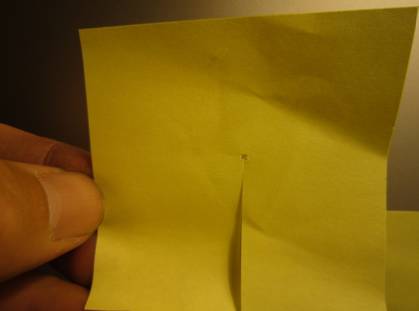
At this point there is a huge ball of hair. I like to have nice breaks in my Horizontal transition colors so I use a piece of note pad.
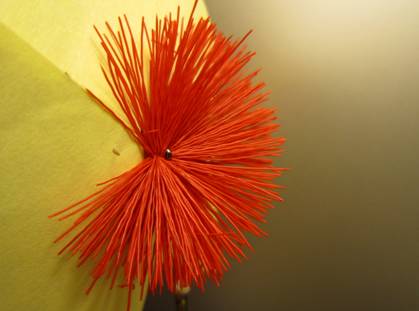 Now take pencil size clumps with the tips facing the hook and stack top and bottom. The reason for tips towards the hook is because the root of the hair makes a better popper mouth.
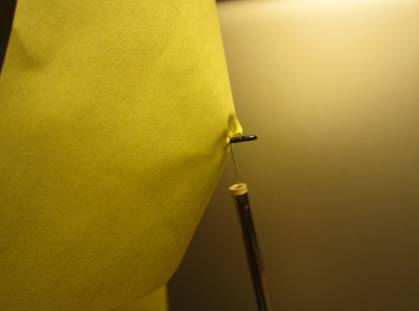
 Use the same note pad technique to put 10 or so wraps of thread behind the hook eye.
 Time to shape:
Separate the red hair with a few wraps of thread. Use a Razor to first flatten the bottom of the fly.
 Next cut the sides of the fly
 With a two bladed razor cut the top of the fly.
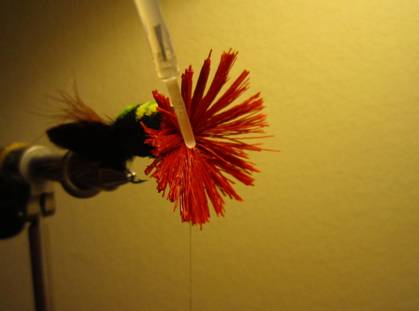 Unwrap your thread to release the hair for the popper mouth. Now add Hard as Nails to the hair.
 With a gloved hand work the nail polish into the hair and shape as it starts to dry.
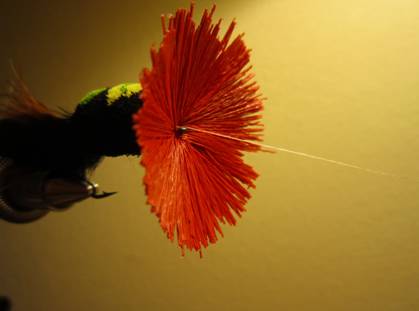
 Once dry cut the mouth out whatever shape you see fit to push water.
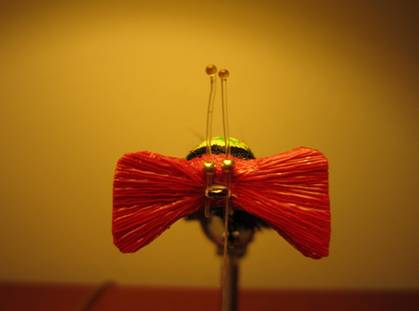
I cut out a bow tie pattern on this fly. Then add several coats of nail hardener.
 Tie in mono just behind the hook eye.
 Adjust Mono so you have the size weed guard you desire. Next mark the mono at the hook eye where beads will be when weedless. Pull the mono at the hook eye to allow space to cut and burn the mono to length .Place beads onto mono and cut above marks. Burn the mono with a lighter and you are done with the weed guard. Tie several half hitches to tie off thread and add some polish to finish it off.
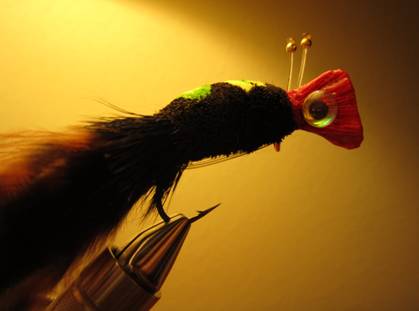
 Weedless
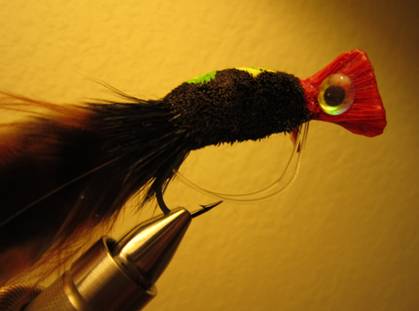
 Not Weedless
Add Eyes on the popper head or on the side of the fly, your call. I use a tool to go from Not weedless to weedless to save my fingers from the hook point.
Thanks for looking!
For more great info, check out:
Beginning Fly Tying | Intermediate Fly Tying | Advanced Fly Tying.