
The Crease Fly

This is one of my favorite patterns for Smallmouth, Largemouth, Striped, and White Bass. It has never failed me, yet. Strikes on this fly are sudden, and savage, with fish sometimes coming clear out of the water. Fish it just like you would a Chugger, or any other ‘popper’.
The Crease Fly was invented by Capt. Joe Blados of Greenport, NY. Originally intended for salt-water fish, it has been modified by many tyers (including myself) to be able to catch fish just about anywhere, in fresh, or salt-water, warm or cold.
Using Prismacolor markers, this pattern can be shaped, sized, and colored to match just about any fish in the world. The only real ‘trick’ to this fly is that you need to have the seam on the bottom as close as possible to the hook shank, with as much foam as possible above the shank, so it will float upright. I have messed a few up while learning to tie these, and they floated on their side, because I set the body to low to the shank. But I was a lot more concerned about it than the fish were. I still have them, and they still catch fish, as good as the ‘correct’ ones. But it does bother my sense of aesthetics, so I try to tie them correctly.
Just for demonstration, I am tying this one as a baby Rainbow Trout.
Materials:
- Hook: Any size, preferably a wide-gap. Here I am using a Cabelas Model 40 size 6.
- Thread: Any color or size. I am using 3/0 black Uni-Thread.
- Tail: Marabou, Bucktail, Rubber Skirting, or anything you want to use, in any color combination. I am using Renegade Fur.
- Body: Foil-backed craft foam.
Before you start tying, a little preparation is necessary. Get a square of 3mm, adhesive-backed foam (I prefer white, but you can use any color you want. Red would be great, because the color will be on the inside, anyway). On a clean flat surface, measure out a square of aluminum foil (or any color you want) slightly larger than the foam. Lay the foil out shiny side down. Now, peel the backing from the foam and lay it, sticky-side down, on the foil, and gently press it down to make sure it sticks everywhere. Now, pick up the sheet, and trim the extra foil off. Smooth the foil side if needed. Here’s what you will end up with:

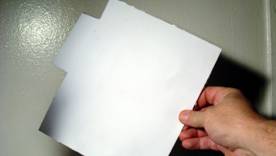
As you can see, I have been using this piece to make a few flies already. You can get many flies from one sheet of foam. You can, of course, omit this step, and use pre-colored foam, or use white foam, and color it yourself. I just like the metallic sheen it has, and the fish seem to share my preference. And foil is dirt-cheap, and readily available.
Now we can begin:

Measure out one hook square. Make sure you mark on the white side of the foam, and give yourself a little extra to trim to exact shape and size, later.
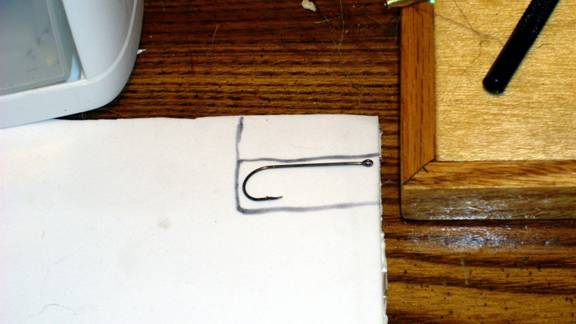
Measure another hook square (remember, we will be folding this in half later).
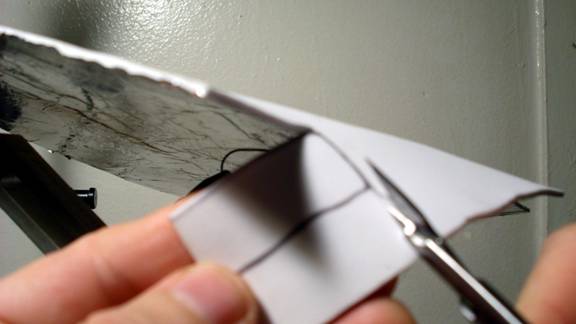
Cut the doubled square out. Be gentle, and don’t tear the foil.
Fold it evenly in half, and get a good crease along the back.
Trim the ‘head’ at an angle, because the body will be tapered.
Cut the body with a taper to the rear, but leave enough to go around the hook shank at the very rear.
Test measure it against the hook, and make adjustments when needed. Here, it looks like the body is a bit long. This would be OK as is, but I will trim it off even with the rear of the hook, just for cosmetic reasons. At this point, since I am using white foam instead of red (I wish I would have thought of that sooner), I will color the inside (white) part of the body and lips with a red Prismacolor marker. Now, we can set the body aside for a few minutes.
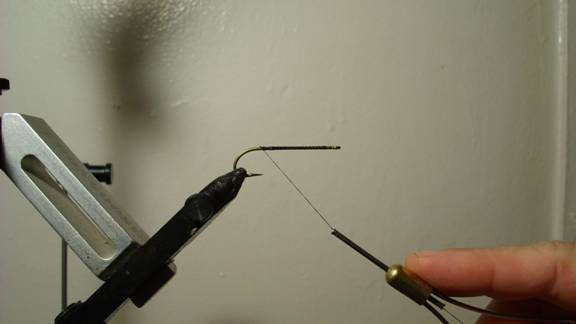
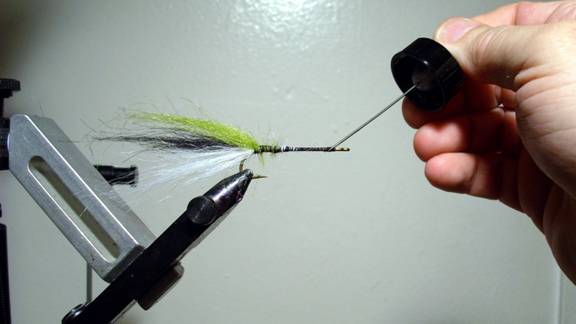
Place a hook in the vice, start your thread, and wind it to the rear of the shank. No need to be neat. It’s not going to show.

Tie on your first tail color. In this case, I am using white Renegade Fur.
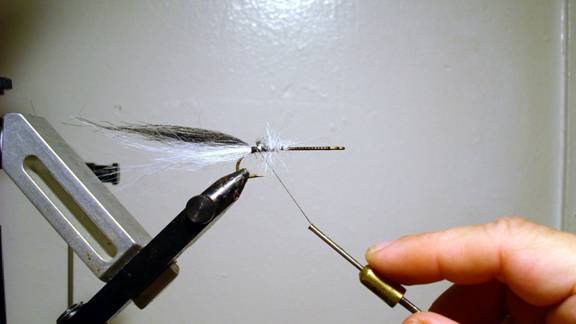
Tie on your second color. Here, I am using black.
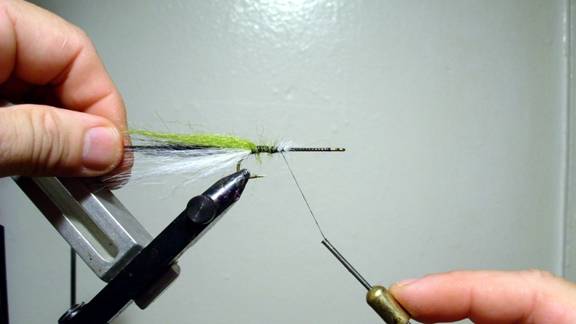
11. I like tri-colored tails, so I am adding a third color, olive green. Observe; there is no need to trim the tags neatly. Leave them on and just wrap them up on the shank, unless they are long enough to protrude beyond the head. In that case, just trim them to about 2/3 of the shank length. Wrapping the tags up the shank will help keep the tail on when those big bruisers bust into this fly.

Wrap the thread up to the front, and whip finish.
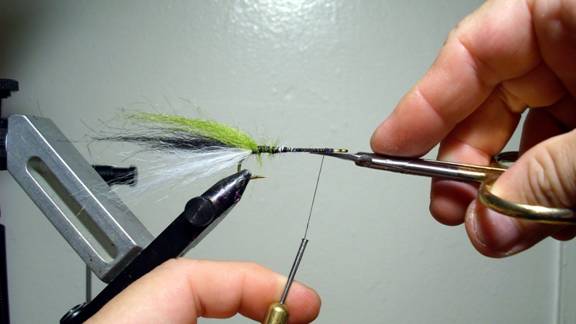
Cut the thread. You are through tying on this fly. Now it’s all adhesives and artwork.
Coat the thread with head cement.

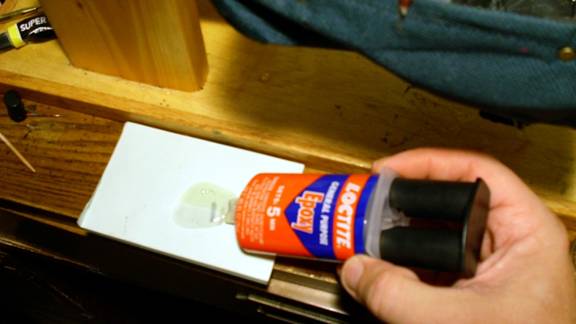
Take the body you cut out earlier, make any final adjustments to it you want, then run a VERY small, thin bead of Super Glue along the very bottom of the body. Quickly fold it onto the hook shank, making sure that the shank it as low as possible on the foam. Fill any gaps in the seam with TINY drops of super glue, while holding the body closed around the shank.
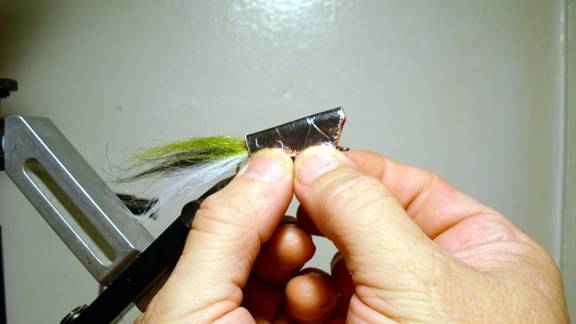
With both hands, pinch the body closed at the bottom, and hold it for at least 30 seconds, or until the Super Glue has set. Be careful not to get any glue on your fingers. If your fingers stick, gently roll them loose, so as not to tear the foil.
Check the bottom seam once more for any gaps, and fill them if necessary
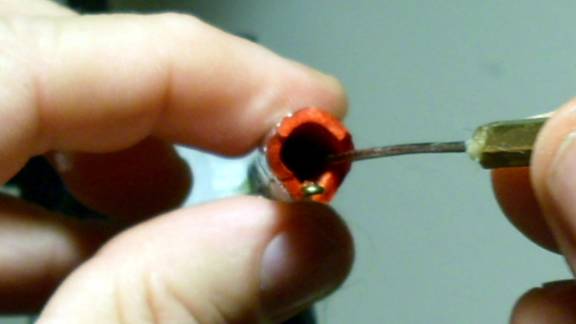
Gently apply pressure to the top and bottom of the body to ‘open’ the mouth. Use a bodkin GENTLY to pry the mouth apart if needed, taking great care not to puncture the body.

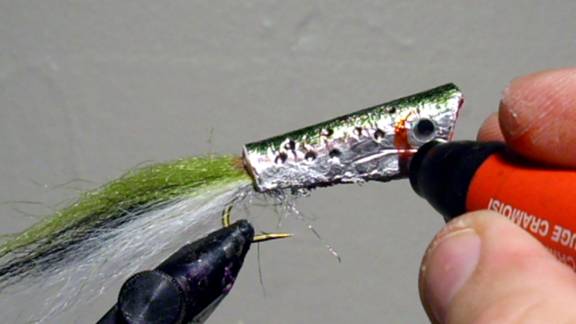
Apply your colors and markings. Since I am going for a Rainbow Trout color scheme, I’ll start by coloring the back and a bit of the upper sides with an Olive Green Prismacolor Marker.

Now, I am using a Metallic Silver Prismacolor Marker to hide the seam at the bottom.
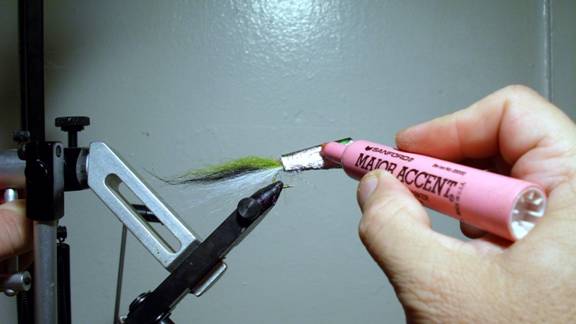
I couldn’t find a pink Prismacolor Marker, so I am using a Sanford Marker to add just a touch of pink to the lateral sides.
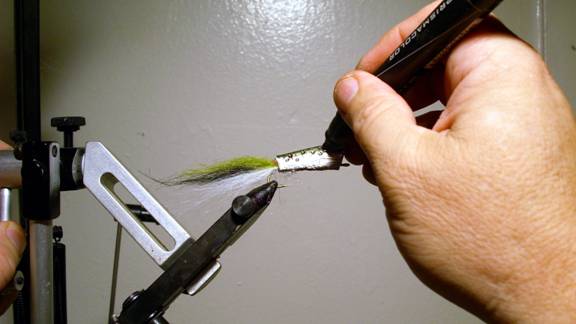
Using the Fine point of a black Prismacolor marker to add a few random dark spots along the lateral sides.
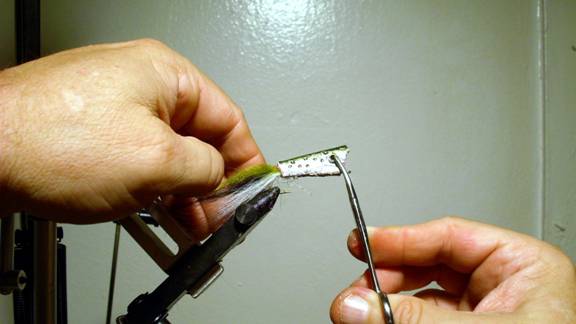
Now, Ill add on a pair of Stick-On Eyes. You can also draw eyes here, or glue Doll Eyes on at this point. I just like the Stick-On eyes because they are quick and easy to put on. The tool I am using is a short Hemostat. If you know anyone in the Health Care Service, they can probably get you some of these. Or, you may be able to find some at a Medical Supply Shop. They are invaluable for fly tying. You can use regular locking forceps, or tweezers as well, but they are not nearly as precise.
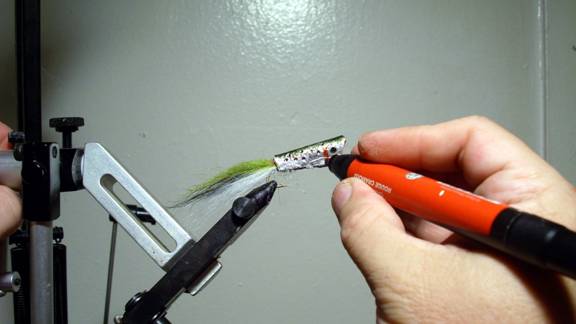
Now, we will use a red Prismacolor marker to add gills.
A little more detail. It’s starting to look like a fish now, huh? Don’t worry about little hanging hairs and things right now. We’ll trim them just before the final coat. We’re almost done. If you want to do any more trimming, detailing, shaping, or add anything, now is the time. Once you’re satisfied, you can move to the final steps.
Make sure you have done everything you want to do to this fly before you go to this step. Once you start the final steps, there is no going back. When you are ready mix up some 5-minute epoxy, about a tablespoon is plenty.
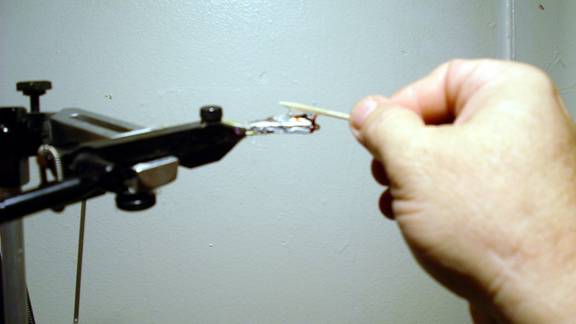
27. Apply the epoxy all over the fly, even inside the mouth (but not on the tail). I use a toothpick, but whatever you like using is OK. Try to use all the epoxy, and get the coat as even as possible. When it starts to drip at the bottom, catch it and re-apply it to the back. If you have a rotary vise, you can slowly spin the fly until the epoxy sets.
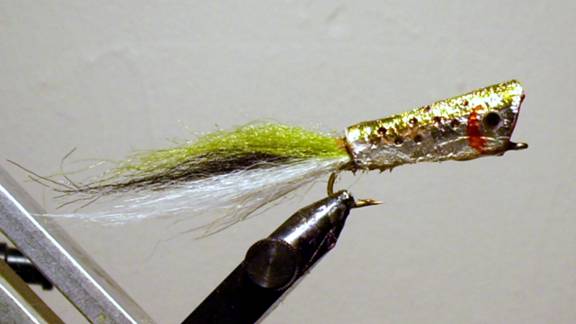
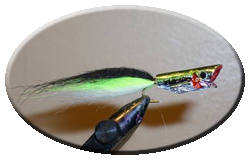
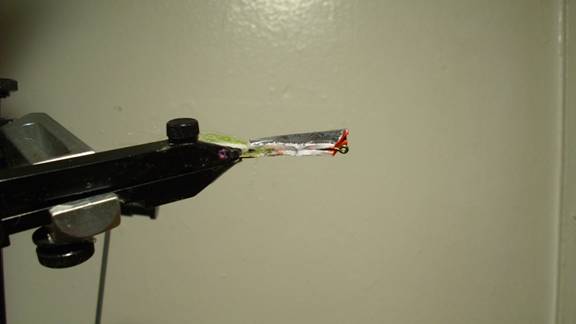
Once the epoxy is dry, you’re done. The finished fly.
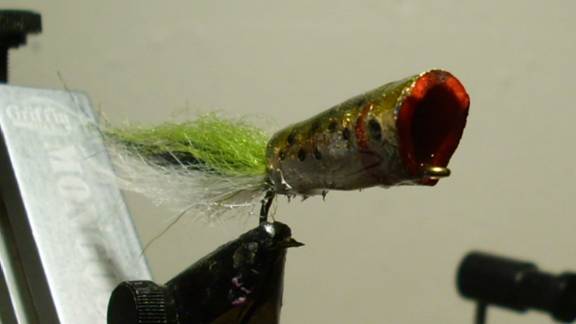
Front-quarter view.
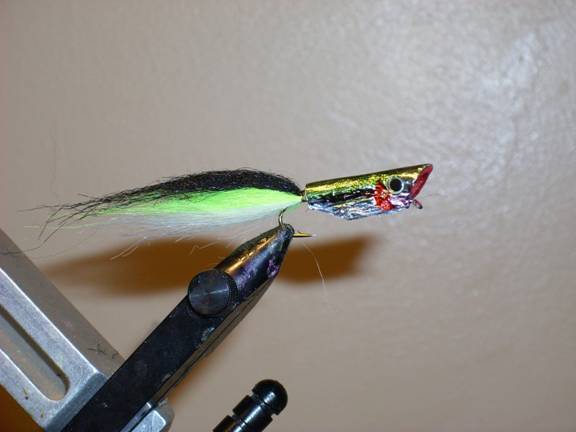
29. Here is one I tied in Baby Bass colors. There is no limit to what you can do with this pattern.
For more great info, check out:
Fly Tying Terms
Beginning Fly Tying | Intermediate
Fly Tying | Advanced Fly
Tying.