
| Previous Flies |
| Fly Tying Terms |

Pom-Pom Spider
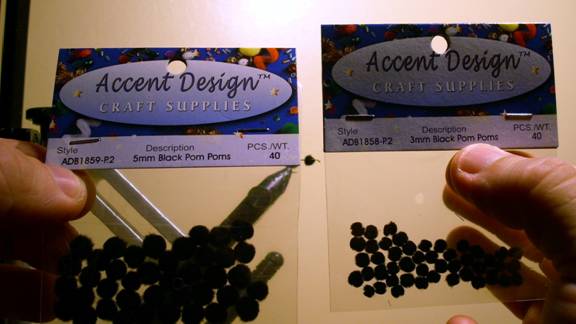
This is another very easy pattern to tie. There really isn’t a lot of tying to it. It is deadly on panfish, because it sinks very slowly, just like a real drowning spider would, and the legs move very enticingly as it ‘struggles’. You can get these Pom-Poms at Hobby Lobby, Wal-Mart, or online. They are dirt-cheap. You can tie this in any color, and any size, right up to Tarantula size, by using a larger hook, and larger Pom-Poms. You can also use white ones, and Prismacolor Markers to exactly match any particular species of spider you want.
Materials:
You will use these pom poms.
Don’t coat the hook with head cement, or lay a base of thread. You need to be able to slide the pom-poms in position as you tie the fly. Stick the hook point through the center of the pom-poms, 3mm in front, and slide them to the rear of the hook shank. Now, put the hook in the vise.

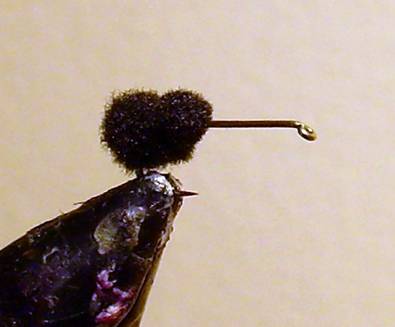
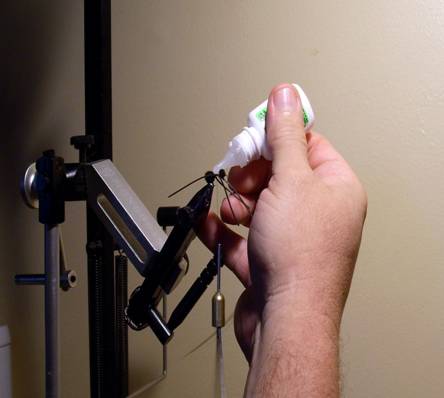
Put a drop of Zap-A-Gap about one hook-eye diameter from the front of the hook.
Slide the 3mm pom-pom over the drop, and let it set for a minute or so.
Attach thread behind the head.

Prepare Sili-Legs by taking one length, and cut it in half.
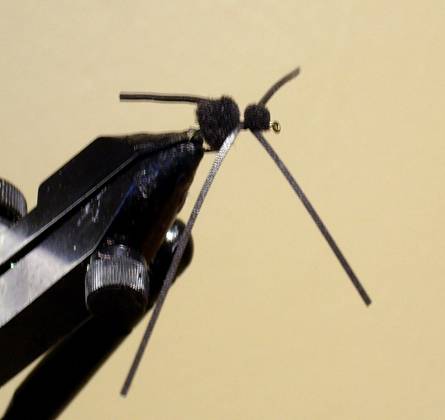
Rotate the fly 90 degrees in your vise, and tie one of the lengths of leg in at the middle of the leg, right behind the head.
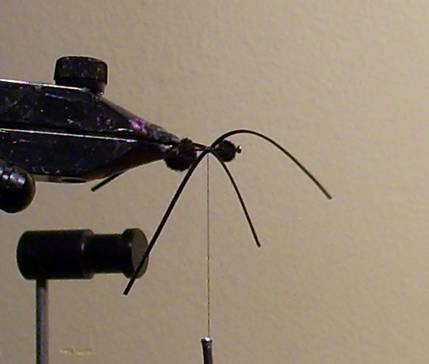
Rotate the fly 180 degrees, and tie in the other leg.
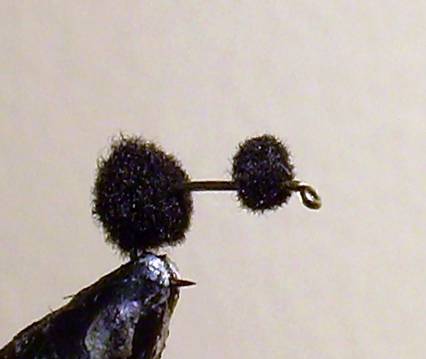
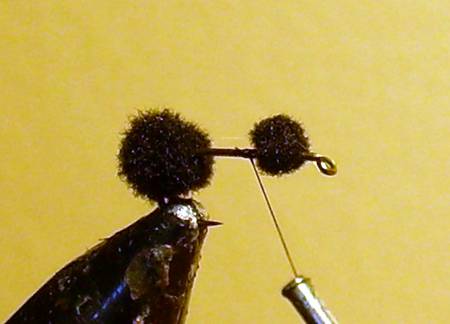
Apply a drop of Zap-A-Gap on the hook shank, behind the legs, taking care not to get any on the legs. Slide the 5mm pom-pom over the drop and let it set for a minute or so.
Reposition the legs as necessary, and secure them permanently. Now you can whip-finish, half-hitch or use a Zap-A-Gap knot to finish, and cut the thread.

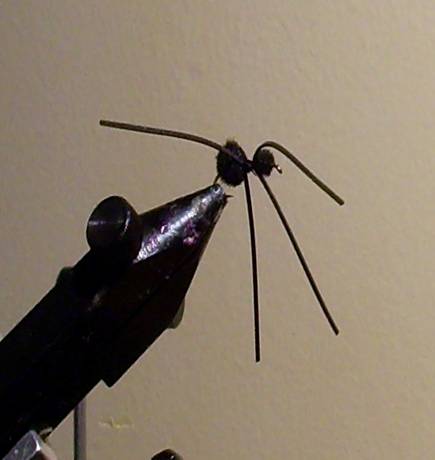
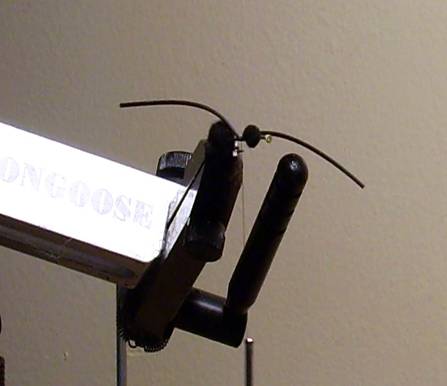
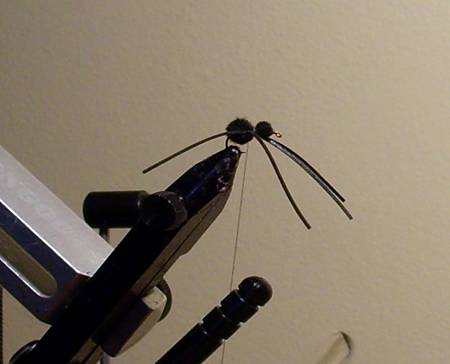
You’re done. The finished fly, ready to fish. Time, from start to finish….less than 5 minutes.
9. Whip finish in the middle, or just half-hitch the thread a few times (the Zap-A-Gap will keep it from ever coming loose), cut the thread, and you’re done. If you want, you can put an extra drop of head cement on the finishing wraps.
Fly of the week Archives
For more great flies, check out: Beginning Fly Tying, Intermediate Fly Tying and Advanced Fly Tying.
[ HOME ]
[ Search ] [ Contact FAOL ] [ Media Kit ]