|
Recycled Plastic Fly Bodies and Hopper Legs
By Richard A. Lewis
2) learning a tactile skill
3) exploring the properties of polymers
4) creating unique and robust fly tying
components with your own two hands that you
simply can not purchase in a fly shop etc.
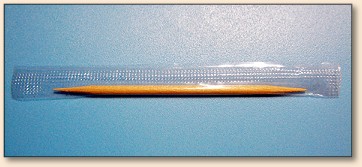
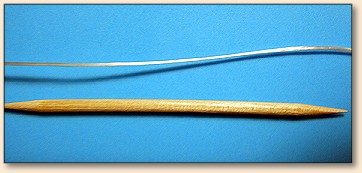
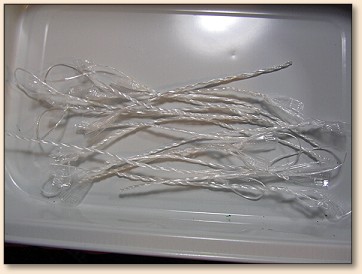
Step 1 - Carefully slide the toothpick to
one end of the wrapper and extract it from the
sheath without crumpling the plastic material.
You do not want to create nicks, creases and
flaws in the thin material. Put the toothpick
aside for later use.
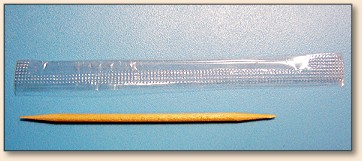
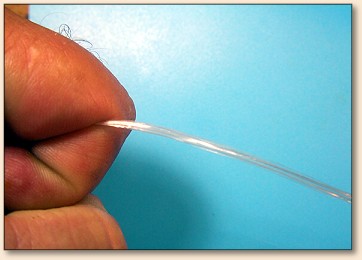
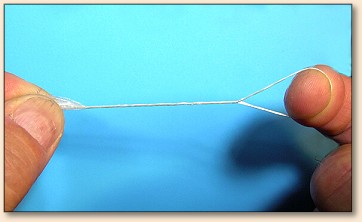
Step 2 - Firmly grasp the ends of the
wrapper between the thumb and fingers of each
hand. Pull slowly, smoothly and deliberately
on the wrapper until it is taught. Further
continue to apply tension until you feel the
plastic wrapper give and stretch. If it tears
or snaps in two; you are either being rough,
or the cello-wrap is too brittle or not fresh
enough. Try again using a better technique (a
learned skill) and or another batch of toothpicks
(try another café). As the wrapper stretches,
it becomes thinner and flatter as pictured above.
The wrapper is originally 3 1/2 inches long.
When carefully and completely stretched-out flat,
the wrapper can be coaxed into a ribbon which
has a length of 14 inches! With practice you
will find the elastic limit of the stretch-formed
plastic and be able to routinely make these ribbons
with minimal breakage.
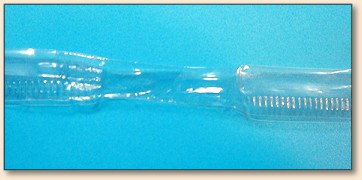
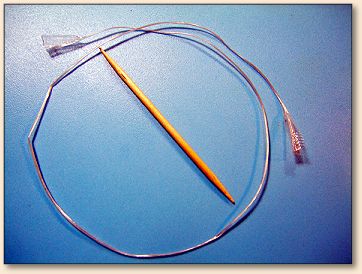
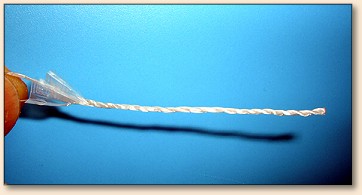
Step 3 - Next we will draw the flat
ribbon into a filament. Grasp the ribbon
in one hand and wedge it into the clinched
fingers of the opposite hand as shown above.
Slowly apply firm pressure and "draw" the
ribbon down into a strand, which we will
call a "yarn."
There is friction created by the filament
drawing operation; therefore some heat is
generated. So be gentle on your hands and
gradually continue to draw-form the ribbon
along its length until you have drawn it
into a very thin solid yarn. It becomes
strong and can withstand a good solid pull
at this point. This takes some practice.
Devise a grasping and drawing technique
that works for you with minimum discomfort
and good results.
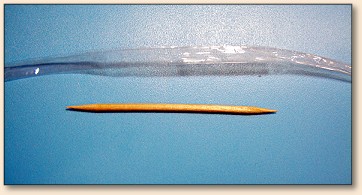
Once completed, you will have stretched and
drawn a 3 ˝" two-ply plastic sheet into a
17.5 inch long yarn. Now that is 500%
elongation; a demonstration of an amazing
property of the particular plastic alloy
used in making toothpick wrappers. Science
and fly tying merge!
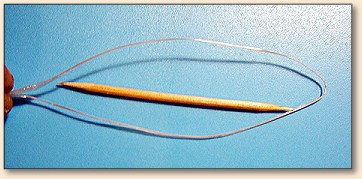
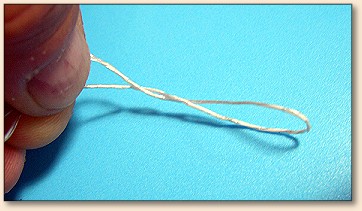
Step 4 - Fold the yarn in half. Grasp
both ends with the fingers of one hand.
Step 5 - Insert a finger into the formed
loop and twist the loop in a circular, clockwise
motion. Wind it up tight. On a full-length yarn,
I like to put a minimum of thirty (30) twists
into the loop. Apply tension as you twist.
When the loop is twisted it will look something
like the yarn pictured above. Don't let go of it
your loop just yet! Keep your finger in the loop
and maintain tension to preserve the twists.
Step 6 - While preventing your loop from
unwinding, slip your finger out of the end of the
loop. Now fold the twisted yarn in half once more.
This time it will want to furl upon itself due to
the stored energy within the yarn.
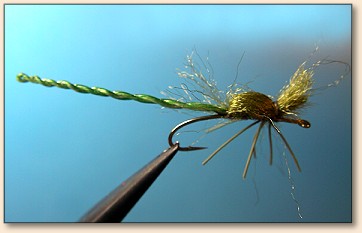
Step 7 - Help the furling process along
by twisting the yarn counterclockwise while
pinching both ends together. Twist it up tight
all along its length. Once twisted, smoothed,
stretched and compacted, the furled yarn,
which is technically a twisted filament yarn,
will stay combined all on its own. With the
method perfected-it takes but two minutes to
furl a wrapper into a damsel fly body.
I find that these plastic furled yarns are
very stable and will keep their shape for
weeks on end. I make these when taking lunch
breaks, talking on the phone and while gazing
out the office window wishing I were tying or
fishing. You get the idea. Once you have the
technique mastered, you'll want to have a
supply of these furled yarns on your tying bench.
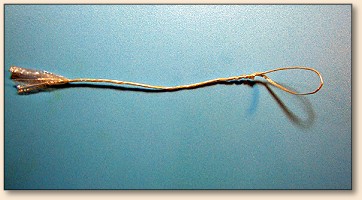
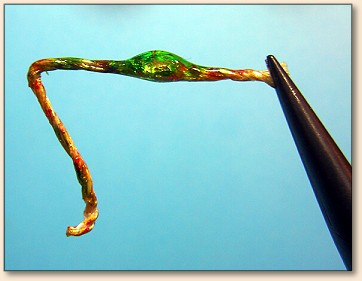
The hopper's leg pictured above was made
by bending the furled yarn and freezing
the joints with CA adhesive. A drop of Epoxy
(Loon UV Knot Sense in my example) can be
added to thicken the upper portion of the
leg for a more realistic hopper leg imitation.
These furled plastic yarns are buoyant,
and are easily colored using felt tipped
markers. The furled yarns can be fashioned
into damsel bodies, hopper legs and probably
a few other fly parts too. CA adhesive
(Zap-A-Gap) adheres well to this recycled
plastic, and allows the yarns to be formed
and shaped with ease.
There you have it. A method to recycle your
way to more interesting, cost effective flies
while entertaining your buddies at lunch.
Have fun! ~ Rich Lewis
|