|
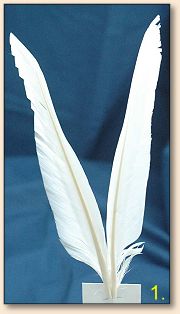
Slip Wings, Traditional English Method
By Alan Bithell
|
 2. Strip off the biots from the back of the feather and the unusable fibres from the bottom of the feathers. Then I whip them together with some tying thread. Next, cut away the top section that is not fit for use on wings. Here I have had to cut away quite a lot of the feather.
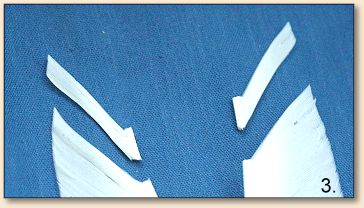
 3. To cut your slips cut through the stem of the feather. A rough gauge to the size is to use a hook of the same type as you are tying on but one size larger. Catch the eye of the larger hook in your hackle pliers to make a useable tool.
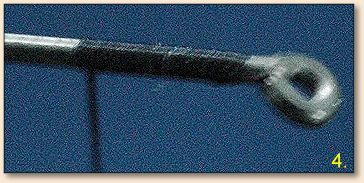
 4. On the hook lay a bed of tying thread.
 5. With the thread hanging where you want the wings offer the wings up to the hook.
 6. Now the tricky bit! Hold the part of the slip which will form the wing between the finger and thumb of your left hand. Do not let the slips move between the finger and thumb. Take a loose turn of thread over the wing and let the thread hang. Grasp the bottom end of the wing slips between the index finger and thumb of your right hand. Lift the buts of the wing slips to create a "v" with the thread in the bottom. Work the buts up and down so that the weight of the bobbin pulls the wings down onto the hook shank.
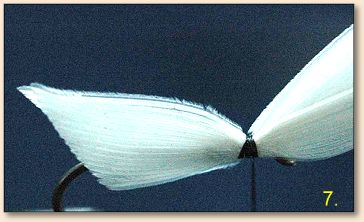
 7. Take a few turns to secure the wings. Do not go over the first turn you placed over the wing.
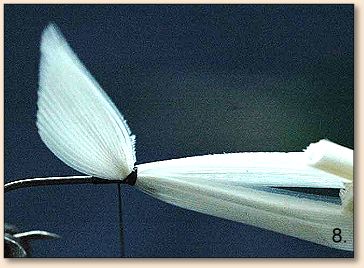
 8. Lift the wing slips and take a few turns of thread behind the slips to cock them up.
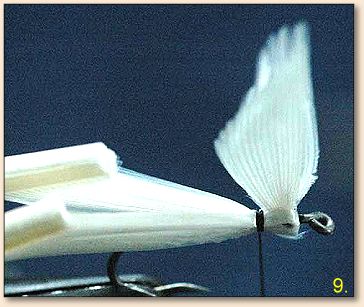
 9. Now split the butts and bring them round the back of the wing slips and tie down.
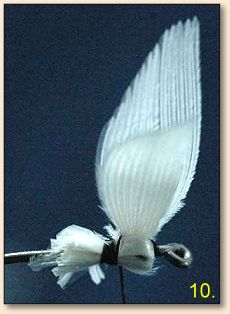
 10. Trim of the butts at an angle so that they can be tied down smoothly.
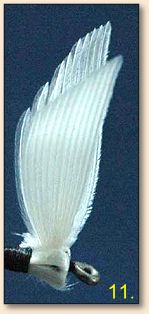
 11. Bind down the butts and split the wings by pushing the tips of your scissors between the wings. Make turns of thread between the wings to split them. The wider you want them the more turns you make.
 ~ Alan Bithell
|