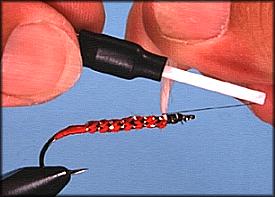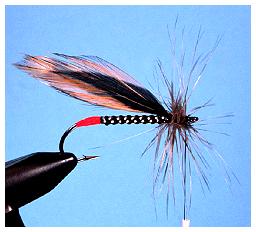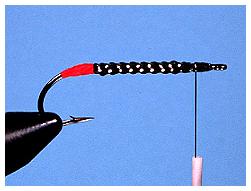
13. Make a smooth head with your thread, whip finish, trim the thread and
cement liberally on the head and base of the wing.
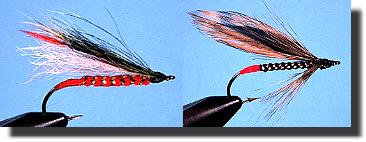
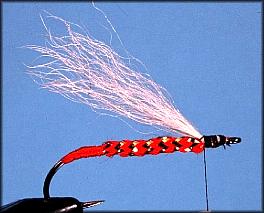
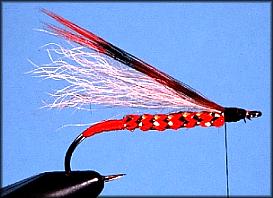
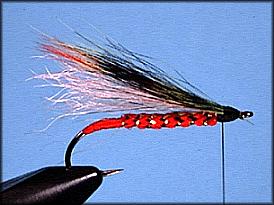
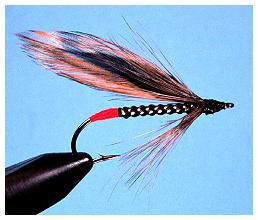
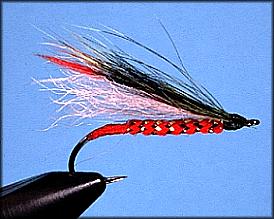
Dace minnows are common to just about any stream on our continent.
Actually, the procedures used to tie this next fly can be used to tie
just about any minnow streamer. Mix and match the body, wing and hackle
colors to match the natural minnow you want to imitate.
List of materials: Al's Dace Streamer
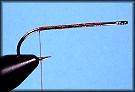
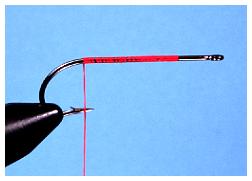
Hook: Any straight-eyed streamer hook that's 2X
long or longer. Sizes 1 to 12.
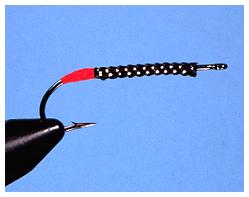
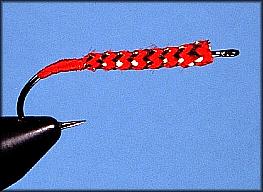
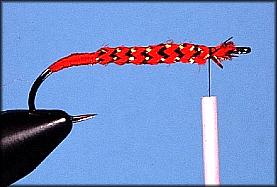
Thread: Red flat waxed nylon (single strand floss that
has been waxed) and black monocord, 3/0.
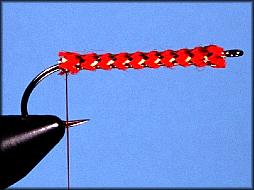
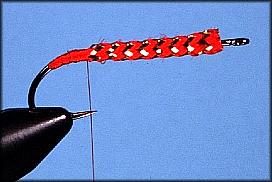
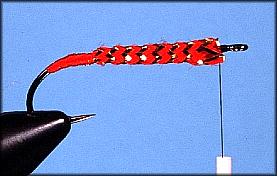
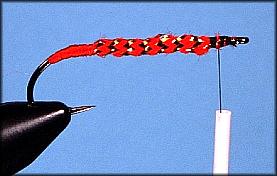
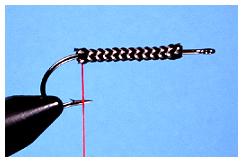
Body: Mylar tubing. Select the colors to match the natural color of
the minnow you want to imitate. For Al's Dace, I'm using black and
silver mylar tubing.
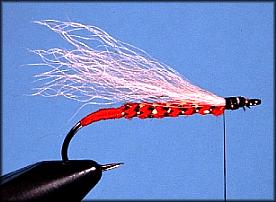
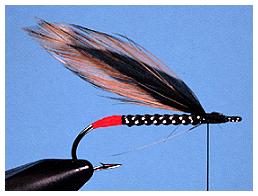
Wing: Two furnace hackles, married to each other. (To marry
materials, you work them together by hand before you tie them to the
hook. In the case of hackles, face them together, curvature in, and work
them together until they form one wing. A light shot of hair spray from
a pump type spray bottle will help hold the wing materials together.)
Hackle: Any soft hackle. I'm using a soft Cree hackle from a cheap
imported neck. (Here's a good use for those cheap necks you bought
because you thought they would save you money, only to discover they
don't work very well on dry flies.)
Eyes: None, or if you like, you can paint some on in red or yellow.
|