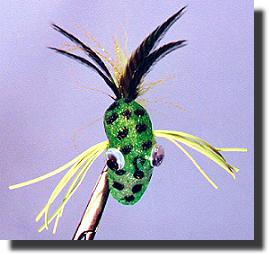
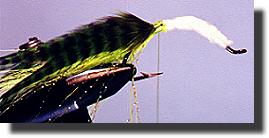
Some of the best fly patterns are the product of an over-active
imagination. You might see a different material that isn't commonly used
in fly tying and decide it has merit or might work in a particular
situation. Maybe you just got bored tying the same old stuff and decided
to try something new. Or maybe, you decided it was time to improve that
old pattern you've been using.
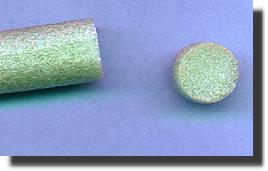
That's how this pattern started. It was a combination of finding a new
material and applying it to an existing pattern. The material was caulk
saver, a round foam about 1/2 inch in diameter used around windows and
doors when building homes. I was helping my wife's brother build a new
home when I spotted it in a garbage can. Being the dedicated scrounger
that I am, I retrieved a few feet of it and took it home to try in a few
pattern applications.
As with any new material, it took about a dozen failed attempts to find
a good use for this great new material I scrounged out of the garbage.
Luckily, I read in one of the fly tying magazines about a frog diver
pattern that used pre-shaped foam bodies that you can buy from that
author for a bank busting price and a little light switched on in my
head. Why not adapt this new material to a pattern similar to the one I
read about without paying the heavy price for the foam body material the
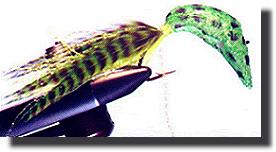
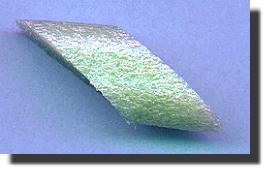
author had used? So, I cut the round caulk saver foam at a diagonal to
create my own unique bodies.
It took a few calls to building supply centers to locate a steady source
for the round foam I had scrounged. What I found was that this material
comes in diameters ranging from 3/8 inch to about 1 1/2 inch and in
several colors. Names range from caulk backing to caulk saver. Prices
are about ten cents per foot for the 1/2-inch variety, or less than a
penny per fly. That beats 50 cents per fly for the other foam bodies
shown in the magazine article.
If you have problems finding this foam, you can always use some of the
other foams found in building centers. Some foam is square and some is
rectangle. You'll need to use a razorblade to shape the other foam a
little better, but by now you should be able to do that with ease. It's
time to get creative.
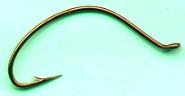
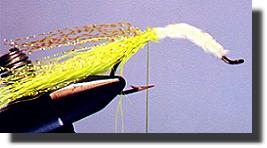
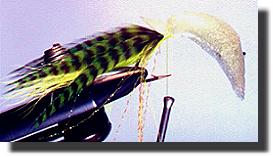
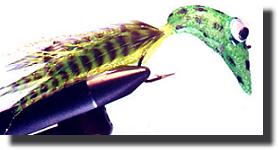
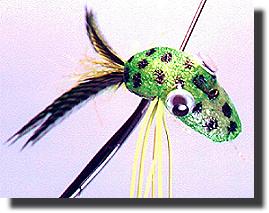
Another feature of this pattern is the hook I used. The shape of the
hook gives the body the curvature needed to make it dive and wiggle a
little when retrieved. The outward swept hackles used for the rear legs
and the rubber hackle used up front creates a realistic swimming frog
motion.
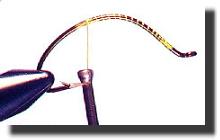
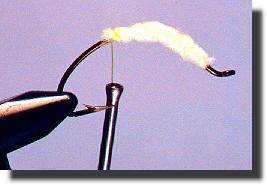
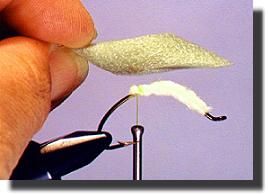
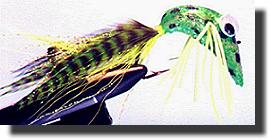
The final feature is the way the foam is attached to the hook. By
pushing the hook eye through the foam, you create a diving lip that
causes the fly to dive when the line is tugged, creating a realistic
swimming motion. Be sure to center the hook eye so the frog swims in a
straight line. A carpet needle or bodkin should be used to punch a pilot
hole through the foam lip so the foam won't tear when the hook eye is
shoved through it.
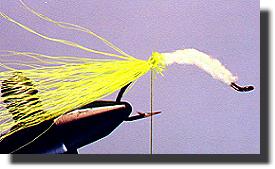
Let's tie a wiggle frog and you'll see how easy it can be.
|