|
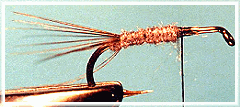
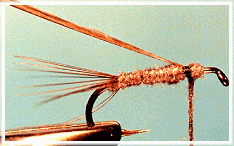
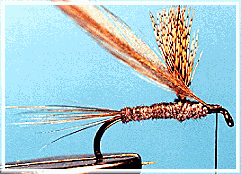
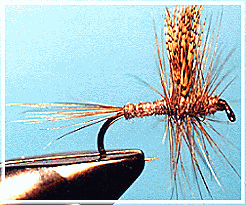
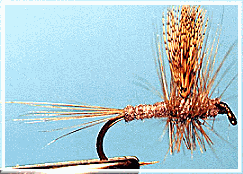
7. Keeping tension on the hackle with one hand, bring the thread forward
and over the hook in front of the hackle, then over the hackle to tie it
down. Tie the hackle down with several wraps of thread.
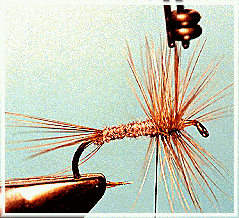
8. Trim the hackle, whip finish and cement.
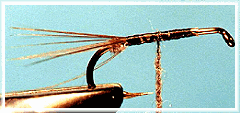
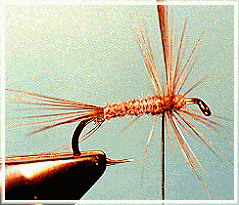
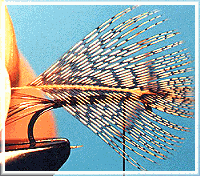
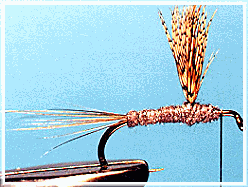
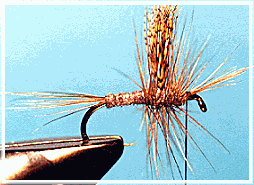
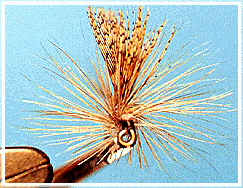
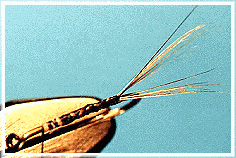
Notice how the tail is fanned in this top view?
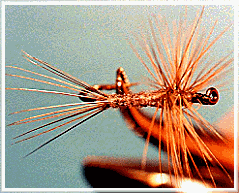
If you prefer a split tail, just clip the barbules in the middle of the tail
even with the dubbing ball. Now, that wasn't too hard was it?
Most fly tying books take you through a myriad list of standard dry
flies before they look at thorax flies. I do things a little different.
Thorax flies are relatively easy to tie, and they work wonders on the
stream. With that in mind, let's take a look at a thorax fly.
You'll notice that I leave a lot of options open to you when it comes to
material selections. The important thing is to learn how to do the
steps, not how to match some particular pattern. You can pick up pattern
books almost anywhere. They usually assume you know how to perform the
steps and list the materials to match a particular fly. Here, you'll
learn how to perform the steps, and you can select the materials based on
the things you have handy or the particular pattern you want to match.
Fly tying is all about the ability to create something with your own
hands that will fool the fish. If you learn the skills it takes to tie a
particular type of fly, you can use those skills to tie any of the others
that fall into that category, and you can also create a few patterns of
your own design. In that sense, a thorax fly is a thorax fly, and a dry
fly is a dry fly, etc.. Keep it simple, life's too short to make things
more complicated than they already are. This is supposed to be fun.
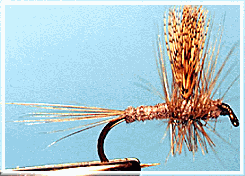
This next fly is a somewhat different type of Hendrickson thorax,
although you can modify the materials to match almost anything you want
to match as long as it's a mayfly. This is a good fly to learn some
tying skills on.
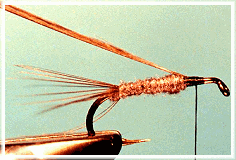
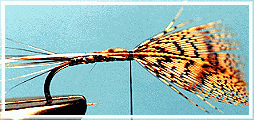
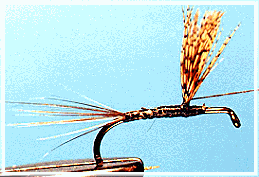
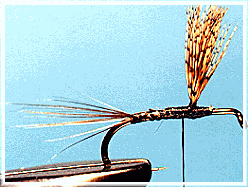
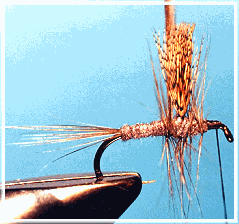
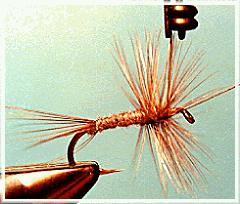
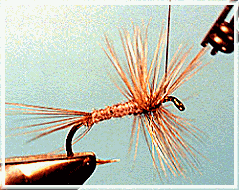
Thorax flies get their name from the pronounced thorax the flies have.
Hey, we already know something about that, don't we? The wing and hackle
are tied closer to the middle of the hook on a thorax fly than on most
standard dry flies.
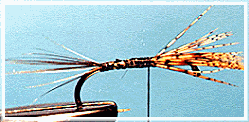
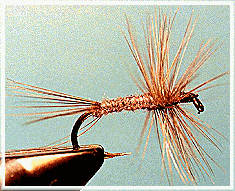
Although the very first thorax flies used a fully rounded hackle,
I like to trim the hackle flat or in a V on the bottom of the fly.
This increases the amount of hackle that comes into contact
with the surface tension, and theoretically increases the
buoyancy of the fly. It also places the body of the fly in or near the
surface of the water, something that's more natural in appearance than
standard dry flies. Thorax flies are usually tied with a V-tail. We'll
do that too.
Materials:
Hook: Standard dry fly; Mustad 94840, Tiemco 100, Eagle Claw L059,
Daiichi 1180. Size 10 - 22.
Tail: Hackle fibers, moose hair, any other fine, stiff hair, synthetic
tailing material. Color to match the natural insect you're imitating or
the hackle. (Hackle fibers work best.)
Body: Angler's Choice pure silk dubbing, mink under-fur, muskrat
under-fur, or any other synthetic or natural fine dubbing. Color to
match the body of the insect you want to imitate.
Hackle: Quality neck or saddle hackle, webby parts removed and 1/16"
of the remaining stem stripped of barbules. Color to match natural
insect or any pattern you want to tie. (In this case, a gray dun.)
Tying steps:
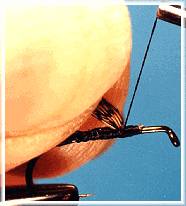
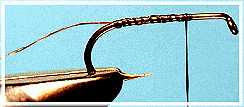
1. Start the thread, leave the tag end of the thread about 4 inches long.
Wrap thread to the hook bend with the tag on top of the hook.
2. Select some hackle fibers for the tail and tie them to the hook as you
did in the standard dry fly tail. Grasp the tag of thread and pull it up
through the center of the tail fibers and forward over the hook shank.
Tie the tag of thread down to the hook shank securely.
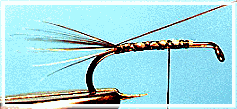
3. This will split the tail into two even tails.
|