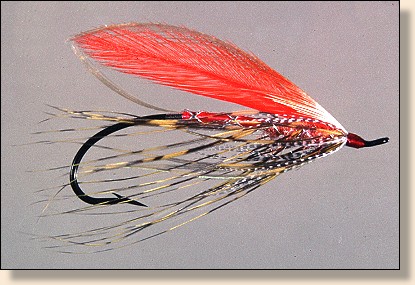
Spey & Dee Flies
|
Lesson 3 - Spey & Dee Flies |
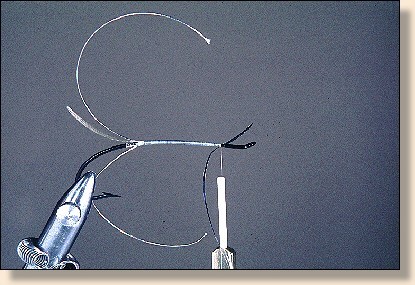
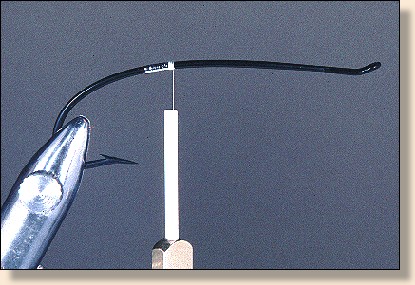 1. Attach the tag as in prior patterns.
 2. Attach ribs and tail.
|
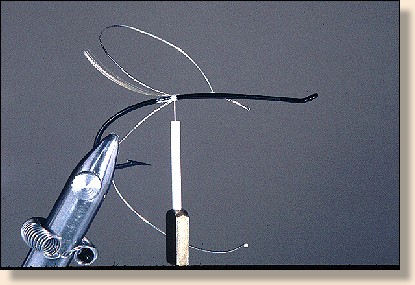
 3. Whenever I use a floss body, I use white thread underneath. The white thread helps hide the black hook and, by doing so, makes the floss a little brighter. Here, I am showing you another way to brighten a floss body. I am using flat silver tinsel as a base over which the floss will be applied. Attach and wrap the flat silver tinsel to the tail and back in close turns.
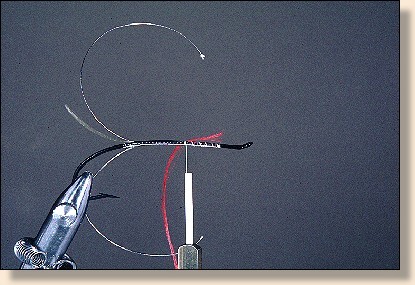 4. Attach the floss at the spot where the floss section of the body ends and wrap to the tail back again.
|
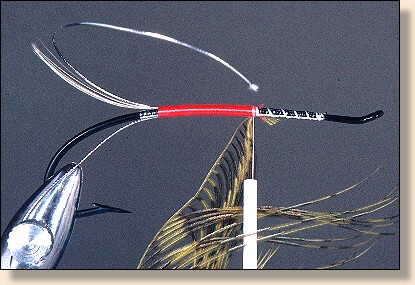 5. Attach the hackle.
 6. Dubb the front ˝ of the body ending well back from the eye. Switch to your red thread (black if you were tying a more standard dressing that calls for a black head) after dubbing the body segment.
|
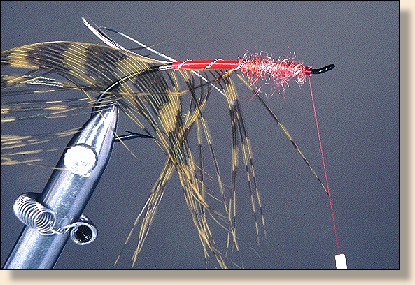 7. Wrap the first tinsel in five even turns and, tie off with two turns of thread.
 8. Wrap the hackle directly behind the first tinsel and, tie off with two turns of thread.
|
 9. Wrap the counter rib, tie off with two turns of thread.
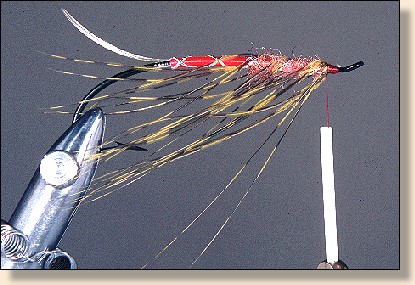
 10. Strip the left side (as you hold the feather good side toward you, tip up.) of the Teal and, tie in on back side of fly by it's tip.
|
 11. Take one turn of Teal, tie off with two turns and trim.
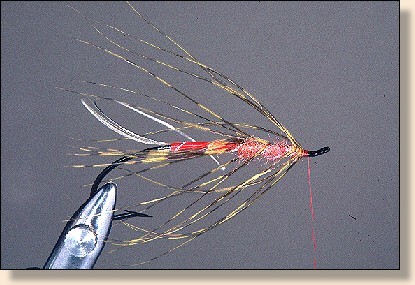
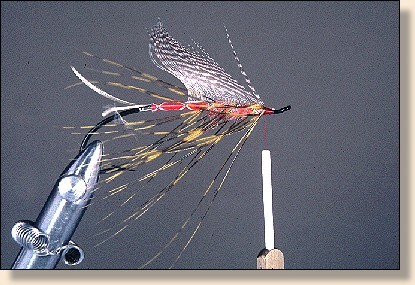
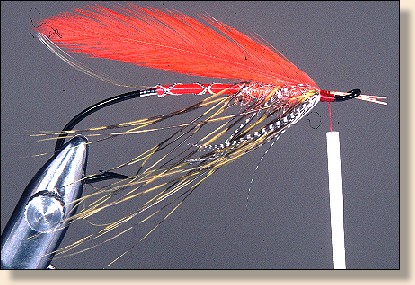 12. Select four hackle feathers. Either select all four from the center of the neck that have straight shafts or, two from each side that will be put together so the natural curves are aligned. Hold the wing to the fly and, strip the barbs below the point where they will be tied in so the tips meet the tip of the tail. On the bottom of the wing, strip a few more barbs so, they won't interfere with a low set wing. You may or may not need to flatten the stems prior to tie in. If the feathers all stay together without flattening, that's great. If not, flatten them and see if that doesn't help. Do not trim the waste at this point.
|
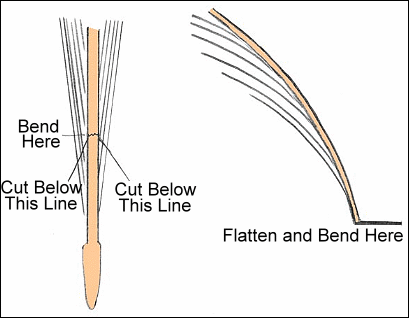
 13. Select a Golden Pheasant crest (Topping) that will sit low and, follow the outline of the wing and, meet the wing and tail at the same location. This is the same thing we try to achieve when tying the full dressed Atlantics. Strip the fluff at the base of the feather and hold up to the fly. Note where the topping will end and, the head begin. Cut the barbs short from the base up as in the diagram. The cut barbs will make it easier to set the topping and, hold it in better. Take your smooth faced pliers and, flatten the shaft to the same point and, bend the shaft as shown in the diagram. Tie the topping down with one turn at the bend and one more a little separated.
|
|
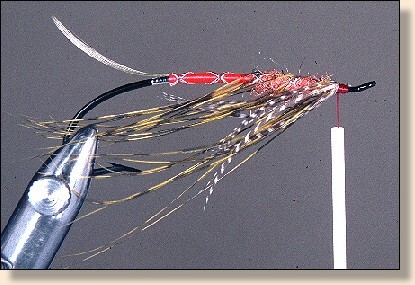
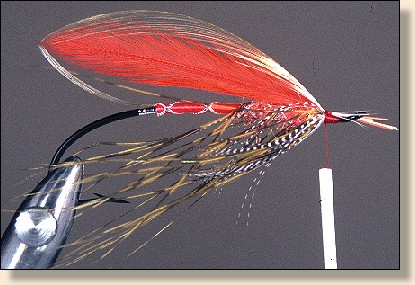
14. Take a couple more tight turns, lift the butts and, trim
closely. Finish the head and, lacquer.

|