
Spey & Dee Flies
|
Lesson 3 - Spey & Dee Flies
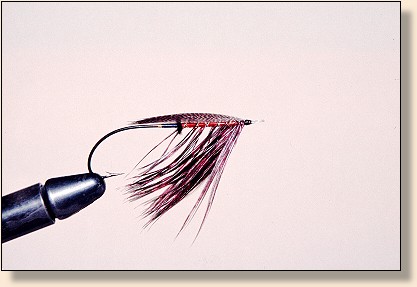
Carron
|
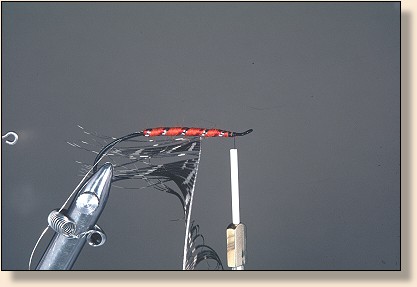
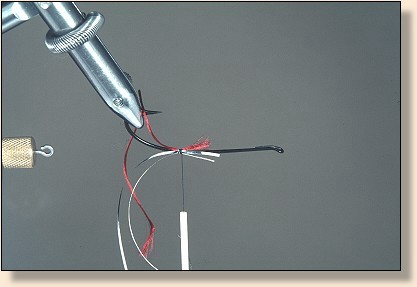 1.The ribbing has been attached to the rear of the hook at about 1:00 and, 5:00 if you think of the hook shank as a clock face. By doing this, when you wrap the ribs, they will come forward some to about 12:00 and, 6:00 respectively. On a fly where you have two or more elements to a rib, you want to tie the trailing component at the 1:00 or 5:00 position as I have done here.
 2.This is the front of the hook showing the ribbing.
 3.Bind the tag ends of the ribs to the rear of the hook in close flat thread turns to the area shown and, attach the body yarn underneath the hook shank.
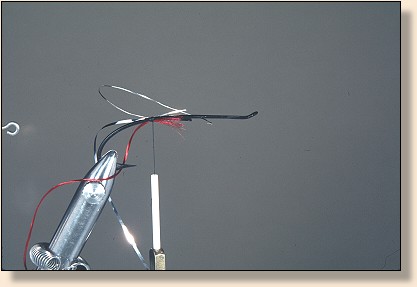
 4.Wrap the yarn body in close turns to the rear and back to the fourth rib location and tie in the hackle by it's tip on the bottom of the body with the yarn and, continue the yarn to the end of the body. Stay a good distance from the eye to give plenty of room for tying off all the materials and wing. A note on ribbing: To estimate where a particular turn of a rib will be I often take a old piece of ribbing or thread and wrap it temporarily to see how the final rib will lay. You can use the actual rib but, repeated wrapping & unwrapping may cause the tinsel to come apart. For this reason, I prefer to make the actual tinsel to be used wrap once.
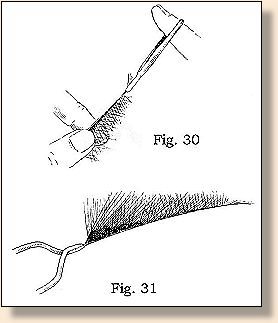
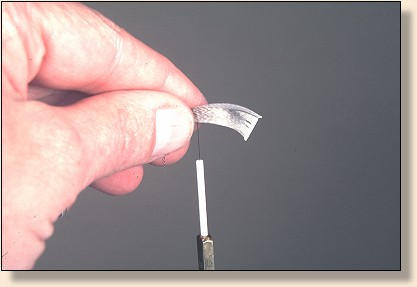
Here are some ways of preparing hackles for Salmon flies.
|
 Figure 1
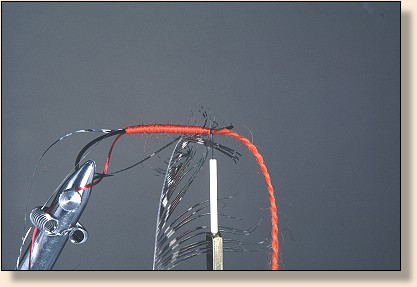
 5. Wrap the tinsel rib first then the floss. Leave a slight space between them for the hackle to follow.
|
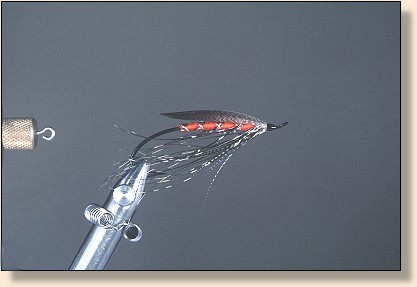
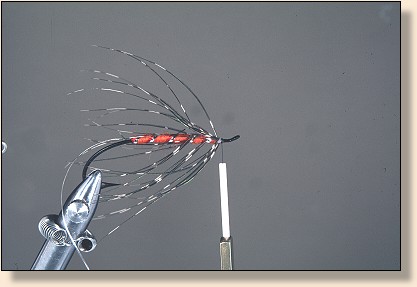 6. Wrap the hackle forward, tie off and, cut waste end.
 7. Wrap the counter rib. When going through the hackle with the rib, you need to move the barbs aside with your bodkin where the rib will lay so they aren't trapped by the rib. Tie in the Teal by it's tip on the far side of the hook, take one turn, tie off and, cut the waste end. I like my Spey wings to lay as close to the hook shank and parallel to it as possible. For that reason, I will usually either cut or pluck any hackle barbs that can't be pulled down and back over the sides of the fly. If I am using a hackle that has been stripped from the shaft, I will cut rather than pluck the barbs since the feathers are fairly fragile until counter ribbed. The barbs will kick the wing up if not removed.
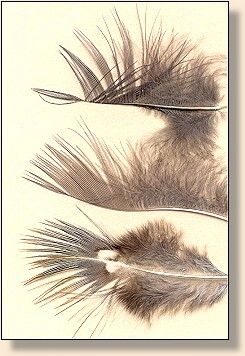
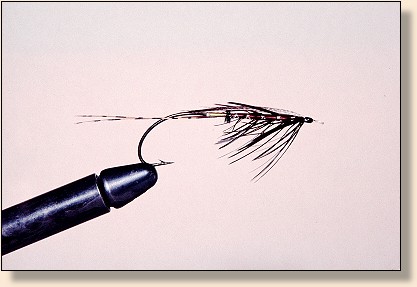
Spey Wings

|
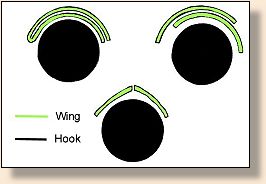 The three wing styles above are used for Spey Flies. The top two are easier than the bottom one and, perhaps more stable when fishing the fly.
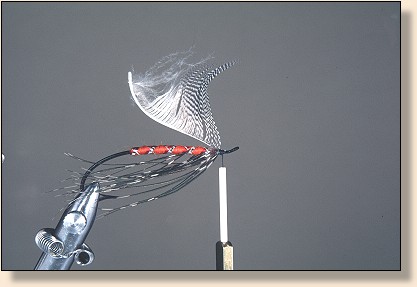
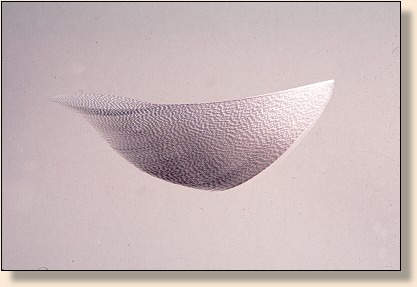
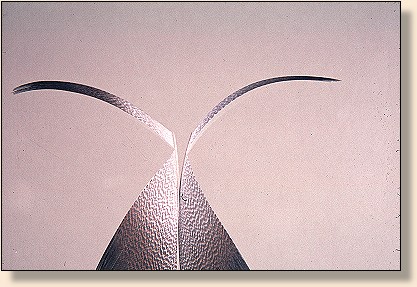
 8. This is my preferred way of winging Speys. Ok, now place the two halves together with the now wrong way curves convex sides together and line up the tips as shown in picture C. I want the two edges of the sections to meet and somewhat marry with a seam down the middle of the finished wing. Tent this over the fly and while holding, take one soft loop of thread around the wing and hook with NO tension. Take a second turn with LIGHT tension directly in front of the first. From here, no turns behind the first or the wing will twist. You can now let go of the wing and look at the alignment. If it looks the way you like, take a third TIGHT turn. this turn will cinch up the first two and really anchor the wing. It must be just about at the thread breaking point.
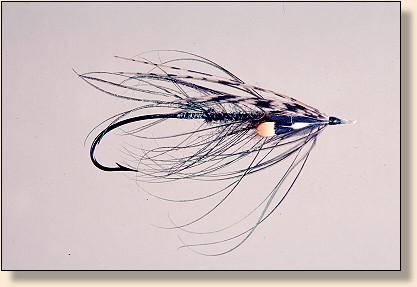
 9. Take one or two more tight turns, lift the butts of the wing while holding tension on the thread, and, cut them off a little at a time. Sometimes if you try cutting the whole thing, the wing can move. Now, you can place a little head cement on the butts and whip finish.
 10. The finished fly.
|
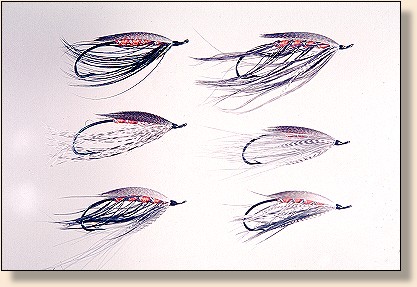
 Radical Dude
 Silent Killer
 Highlander, Orange
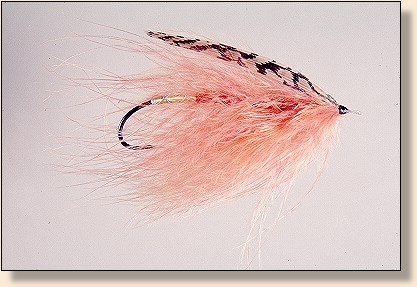 Orange Crush
 Bottom Dweller
|