|
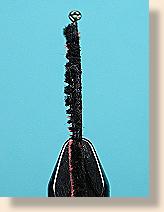
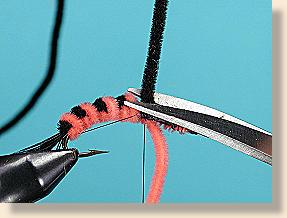
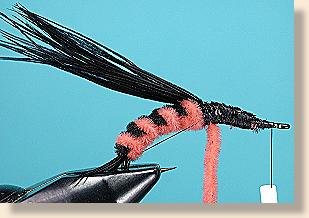
21. You can trim the tag of thread under the body any time you wish now.
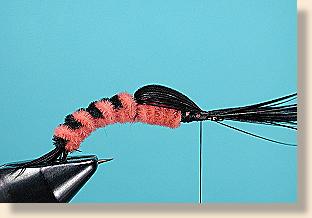
22. Pull the pheasant tail fibers over the thorax to form a wing case.
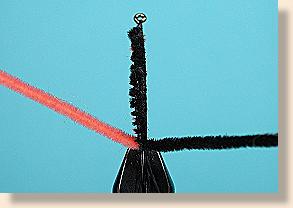
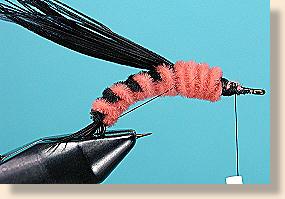
23. Secure them right behind the hook eye.
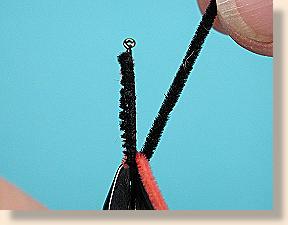
24. Flare the fibers back with your finger and thumb trying to
keep them evenly distributed around the hook.
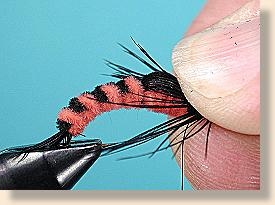
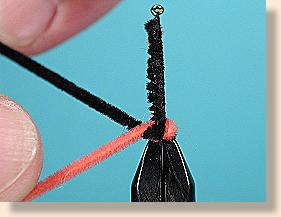
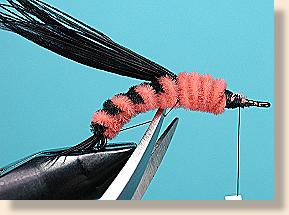
25. Hold them in place with your left hand while you tie them
off and form a head. Once you have a nice head formed, whip finish, trim
and cement the head.
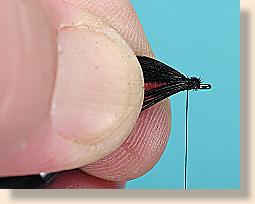
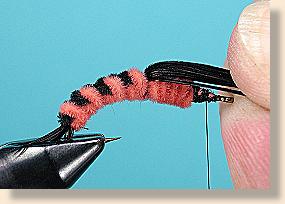
26. From the bottom, your finished fly should look like this.
27. From the top, it should look like this.
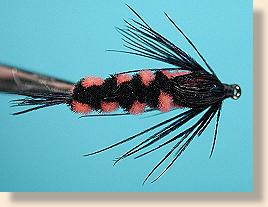
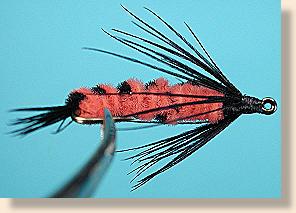
28. From the side, your finished fly should look like this.
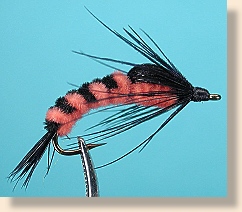
Look closely at this weave, then search pattern books or your local fly shop
for other patterns that use the same weave. See if you can copy those flies
using the weave you just learned. Practice on as many patterns as you can
find until you're happy with the results.
If you have followed me through all the series (beginner, intermediate and now
advanced), by now you have probably noticed a style of fly or hackle I like to
use. This method of creating a hackle or legs is easy and very effective. In time,
everyone forms their own styles they like to use whenever possible. Look at
the patterns developed by other tiers and see if you can find a style in their work;
or maybe your own.
See ya next month - Remember, I'm always happy to answer
your questions, feel free to
email me. ~ Al Campbell
ADVANCED Fly Tying Archives
|