
BASIC FEATHER INLAYS
Basic feather inlays are easy to do and add a touch of class to any rod. In this how-to, I am going to show you how to do a basic single feather inlay on the butt wrap of the rod and a pair of feathers for alignment marks where the two pieces come together. The photography is not the greatest, but will suffice for the purpose of demonstrating the process.
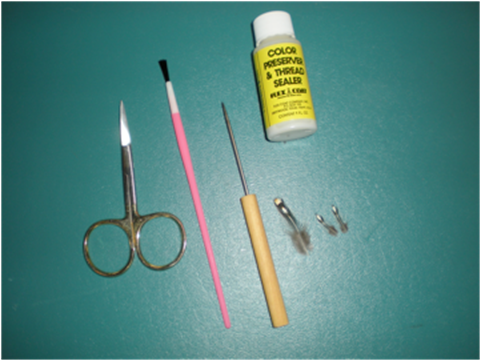
Gather up the stuff you will need to get the job done. For the purposes of this demonstration, I am gong to use one large Jungle Cock nail feather for the butt wrap and two small jungle Cock feathers for the alignment marks. I will need a bodkin, tying scissors, color preservative, small art brush, and, of course, the feathers. I suppose having a rod to put them on would be handy, too.
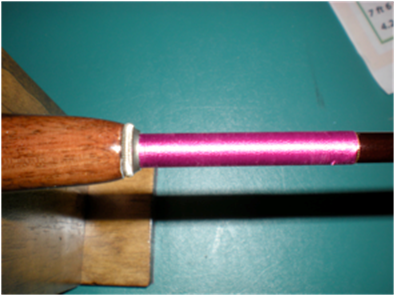
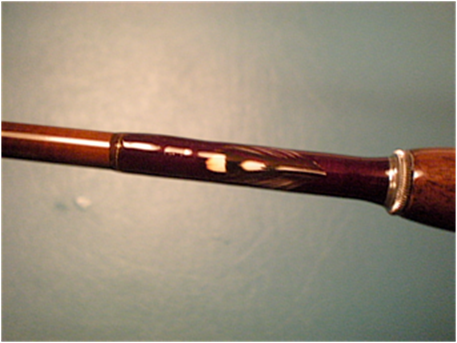
While you can put an inlay directly on the blank, it is easier the first few times to put your inlay on a wrap. In this next picture, I have the rod wrapped. If you are going to use Color preservative on your wraps, apply that now, and ignore the next couple of steps. This rod is not going to get color preservative on the wraps. We need to put a light coat of rod finish on the wraps before laying our inlay in place to protect the wraps from the color preservative we are going to use in a little bit.
Here is our butt wrap all ready for the rod finish. Yes, that tiny little tag got trimmed before the finish went on. If you do miss any, you can use a razor blade to slice them off after the first coat of rod finish has set.
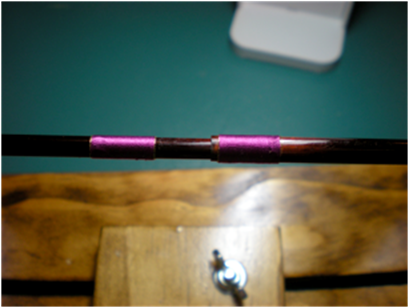
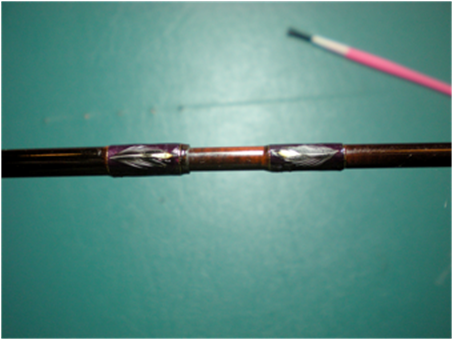
Here are the wraps at the joint between the two rod pieces.
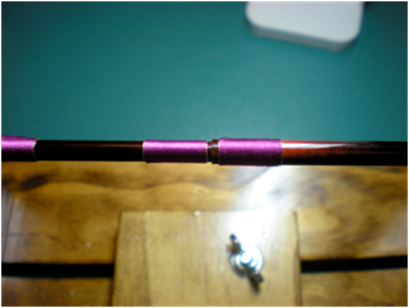
As you can see, the wraps at the joint are very close together. You will need to be very careful that when you apply the rod finish, you don’t glue the two pieces together! In the next picture, you will see that I have pulled the joint apart to avoid gluing things together, but have it together just enough that everything will rotate in the turner. It may help to put a tiny piece of tape on the male side so the female side will stick a little tighter before you get things too close together.
Now I will apply a coat of Flex-Coat Lite. Just enough to saturate the thread. I want little or no build up of rod finish.
Now we need to prepare the feathers for the inlays. Pull the fuzzies off the butt of the feather so you have something like this.
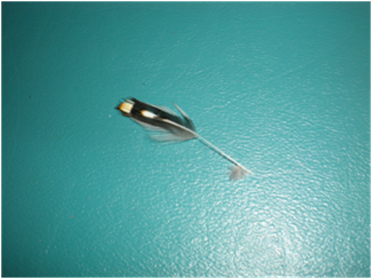
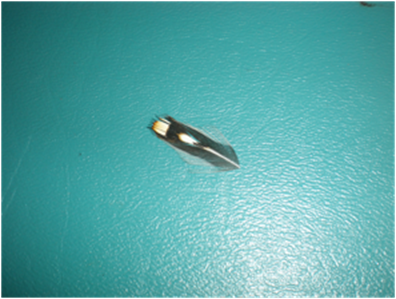
Trim the quill so the prepped feather looks like this.
Place the feather on the cured rod finish and hold it in place like this.
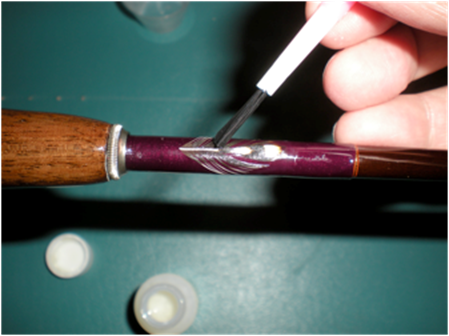
Using your brush, saturate the feather with color preservative. You will see it suck down to the rod. Some folks like to use rod finish to stick the inlay down, but until you have done a few and are more confident, use the color preserver. It is much easier to clean everything off and start over if you are not happy with your results. Until the final finish coat, the feather can be popped off and re-positioned, even after the color preserver has dried.
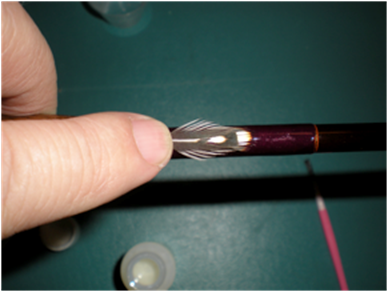
While the color preserver is still wet, you can move the feather around a bit and use the bristles in the brush to “comb” the fibers of the feather into place.
We repeat the process at the ferrule.
Now we let the color preserver dry and apply our final coat of rod finish. I use a “Lite” finish for the first coat and then regular “High Build” for the second coat.
The finished result!
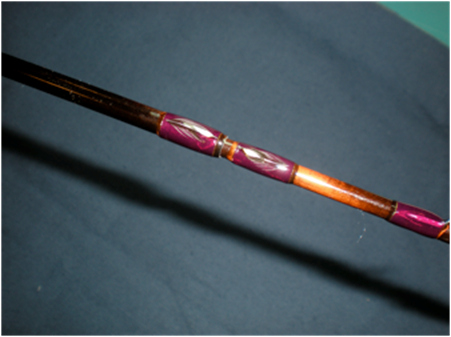
Why not try an inlay on your next rod?
Rods By Kevin, Ltd.
6477 S Estes St.
Littleton, CO 80123
720-732-7417
Kevin@rodsbykevin.com