
| ||
|
June 7th, 2004
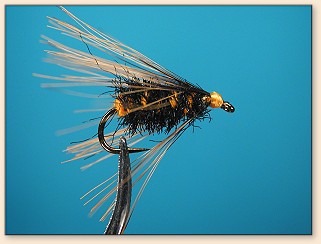
Shwapf Beetle |
|
Scwapf Beetle Materials:
Tying steps Scwapf Beetle: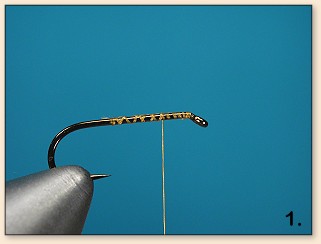 1. Start the thread.
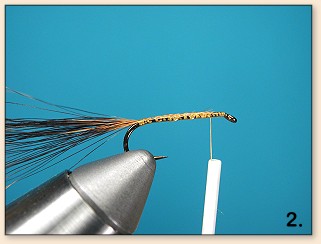 2. Add a few dozen hairs from a fox squirrel tail, tied in by the tips.
 3. Add a loop of punch embroidery yarn by tying the open ends to the hook.
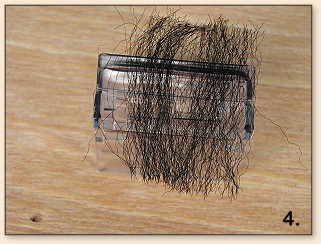 4. Select some dark (in this case black) antron fibers and lay them across the largest table of a Magic Tools set.
 5. Push them down into the table with a wire.
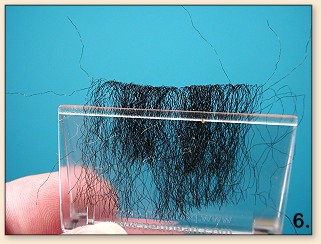 6. Now, clamp the ends of the fibers and remove them from the table.
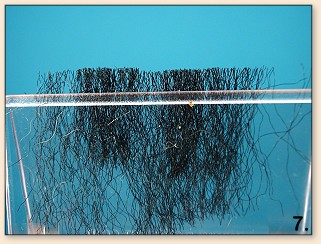 7. Then clip the loop from the fibers.
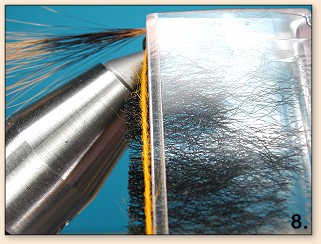 8. Place the fibers between the strands that form the punch embroidery yarn loop.
 9. Then twist the fibers and yarn into a heavy chenille. I like to use a rotary vise for this and the next few steps since it is much easier to control.
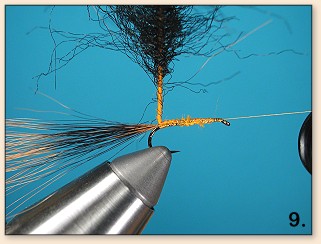
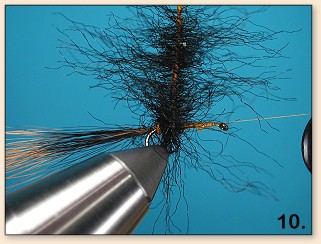 10. Wrap the "chenille" around the hook, paying attention to not wrapping down too many of the fibers.
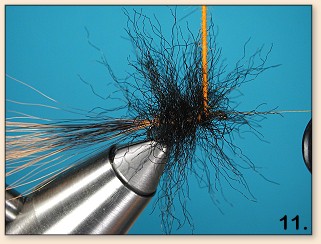 11. Wrap it forward leaving enough room for a head.
 12. Then, tie the yarn off and start the head area.
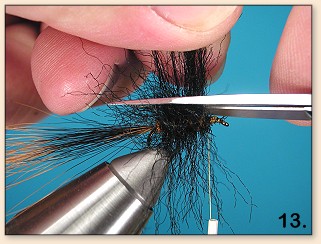 13. Now, start trimming the fibers close to the body.
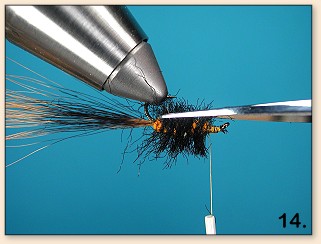 14. Rotate the vise or hook so you can trim it all the way around the hook.
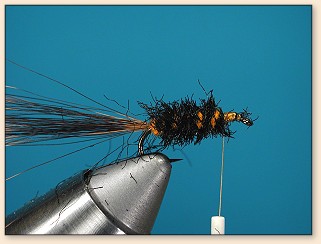 15. Leave the body hackles fairly coarse and rough.
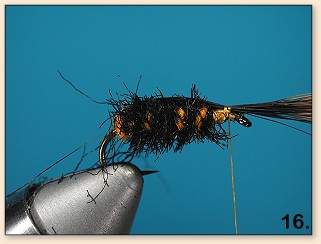 16. Then, pull the hair over the top of the hook, and tie it down behind the hook eye.
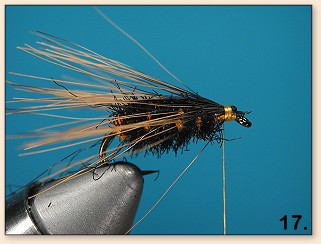 17. Next, flare the hair back over the body and tie it down behind the hook eye.
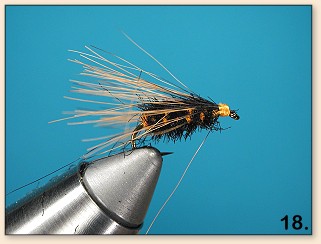 18. Then, whip finish and cut the thread.
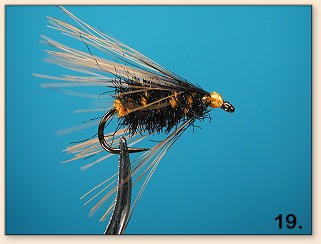 19. Finally, remove the fly from the vise and even up the hair at the back of the fly. Your final fly should look something like this.
|
