|
Next week we'll look at the winners of our contest,
and work with a few final thoughts. This week,
we're going to build a magazine cover. I'll leave
enough room on the cover for the name of the contest
winner, so I can print the cover as a prize to the
winner. It isn't every day you get a photo published,
and most of us rarely, if ever, see our names on the
cover of anything.
We have already played with a lot of useful tools,
and hopefully you've gained new courage to try your
hand at this game. It really isn't hard to spice up
a picture with a few added special effects. All it
takes is some time and a willing attitude. Any photo
can be used, from a picture placed on a flatbed scanner
to scanned slides to digital pictures gathered from a
digital camera.
Remember that photo (scanned slide) of my friend Steve
fishing on a spring creek?
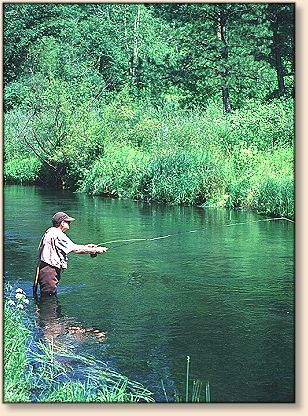
That will be my cover photo. You can use any photo you
like for your covers, but remember what it takes to have
a good photo. The subject should be placed in the right
area of the photo and facing into the action. For a
magazine cover, there has to be enough room in the photo
to have titles and headlines. I love close-up type
pictures, but the majority of my outdoor fishing photos
are kept at a certain distance so they can (hopefully)
qualify for a magazine cover someday.
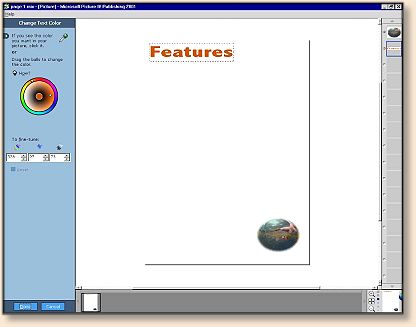
Using Microsoft Picture It Publishing software (for the
sake of variety), I start adding text to the picture.
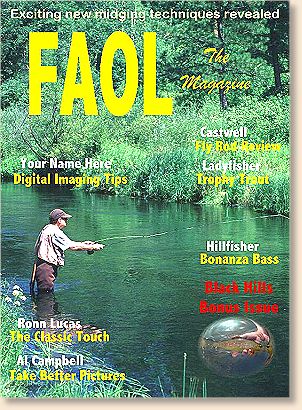
Borrowing a thought from a popular sports show, I'll
call this magazine "FAOL-the magazine". OK, some days
I don't have a very original imagination, but the title
fits pretty well anyway.
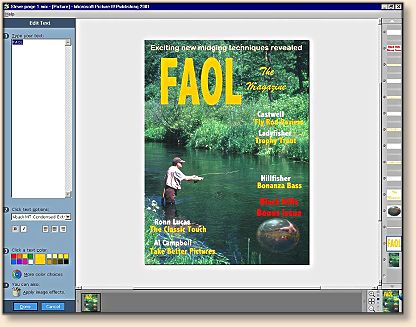
Adding a picture in a bubble seems like a good idea to
spice my cover up a bit. You can use this style of
imaging to create a lot of useful things. Maybe your
club is having an auction or you just want to advertise
your annual yard sale. Color and style attract attention
to what you have to sell. Make your own posters or signs
at will, once you get this imaging stuff figured out.
If you own a web site, you can use the same techniques
to create unique and impressive cover pages and more.
There are few things more impressive to me than colorful
and artful web pages. If you sell things on your site,
use your imaging skills to show your shoppers just what
you have, and do it in an entertaining way.
Before I take up too much of your time, let's create the
index page for our magazine. If you have been following
along with me in this series, you already have the skills
to create an index page. You just add some pictures and
text to go with the articles in your magazine. Just
start at the top, give your page a title and add the
rest.
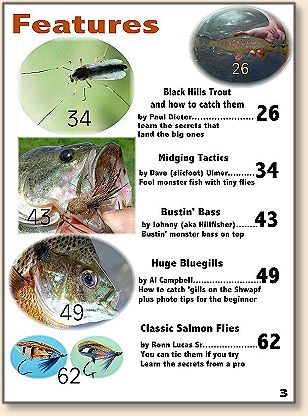
If you want your index to be colorful and show the subject
of the feature articles, leave room for a few pictures that
show the subject, on the left of the page.
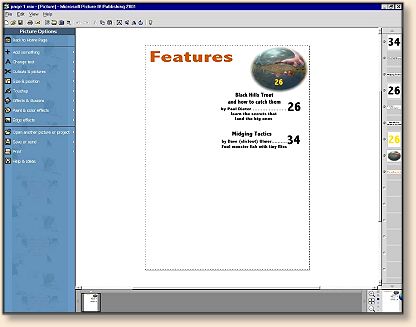
When you finish filling the page, it might look something
like this.
This has been a fun and sometimes difficult series. Fun
because I enjoy working with photos and seeing how far I
can push the envelope of my imaging software and talents.
Difficult because I had to learn a few new things about
capturing images on the screen and making them somewhat
viewable by you, the readers. It's one thing to manipulate
photos, and very much another to show someone else how you
do it. For every image you viewed in this series, there
were at least a dozen that I decided to discard and start
over, because they weren't viewable in smaller sizes.
However, I enjoyed it and hope you did too.
Next week we'll look at the contest winners.
~ AC
|