
MICRO-CHENILLE CADDIS NYMPH
I was first showed this fly by a fisherman at Bennet Spring in Missouri. He was simply fishing circles around everyone else. I worked up the nerve to ask him what he was using and he had the kindness to show me. I wish I could remember his name so I could give him the credit for it, but it escapes me now. When he opened his fly box to give me a few I noticed he had them tied in several different sizes and colors; green, tan, and red. It is a very easy and effective fly.

Materials:
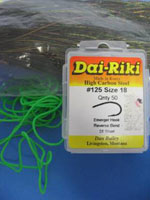
- Size 20-16 curved scud hook (any brand will work)
- Micro-Chenille
- Peacock herl
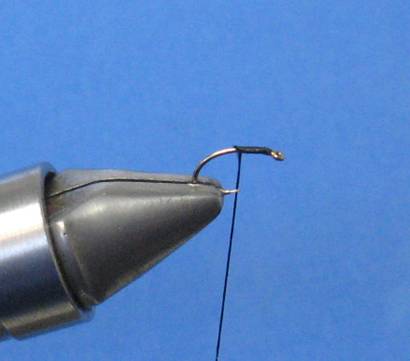 Step 1: Tie your thread from the eye of the hook to approximately 6 wraps down the shank (about the length you want the peacock herl wraps to be)
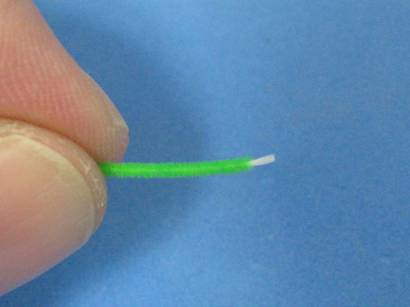 Step 2: strip just a little of the chenille off to expose the inner string. I use fingernail clippers.
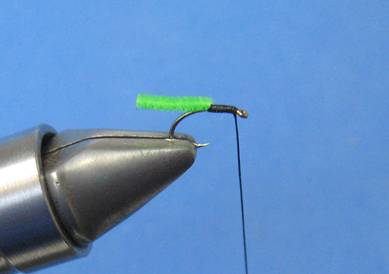 Step 3: Tie in the chenille, attaching only the exposed string.
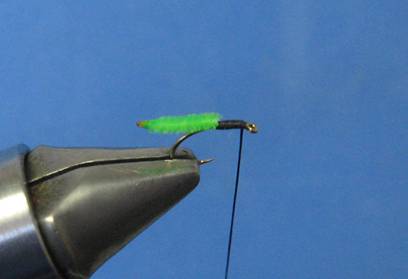
Step 4: Cut off the chenille to whatever length you want it.
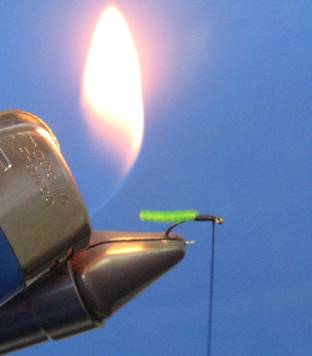 Step 5: Using a lighter, singe just the very end of the chenille. It should give it a nice profile and leave you with just a little discoloration.
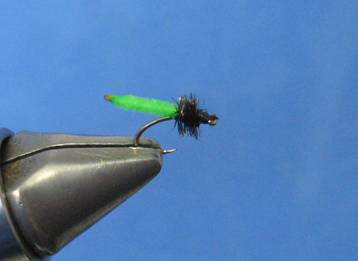 Step 6: Tie in the peacock herl and wrap it to just behind the eye, tie it off and whip finish.
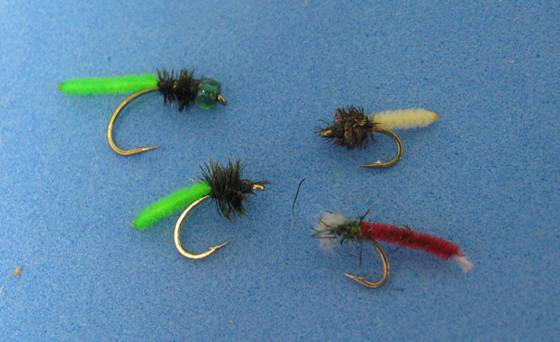 Note: I sometimes tie this fly with a glass bead for a little weight. If I don't use a bead, then I'll use a #6 split shot 8-10 inches above the fly. Fish it whichever way you enjoy fishing nymphs.
For more great info, check out:
Beginning Fly Tying | Intermediate Fly Tying | Advanced Fly Tying.