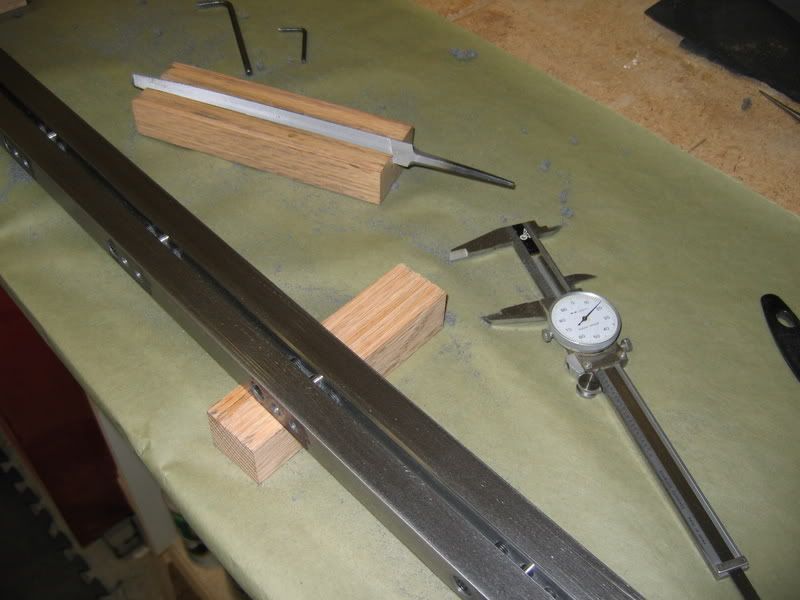
Well, this week has been occupied with filing and drilling. Now that I have jumped into this bamboo thing I thought I would post a few pictures as I go along and expose all my mistakes or ignorance for comments and hopefully, insight.
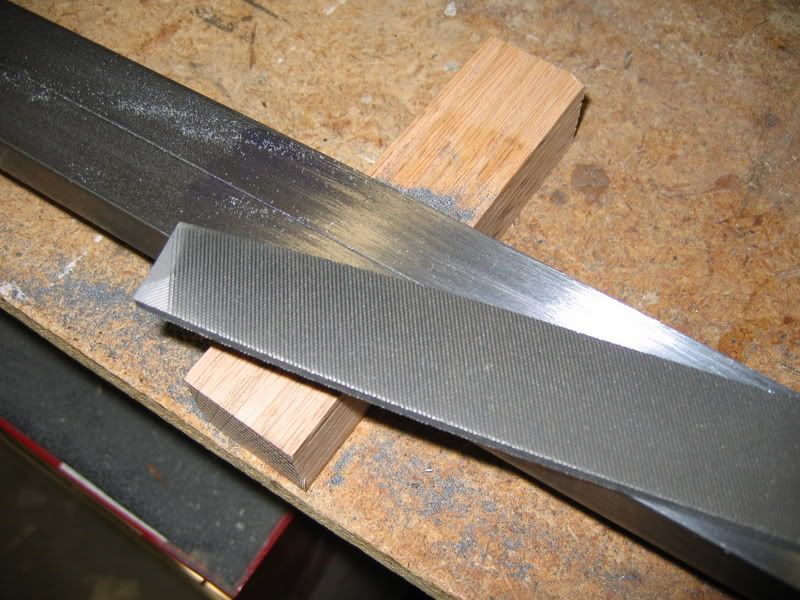
So far, I have the mating faces smoothed up and all of the holes drilled and tapped for screws. Here I have the bars blocked up on the bench and filing is about done.
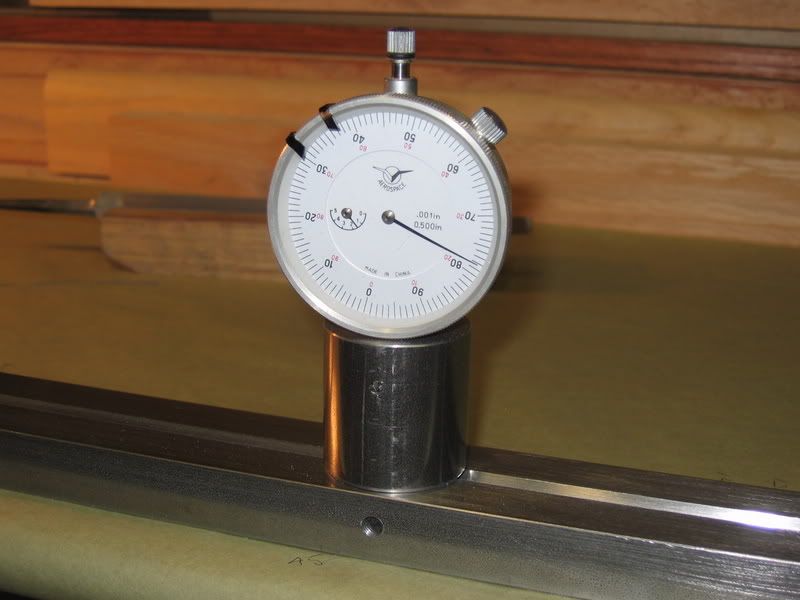
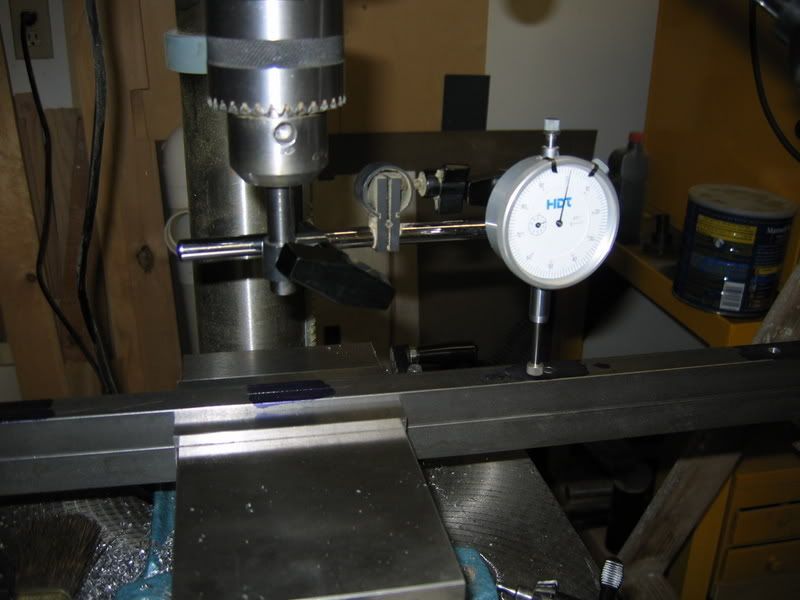
To make sure the holes are square to the bars, I used a dial indicator.
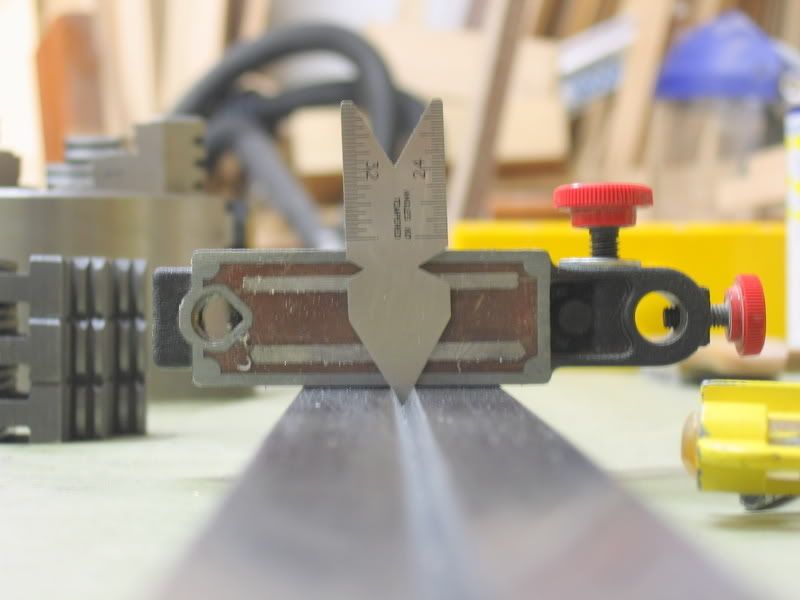
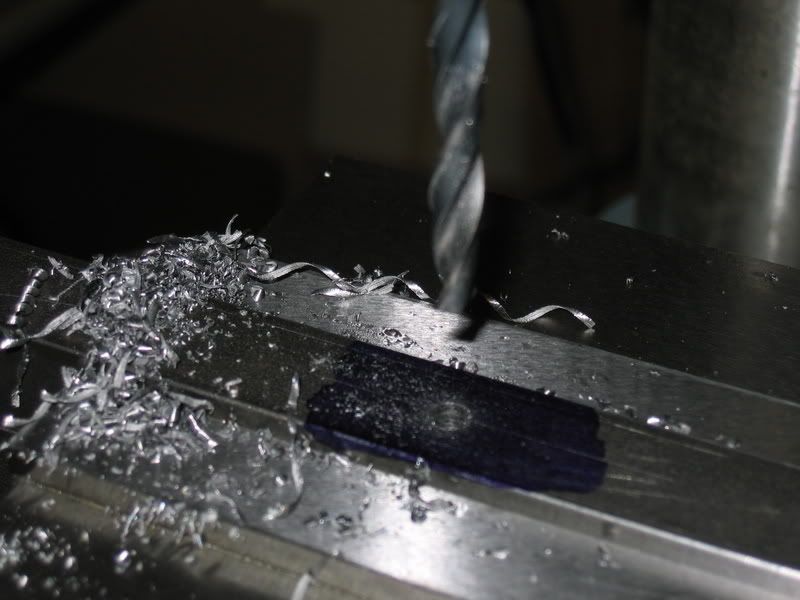
First hole drilled for a dowel pin.
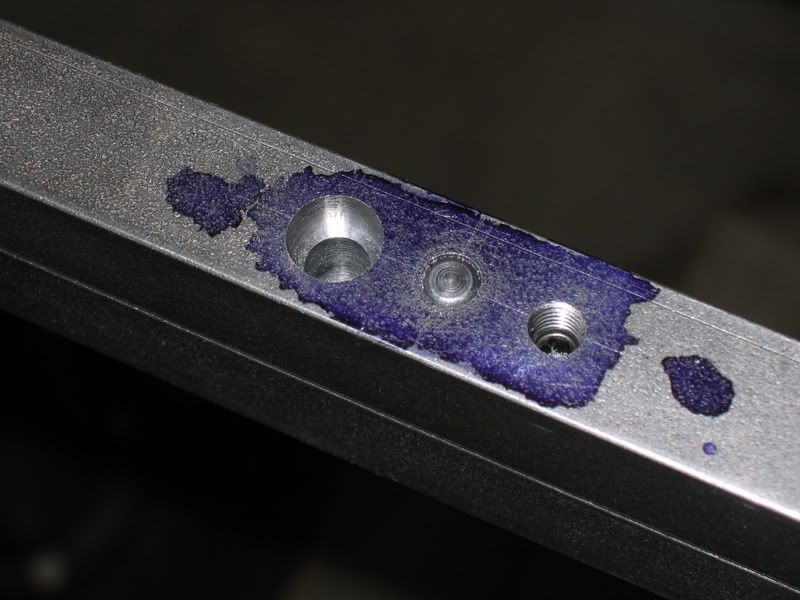
Left to right
Countersunk hole for a socket head cap screw (pull screw).
Dowel pin.
Threaded hole for set screw (push screw).
This set up is a little different than other forms I have seen. Using this scheme, the side surfaces of the forms are free of bolt heads to run into and are adjusted from the same side.
Now it is on to filing the top and bottom surfaces and then the grooves. So far I have about 15 hours into this project which I don't think is too bad for me.
 Reply With Quote