+ Reply to Thread
Page 1 of 2 12 LastLast
Results 1 to 10 of 15

Thread: Wooly Bugger Step By Step

  1. #1
    Join Date
    Jun 2007
    Location
    Western New York (Steelhead Country)
    Posts
    209

    Default Wooly Bugger Step By Step


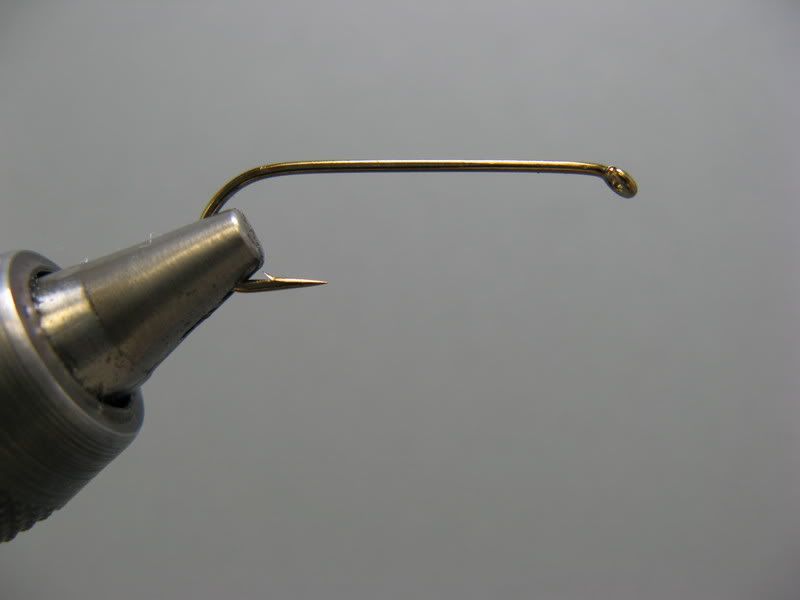
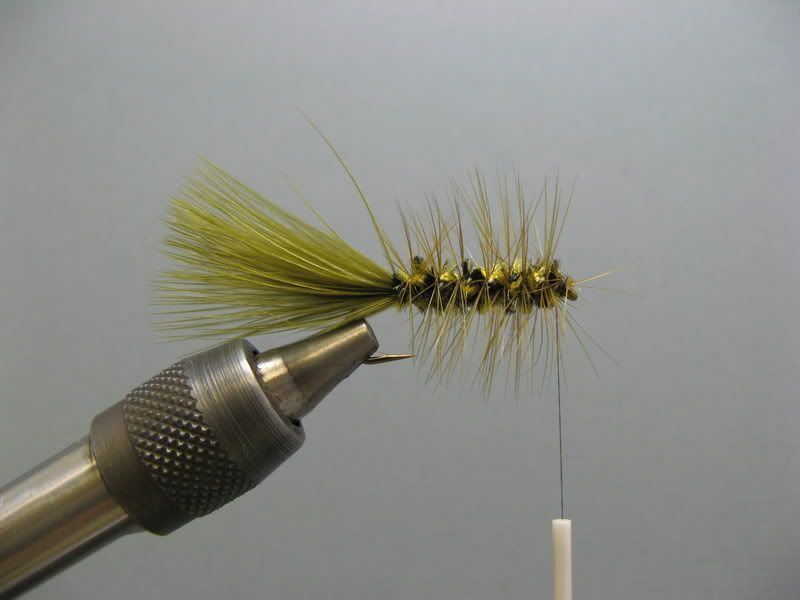
    Hook - Daiichi 1750 - 4-12
    Thread - 8/0 black
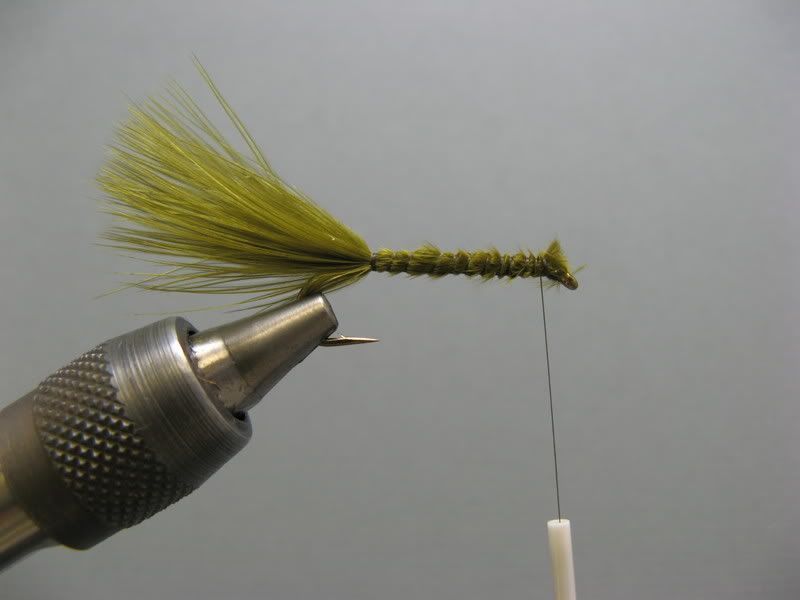
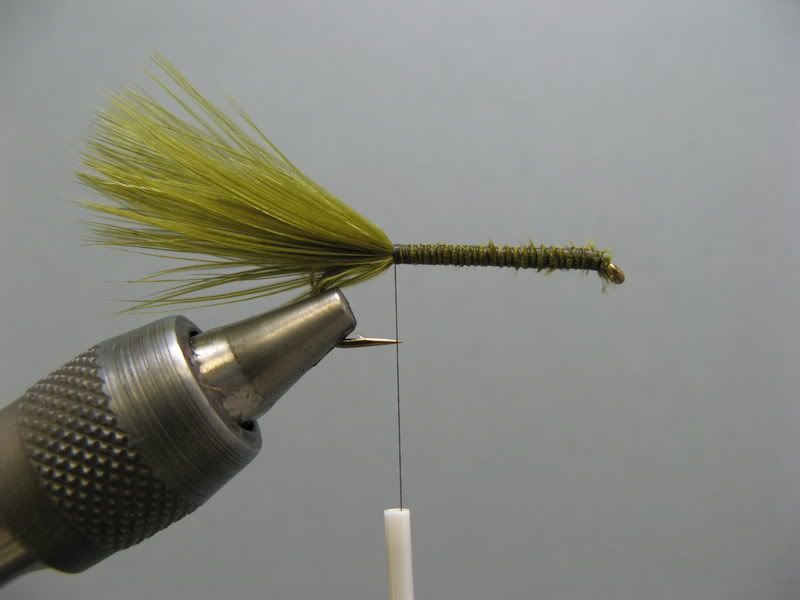
    Tail - Olive Marabou
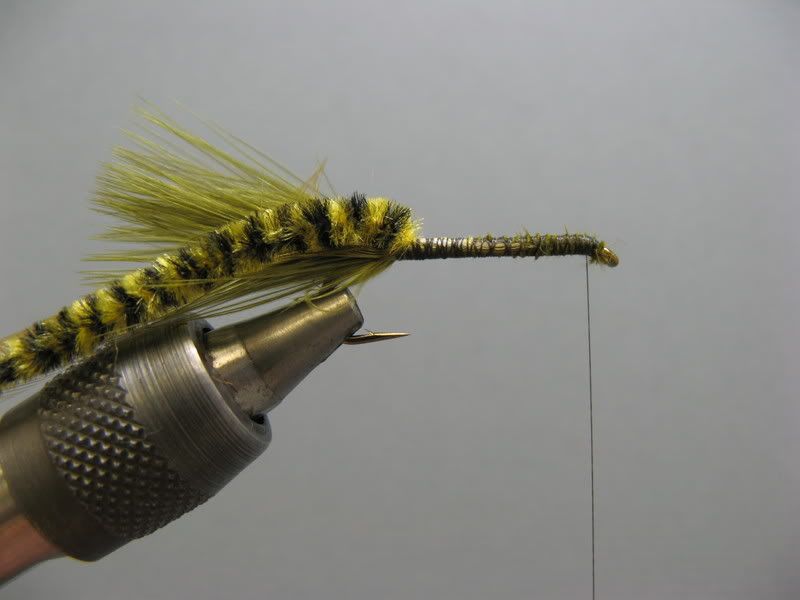
    Body - Varigated Chenille
    Hackle - Olive Saddle
    Tied by Jim Guida
    Signature Fly Designer For Umpqua and Gander Mountian Pro
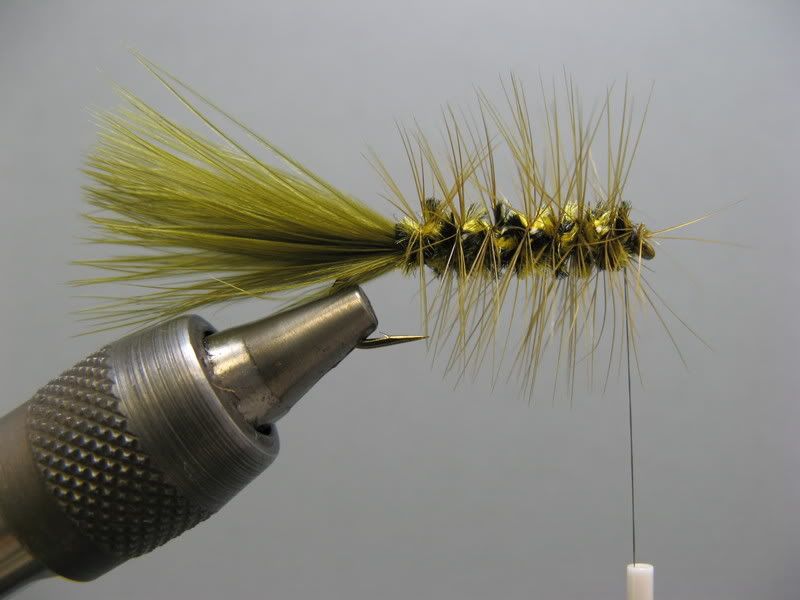
    Catch and Release So Others Can Enjoy Them

  2. #2
    Join Date
    Oct 2002
    Location
    Highland Park, Illinois
    Posts
    506

    Default Re: Wooly Bugger Step By Step

    Nice sequence, and fine photography. Thanks.

    Chuck

  3. #3

    Default Re: Wooly Bugger Step By Step

    Another great pictorial. One of my favorite patterns to tie. Thank Flyguy5910.
    Trout don't speak Latin.

  4. #4
    Join Date
    Jun 2007
    Location
    Western New York (Steelhead Country)
    Posts
    209

    Default Re: Wooly Bugger Step By Step

    any time guys and thanks
    Catch and Release So Others Can Enjoy Them

  5. #5
    Join Date
    Mar 2000
    Location
    aimless wandering
    Posts
    2,042
    Blog Entries
    12

    Default Re: Wooly Bugger Step By Step

    I tied em like that for years, and then one day a friend showed me that if you tie in some wire at the back, tie in the body, wrap the body forward, then tie in the BUTT of the hackle at the FRONT, and wrap BACK, and then wrap the wire forward over the hackle, the fly lasts MUCH longer. The browns out here have sharp teeth and cut hackle within the first few fish, usually. The wire counterwrap holds down the hackle in ten or twelve places, rather than just two.

    Try it.

    Dennis

  6. #6
    Join Date
    Nov 2001
    Location
    Toronto, Ontario, Canada
    Posts
    750

    Default Re: Wooly Bugger Step By Step

    I am puzzled as to why it is necessary to clutter up the board with beginner patterns which must be already well represented on the 'net or in [url=http://www.flyanglersonline.com/flytying/beginners/part13.html:b2028]Al Campbell Lessons[/url:b2028]- regardless of how well they are photographed. And do I see that the eye has been crowded somewhat? I think this presentation would be better if it were posted [url=http://www.flytyingforum.com/:b2028]HERE[/url:b2028].

  7. #7

    Default Re: Wooly Bugger Step By Step

    Quote Originally Posted by Greg H
    I am puzzled as to why it is necessary to clutter up the board with beginner patterns which must be already well represented on the 'net or in [url=http://www.flyanglersonline.com/flytying/beginners/part13.html:8ed0f]Al Campbell Lessons[/url:8ed0f]- regardless of how well they are photographed. And do I see that the eye has been crowded somewhat? I think this presentation would be better if it were posted [url=http://www.flytyingforum.com/:8ed0f]HERE[/url:8ed0f].
    Greg,
    Using your word, PUZZLED, WHY would you say this Tutorial is 'Cluttering Up The BB?' If you don't like the Fly, the Photos, the Color or whatever, that's Fine, but don't try pushing things around!
    Thanks,
    Doug
    Enjoying the joys of others and suffering with them- these are the best guides for man. A.E.

  8. #8

    Default Re: Wooly Bugger Step By Step

    Quote Originally Posted by DG
    I tied em like that for years, and then one day a friend showed me that if you tie in some wire at the back, tie in the body, wrap the body forward, then tie in the BUTT of the hackle at the FRONT, and wrap BACK, and then wrap the wire forward over the hackle, the fly lasts MUCH longer. The browns out here have sharp teeth and cut hackle within the first few fish, usually. The wire counterwrap holds down the hackle in ten or twelve places, rather than just two.

    Try it.

    Dennis

    DG...good point about the wire....and I prefer to use medium wire instead of small. I find the small wire doesnt hold up well.
    Take care and cya around,

    Mark

  9. #9
    Join Date
    Sep 2006
    Location
    Bay Village, Ohio US of A
    Posts
    377

    Default Re: Wooly Bugger Step By Step

    Nicely done, and fine photography.
    A couple pieces of Christal Flash and that's my fly!((beginner patterns or not)) keep'em coming,

    Bud

  10. #10
    Join Date
    Mar 2006
    Location
    Southern Idaho, USA
    Posts
    677

    Default Re: Wooly Bugger Step By Step

    I'll chime in and add my comment about the pictures. Nice job. I wish more tutorials were set up so well.

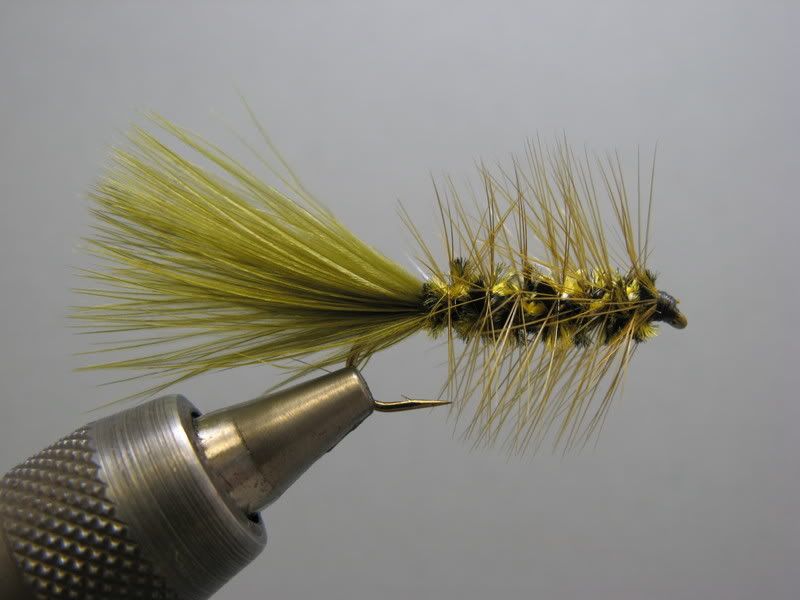
    What kind of varigated chenille did you use? It looks like yellow-black or yellow-peacock?

+ Reply to Thread

Similar Threads

  1. Pine Squirrel Cheater - Step by Step
    By JohnScott in forum Fly Tying
    Replies: 8
    Last Post: 04-13-2013, 01:50 PM
  2. Step by Step mayfly nymph pattern
    By fishtooth in forum Fly Tying
    Replies: 4
    Last Post: 01-20-2013, 07:44 PM
  3. Step by Step Prince Nymph
    By fishtooth in forum Fly Tying
    Replies: 13
    Last Post: 01-06-2013, 08:59 PM
  4. Switch Rod - Step by Step Build
    By yonks311 in forum Rod Building: Cane and Graphite
    Replies: 45
    Last Post: 04-04-2010, 02:16 AM
  5. Step-by-Step of the usual
    By davidm in forum Fly Tying
    Replies: 1
    Last Post: 04-27-2008, 08:22 PM

Posting Permissions

  • You may not post new threads
  • You may not post replies
  • You may not post attachments
  • You may not edit your posts