Worth a shot. I'll hit the vise when we return from a trip back to VA in 10 daysOriginally Posted by Uncle Jesse

Regards,
Scott

Worth a shot. I'll hit the vise when we return from a trip back to VA in 10 days
Regards,
Scott
Part 1
Had an epifanny in Home Depot
now I'm tying tube fly hoppers
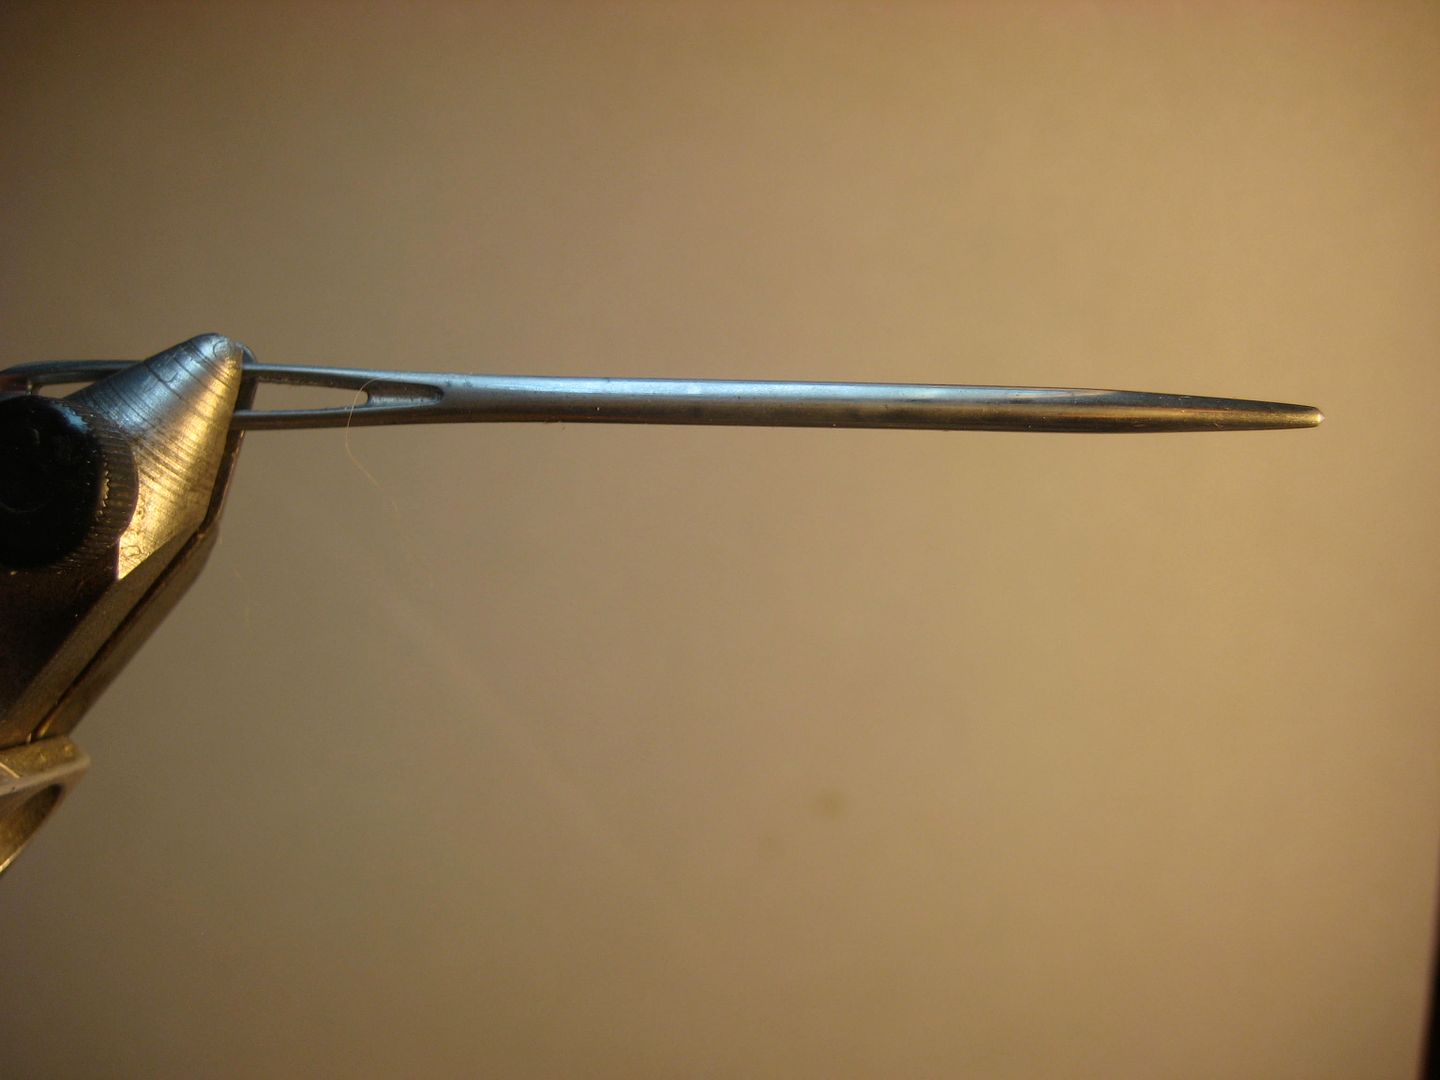
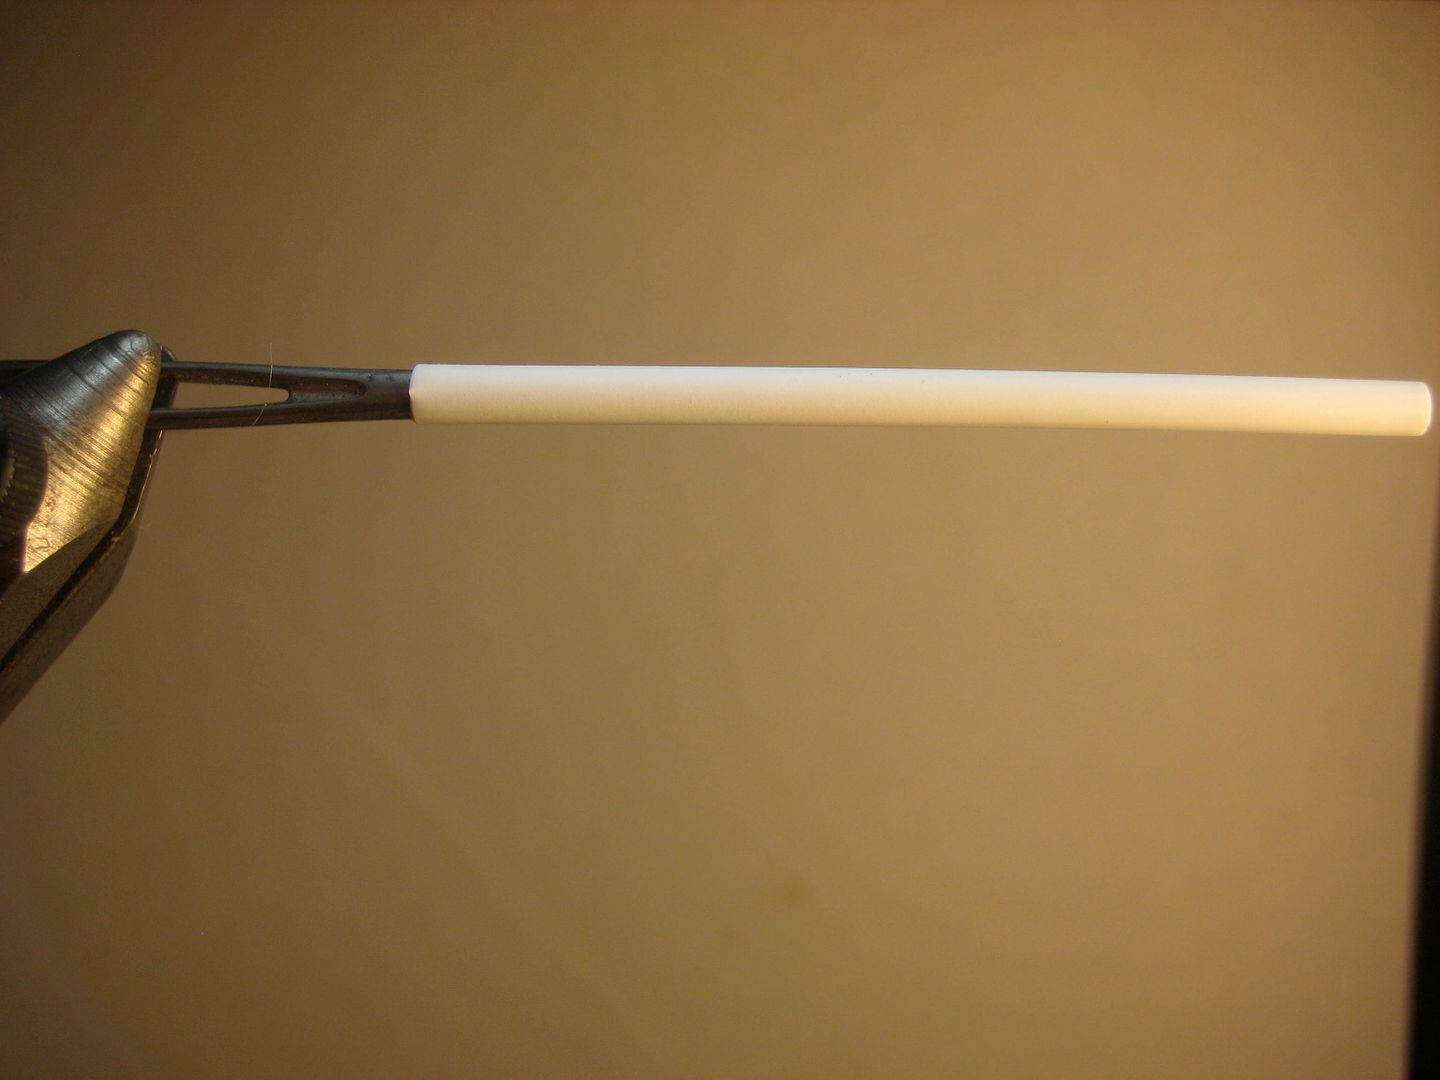
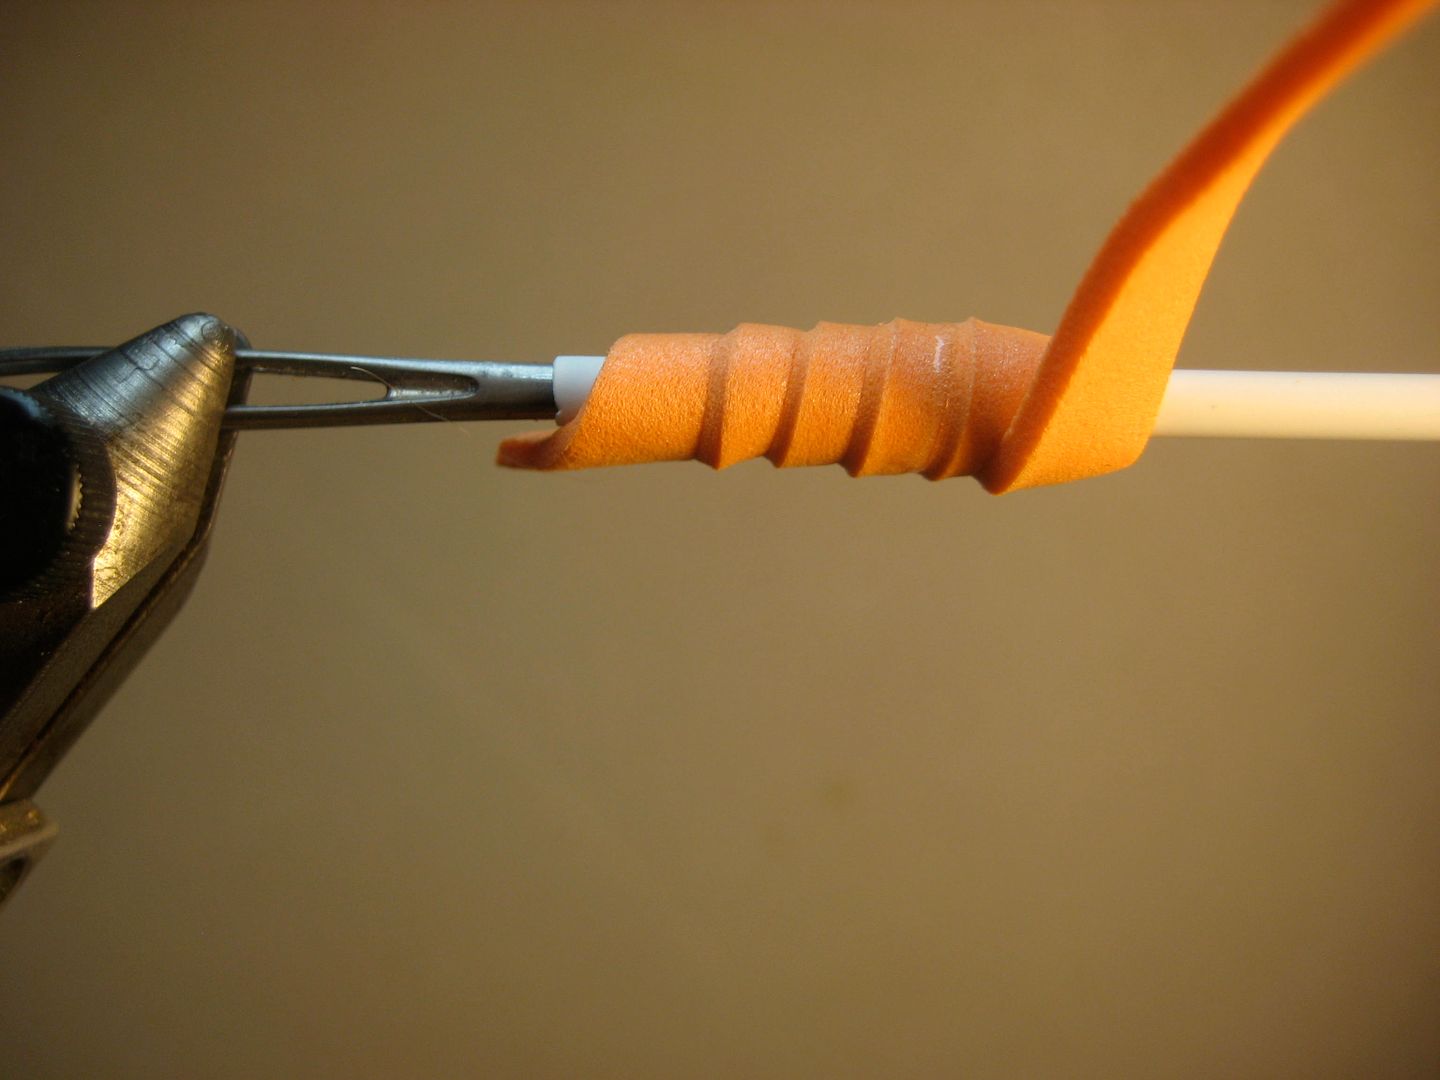
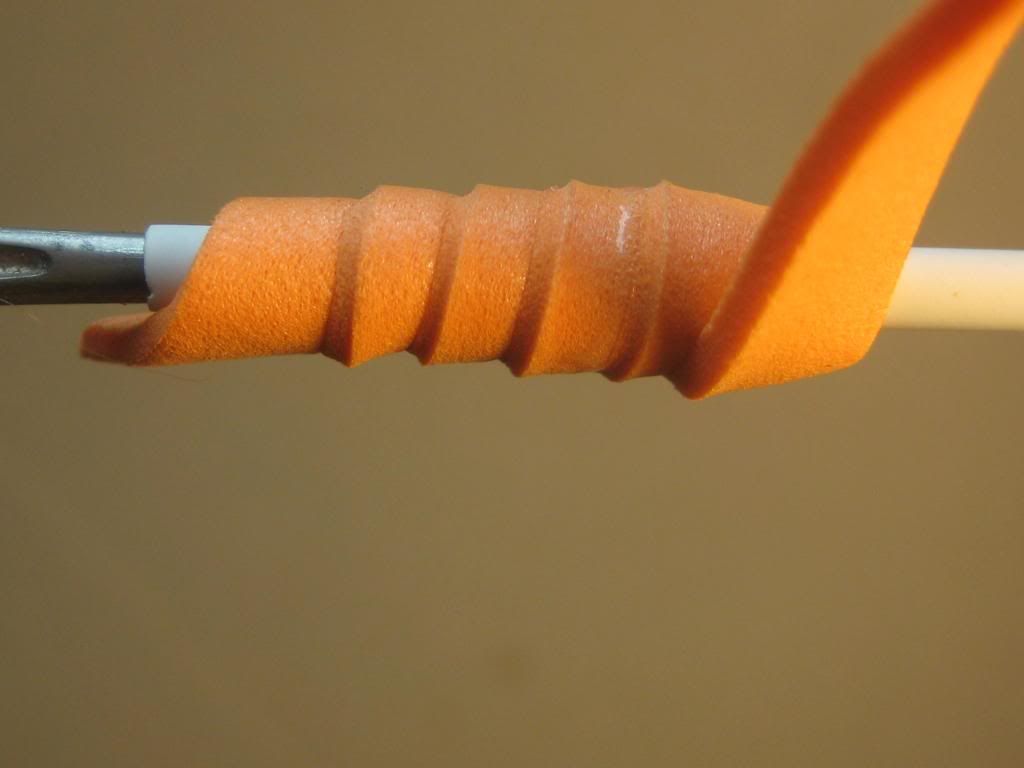
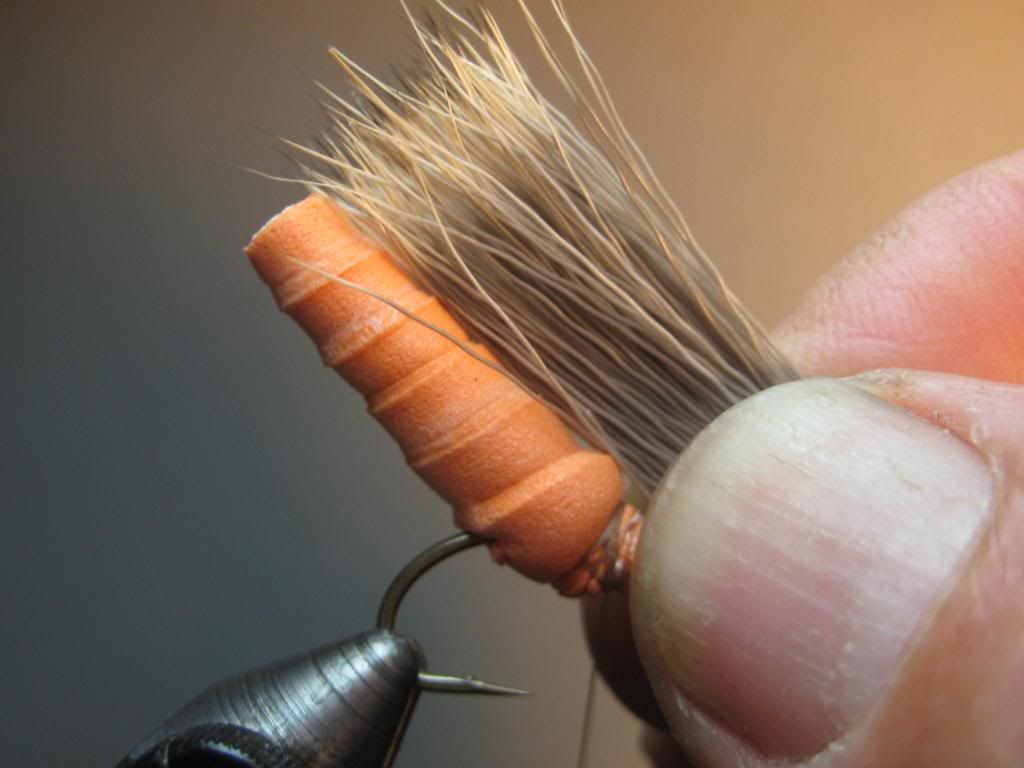
just hold the foam strip against the tube, apply a lot of Super Glue to the foam (no need to wax the needle)
wrap foam around tube; since it's not gonna stick to the needle I could really pull the foam tight to get good adhesion (to the tubing, too), and adjust tension to create body taper
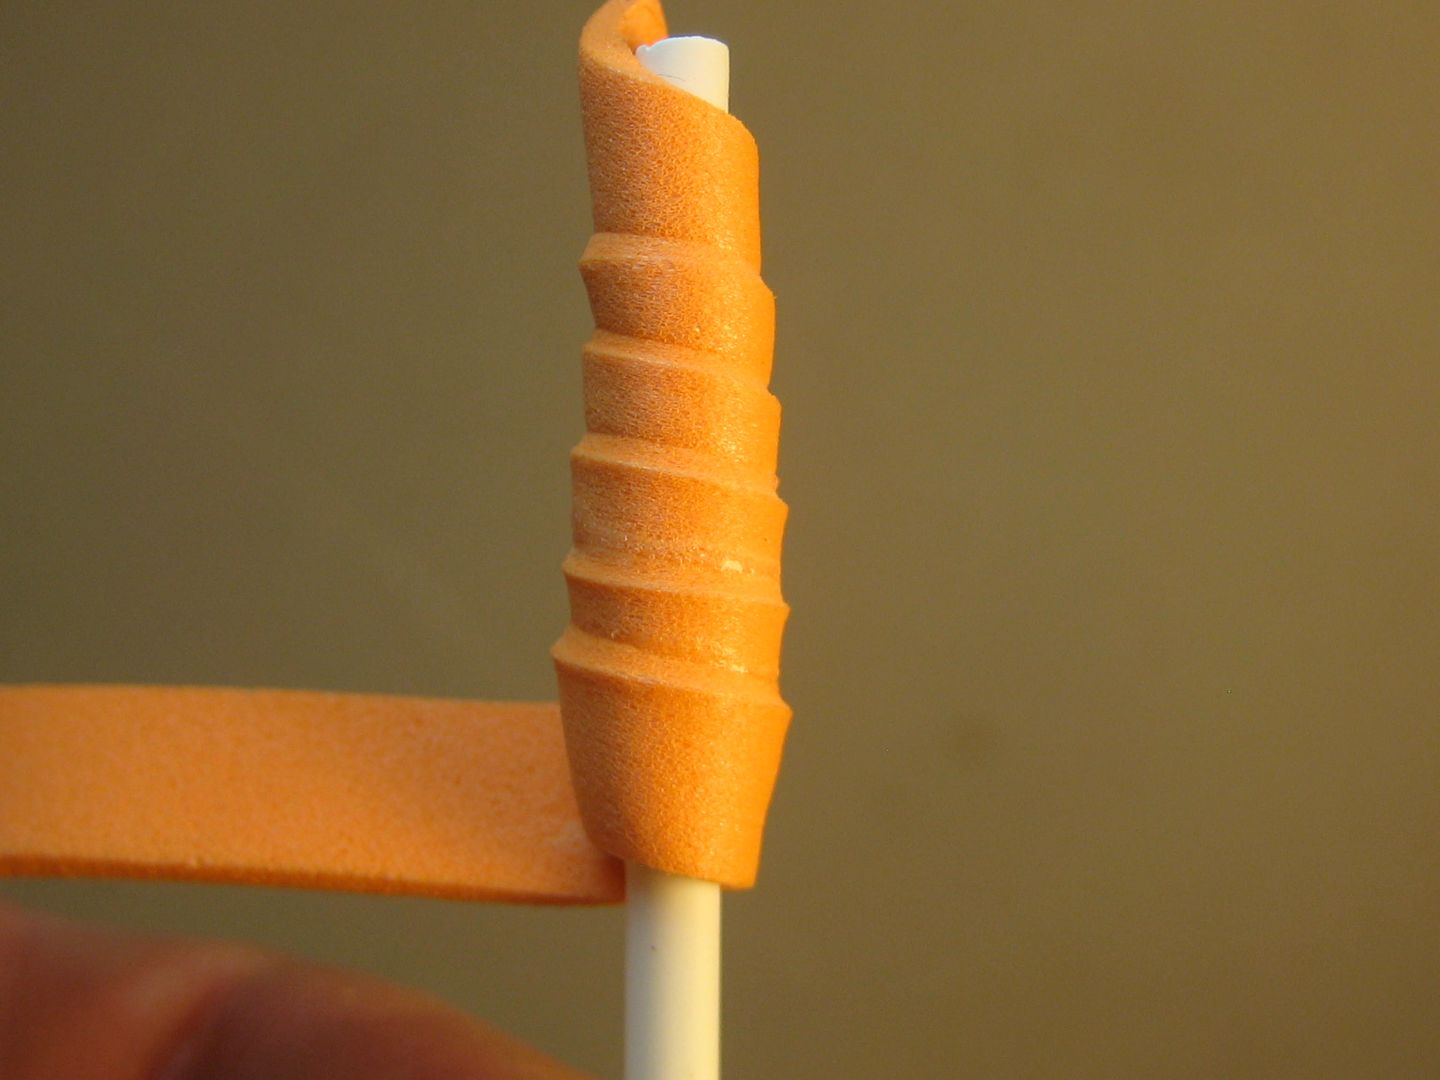
slid off the needle slick as whale snot; now I got Carnage on a stick
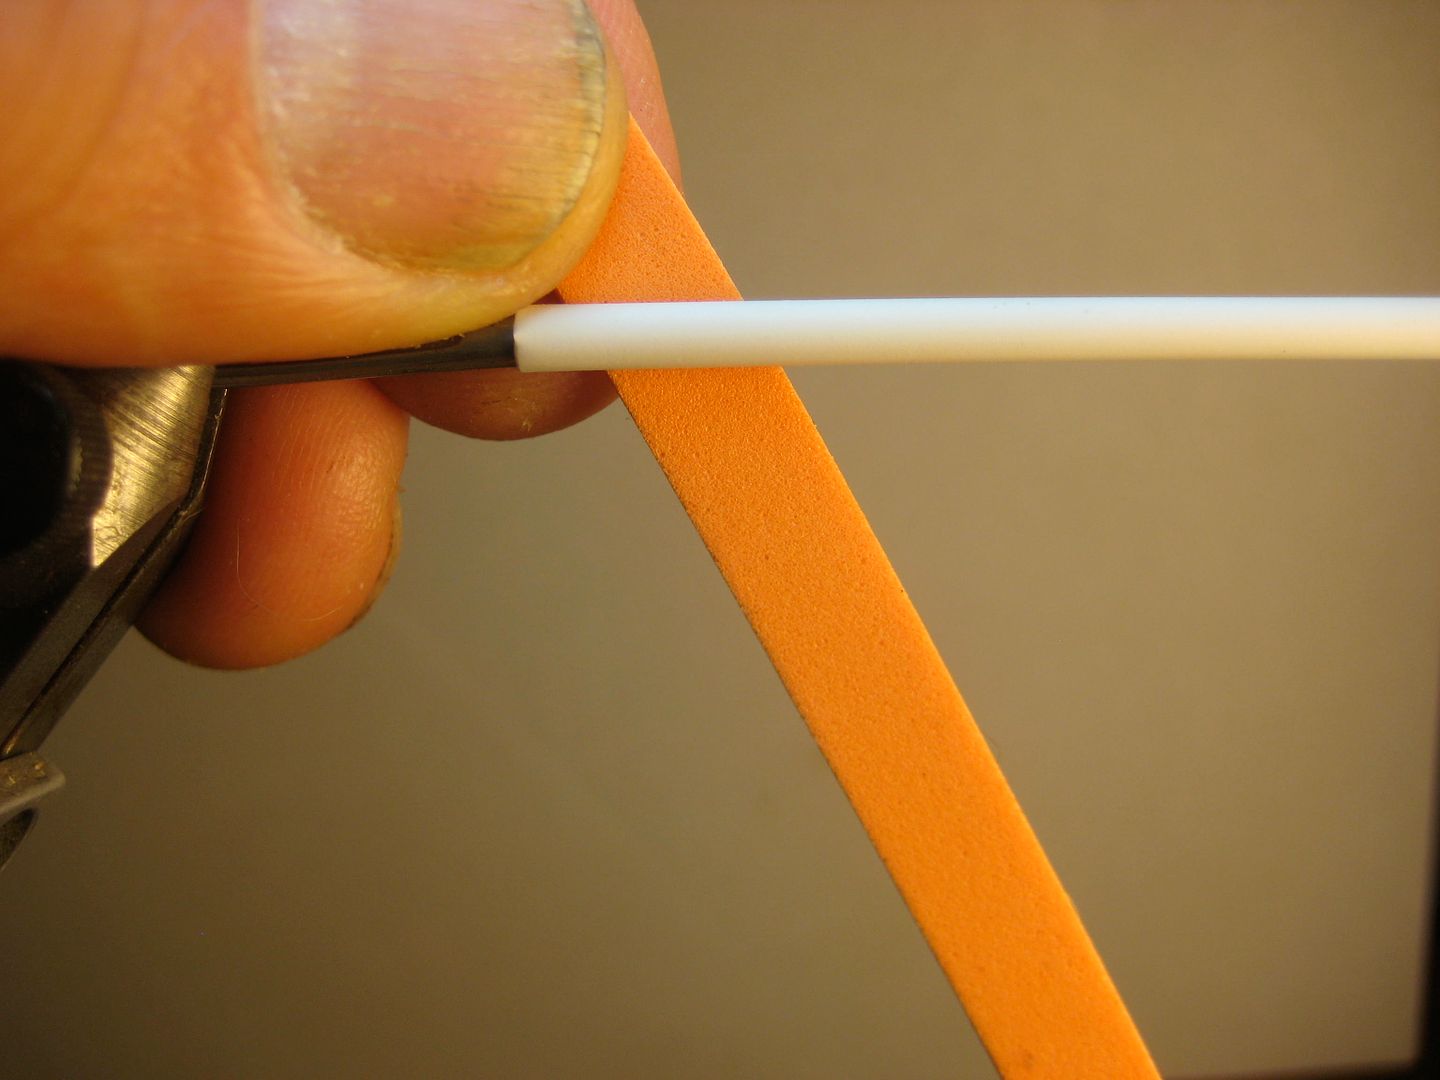
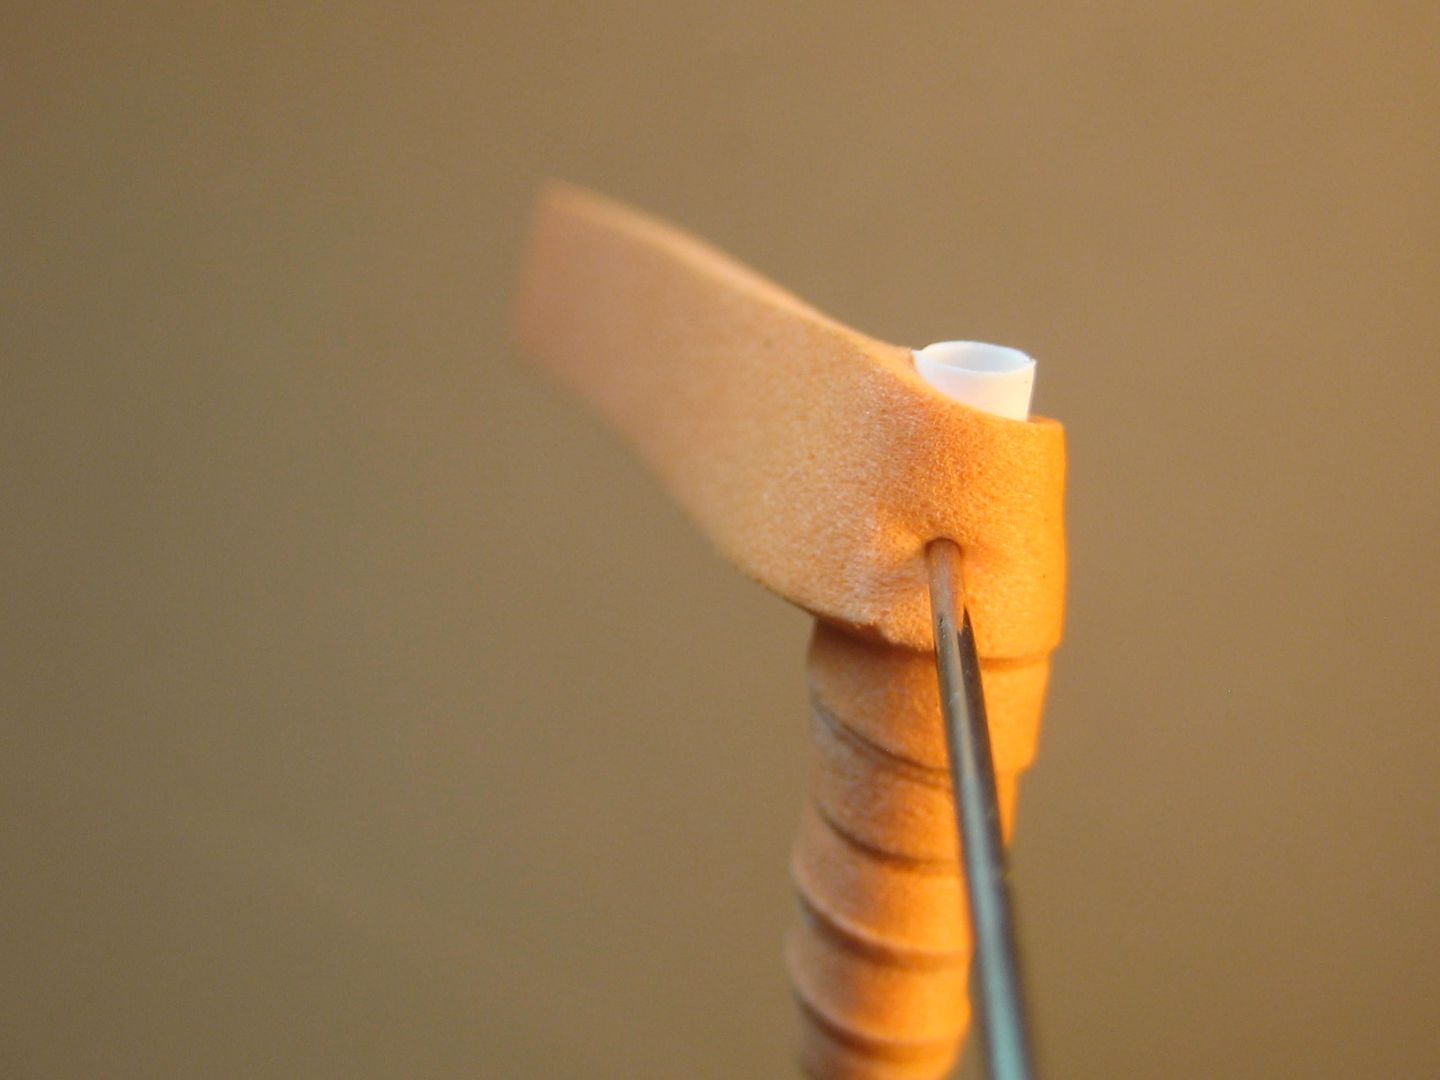
trim the butt and front tube (not the front foam, yet) and poke a hole in the bottom to slide the hook into
insert hook in vise, start the thread and build up a tying base; forgot to add foam binder strip for more bulk (next time)
coat with Super Glue
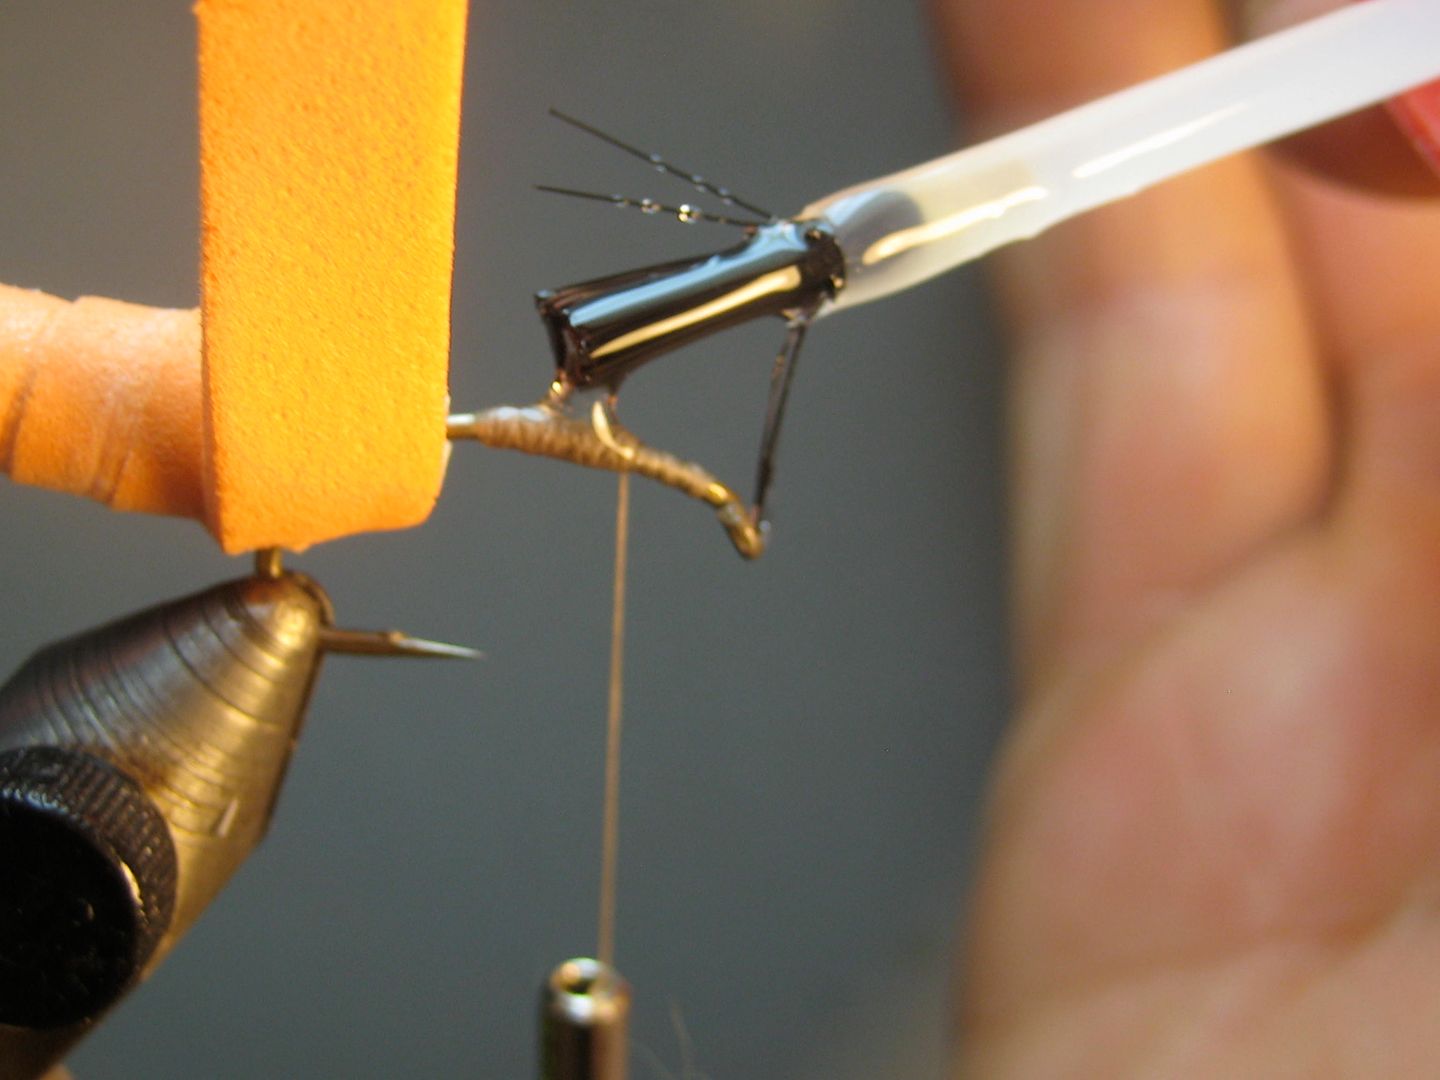
Part 2
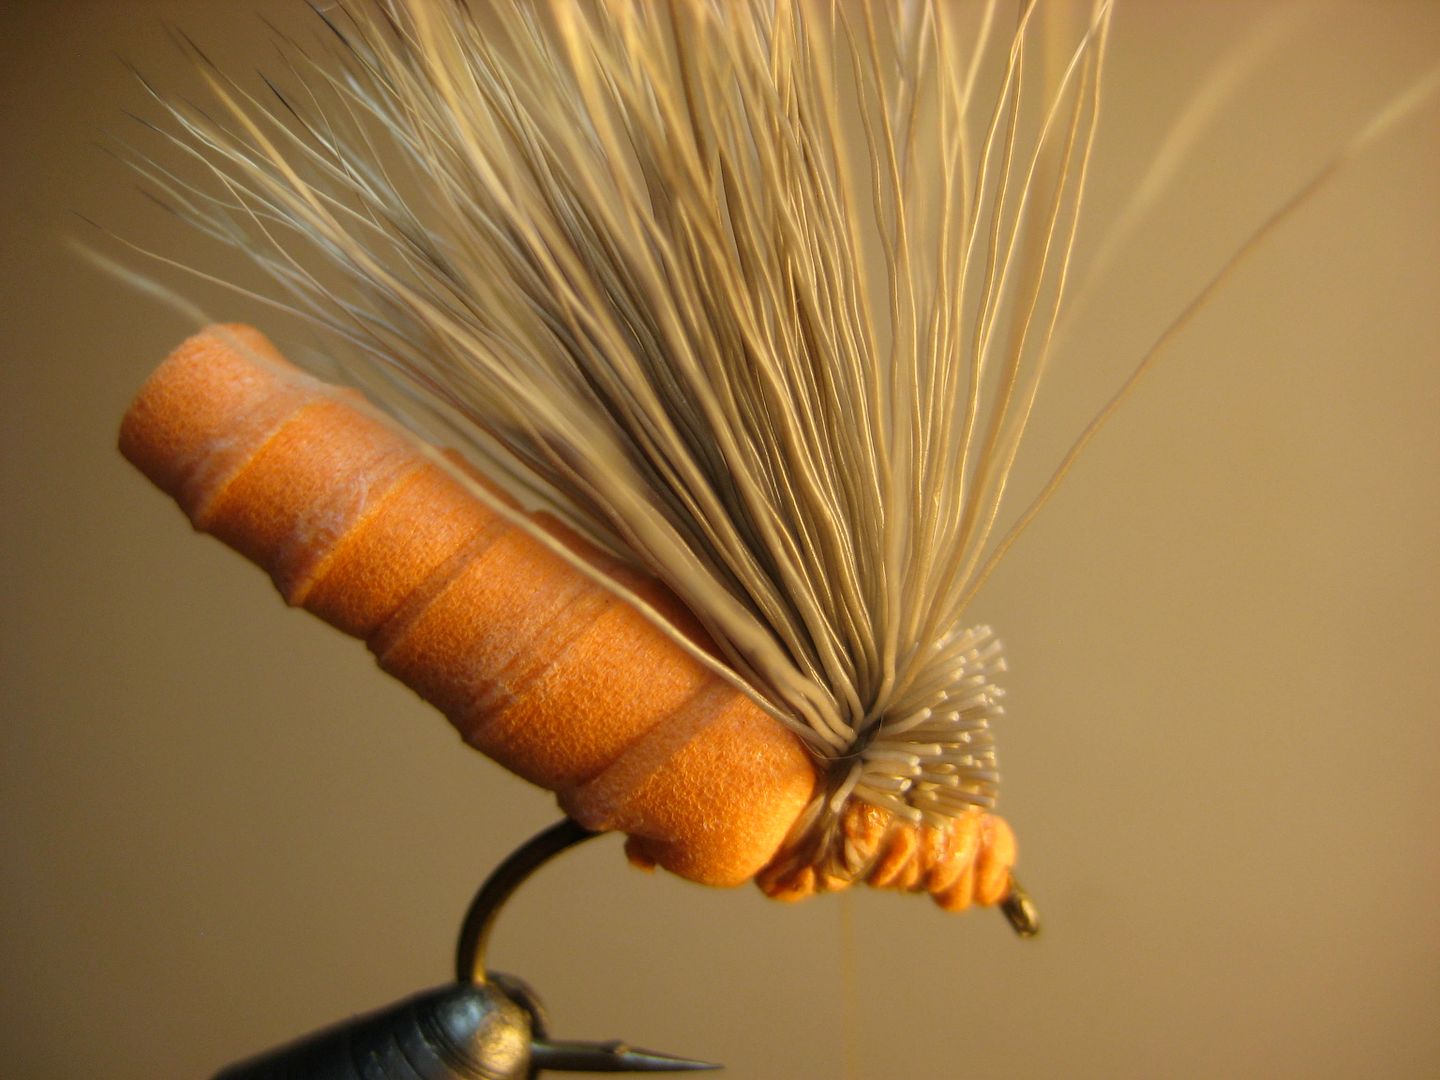
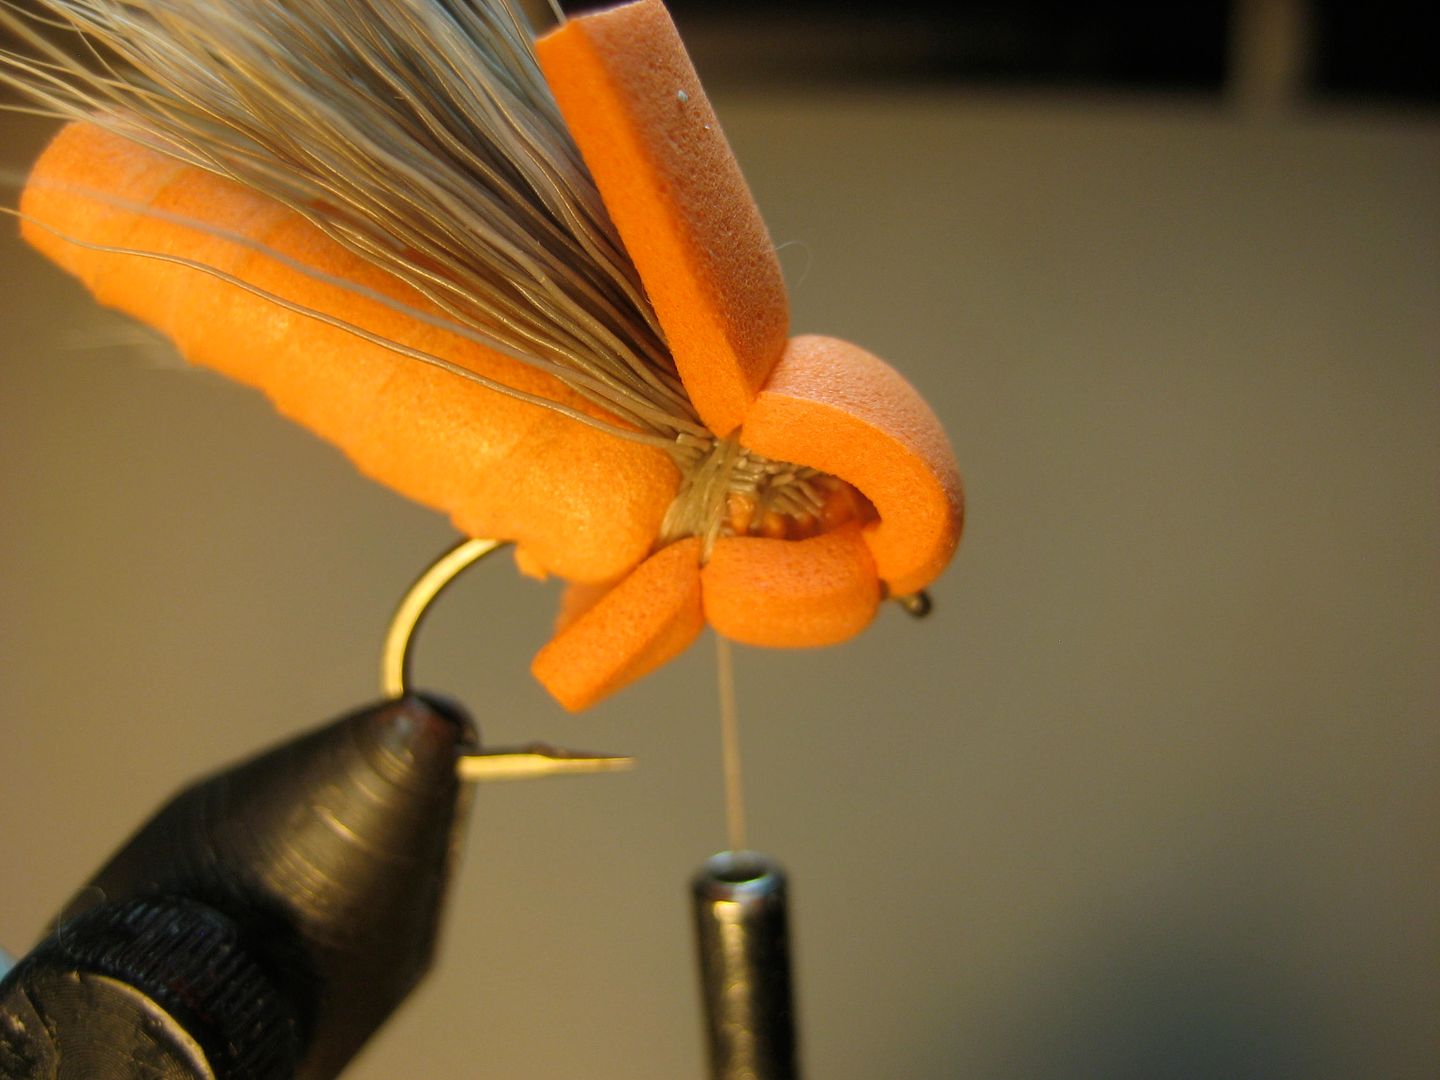
slide the body forward, wrap once around with the foam and tie it down
clean, stack, measure a clump of elk hair and tie it in
take a wider strip of foam and tie in underneath at wing tie-in position
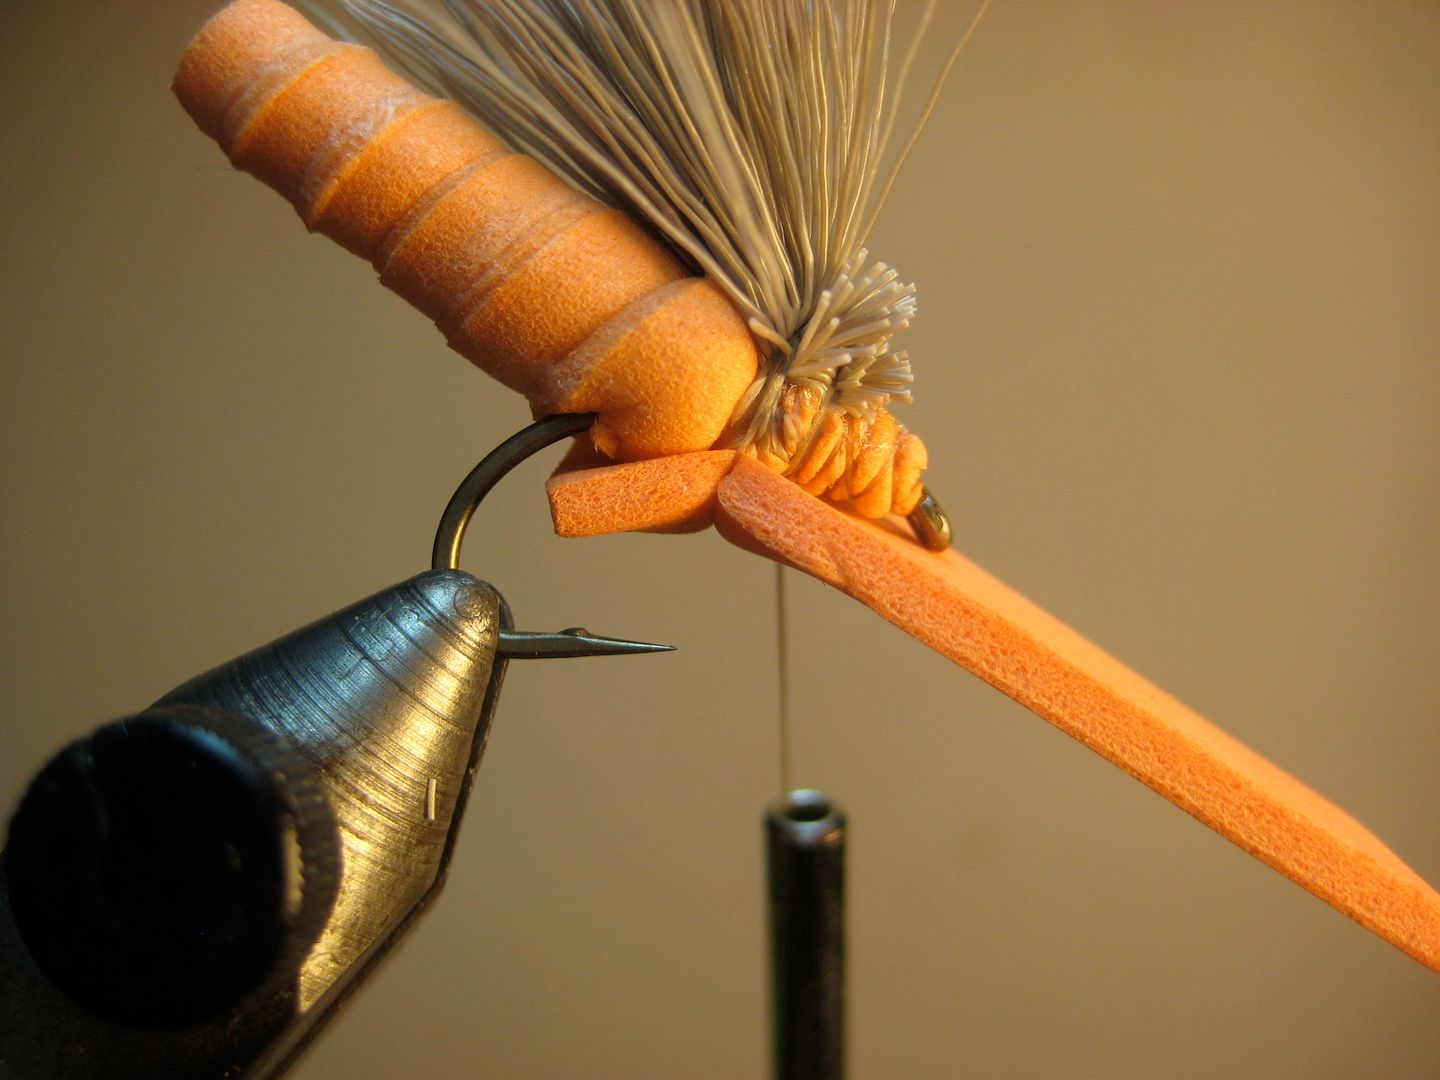
poke a hole in foam where hook eye meets, pull foam up, move thread to hook eye and secure foam with a couple firm wraps
move thread back to wing tie-in position and secure foam on top
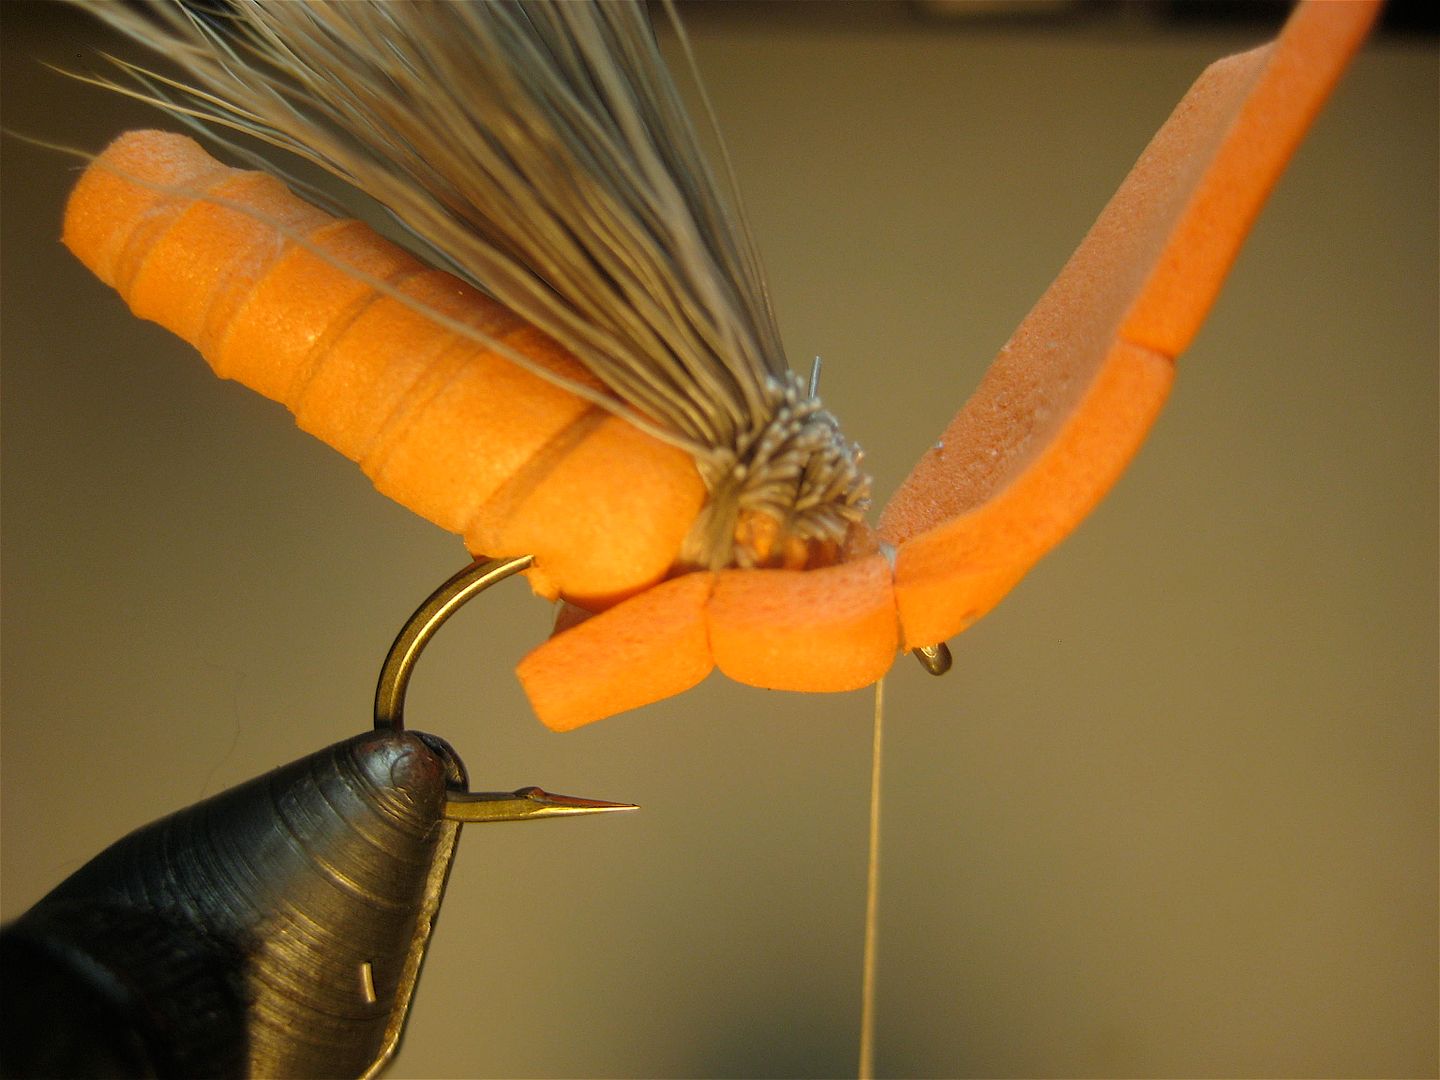
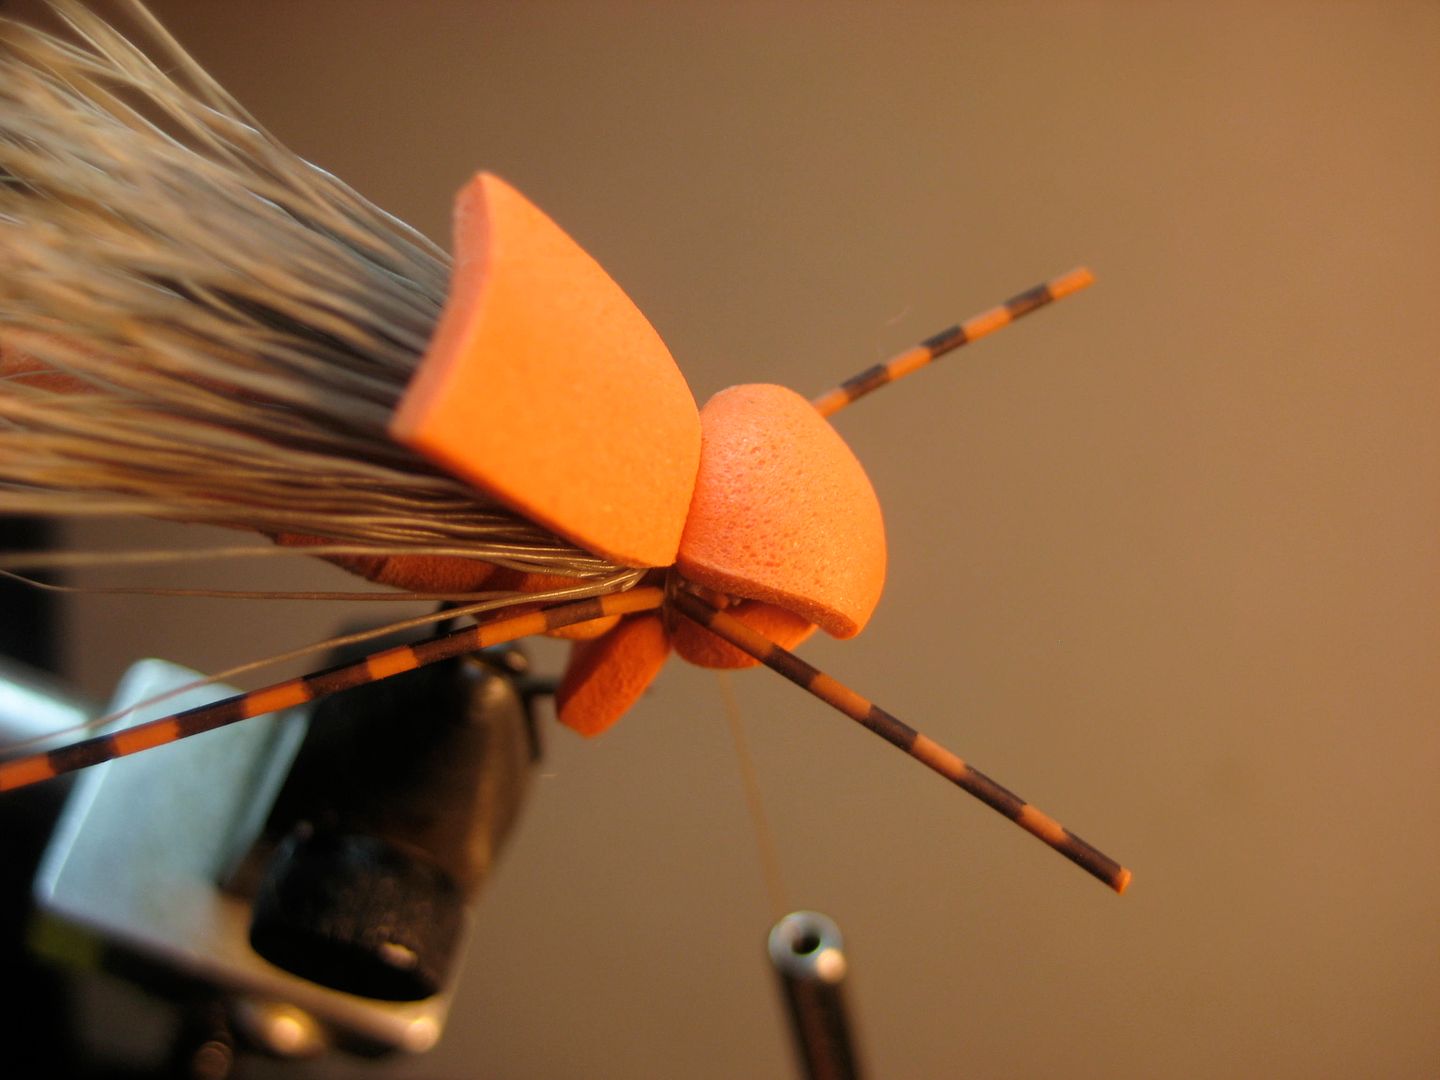
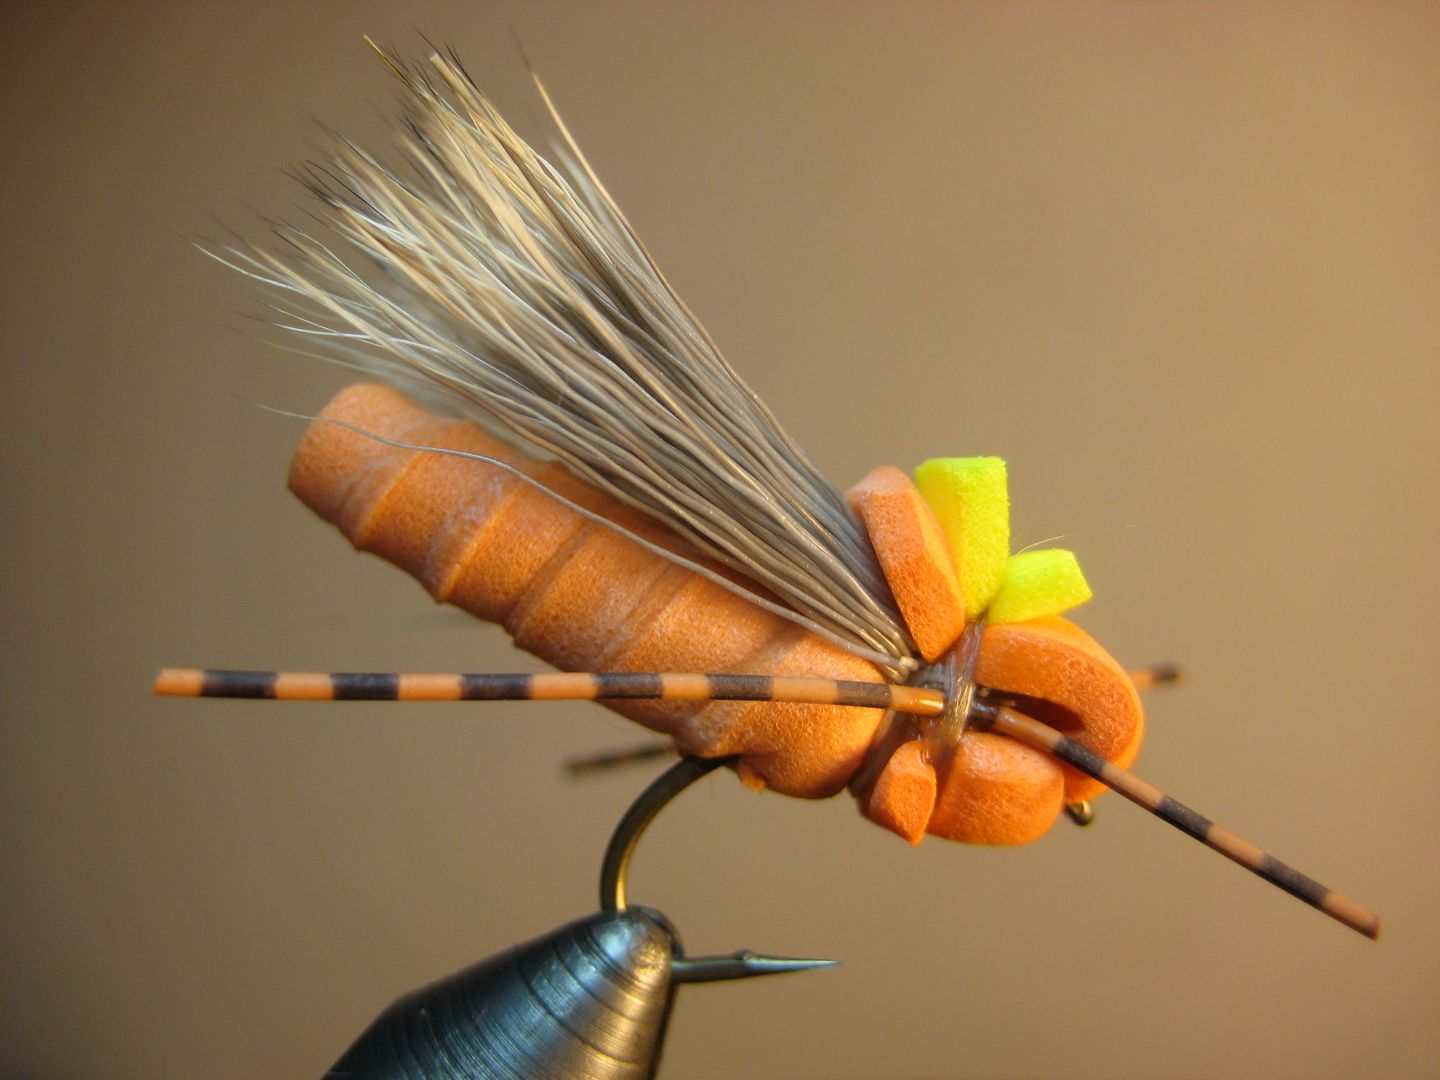
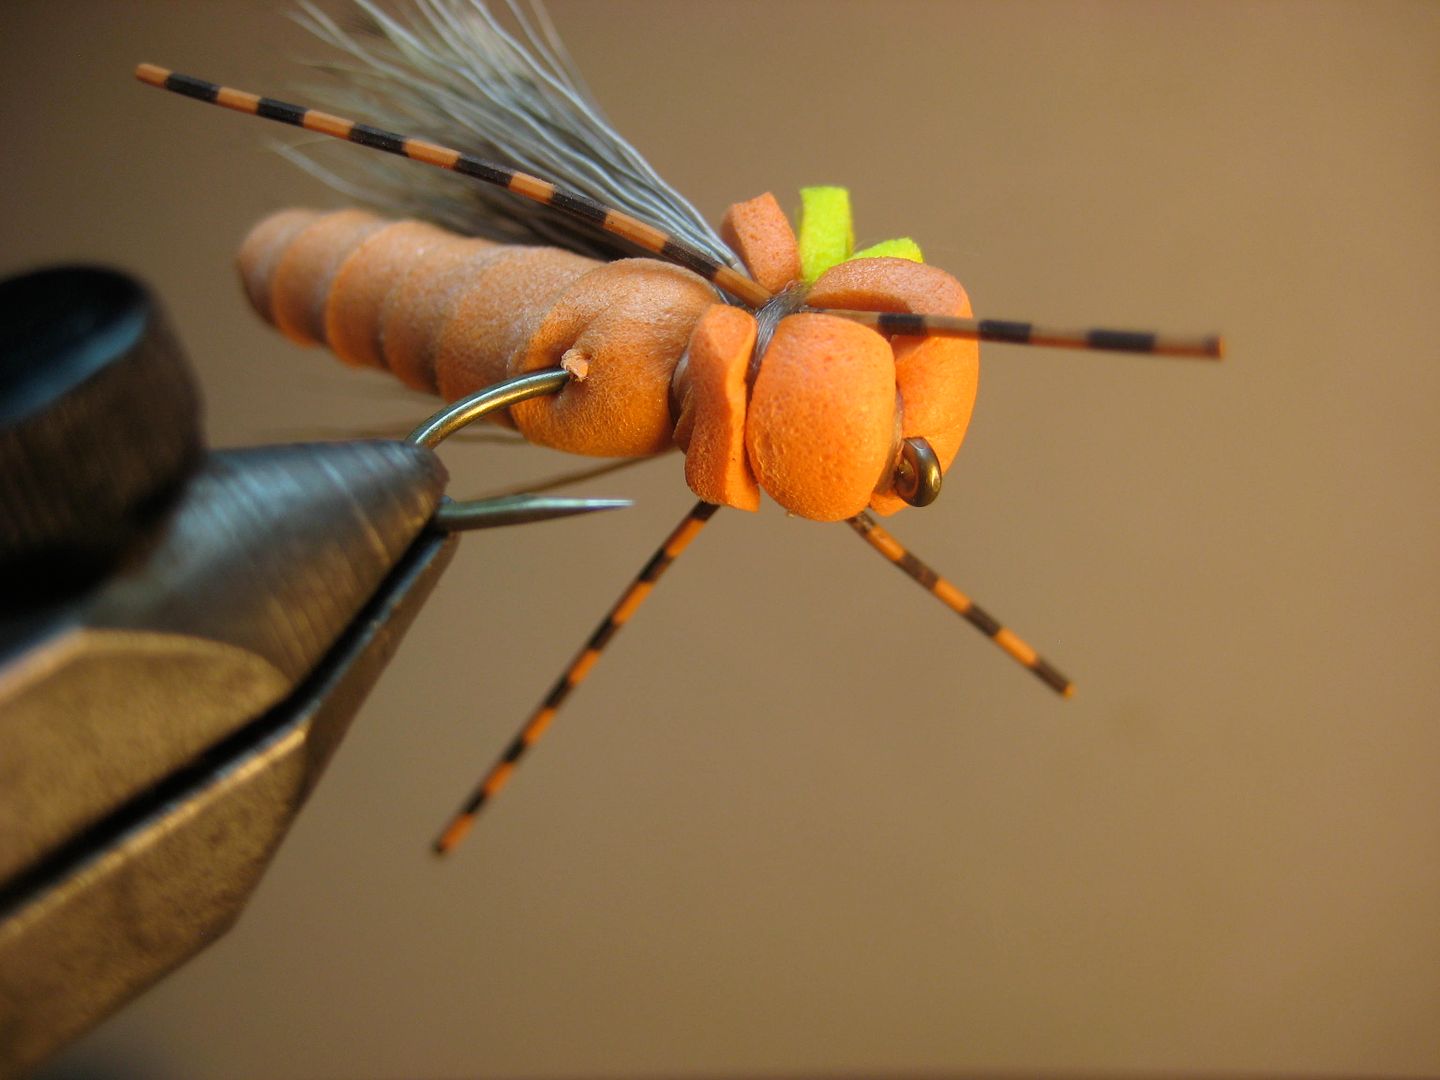
add legs and indicator
trim head foam top and bottom, whip finish, SHHAN and you're done
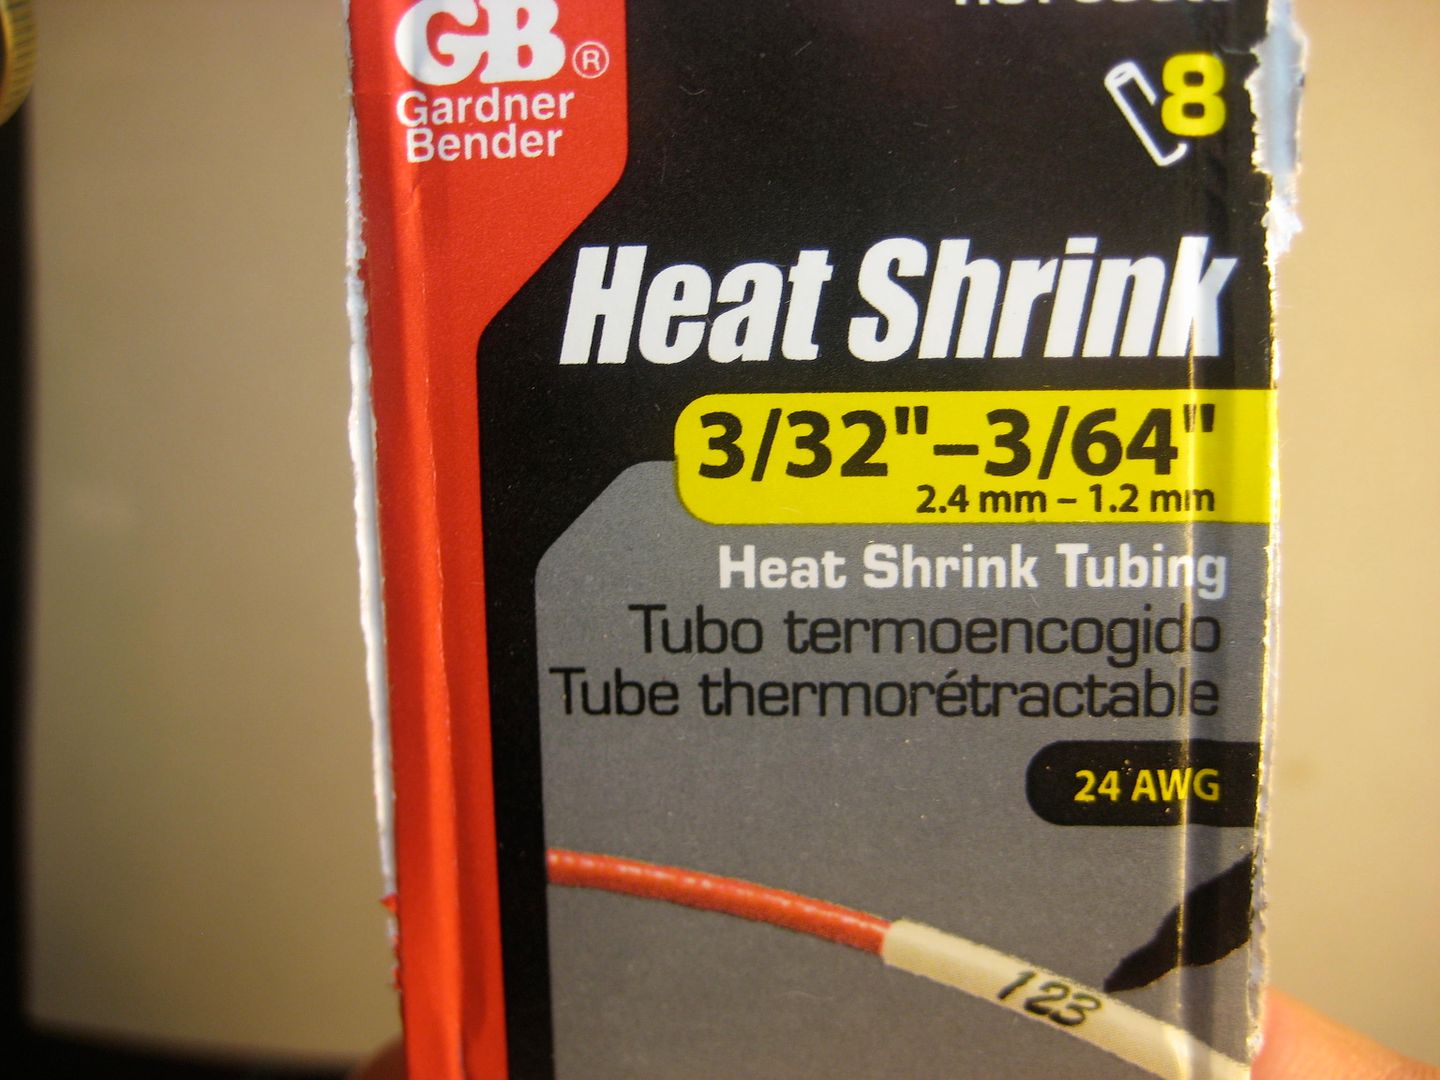
Sorry for the ugly orange hopper but I was playing around with some ideas for an October Caddis when inspiration hit. They make heat shrink tubing in 1/16" which would be a little smaller, but I think for hoppers #12-14, I'll use something like Larva Lace or Hareline tubing.
Regards,
Scott
I like these, but even tho my eyesight is fading, I don't think I'd need an indicator on top of that fly just yet . . . 8^)
Am I the only one that has trouble getting solid hook-ups with an extended body? And I would think that the tube underbody would make it worse.
 Posting Permissions
 Reply With Quote