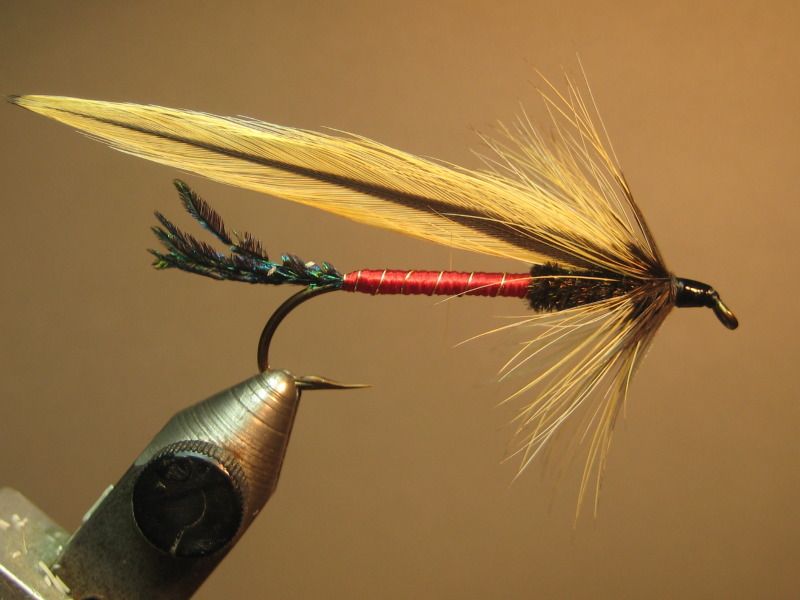
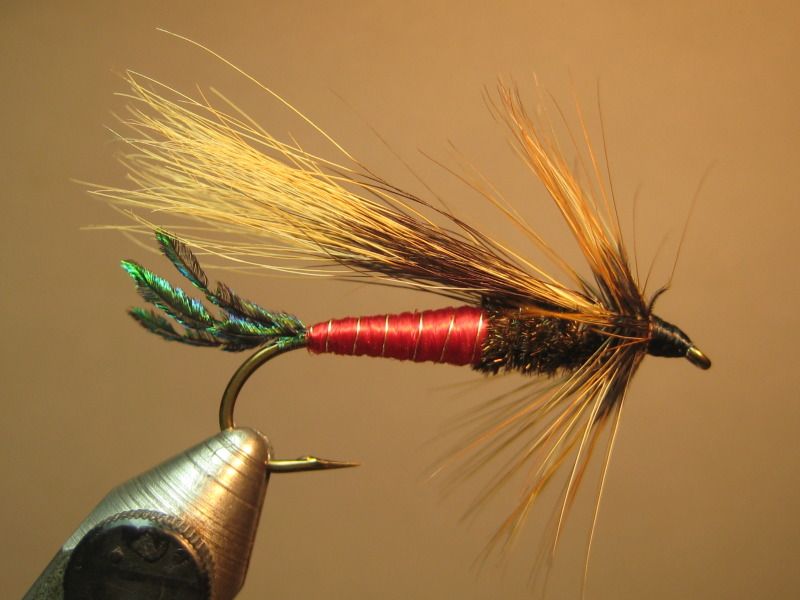
The streamer, not the bug. Tied these up to throw at runners coming up out of Hebgen a few years ago, but we hit a warm spell and had to resort to other means. Fun fly to tie; dug out my copy of Jack Dennis Western Trout Fly Tying Manual for a refresher.
hook - Mustad 3665A #6
thread - UTC 140 black
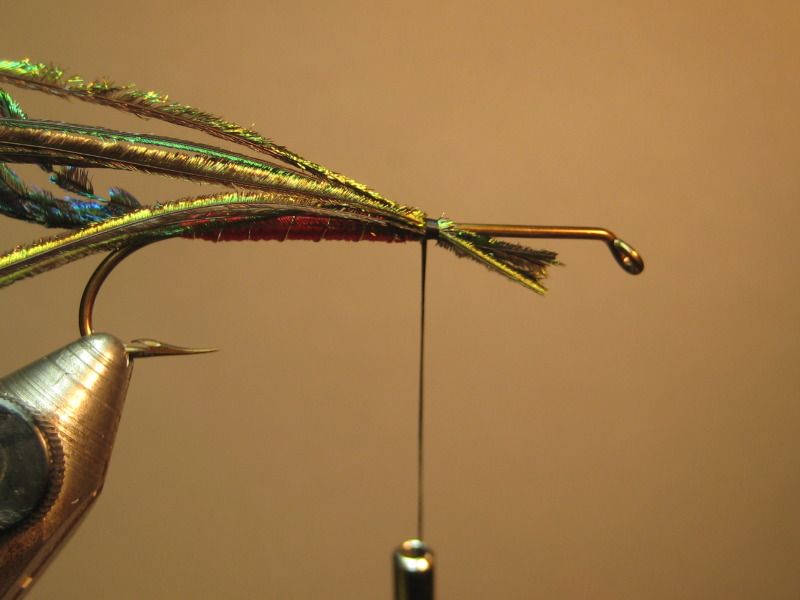
tail - peacock swords
rib - gold wire
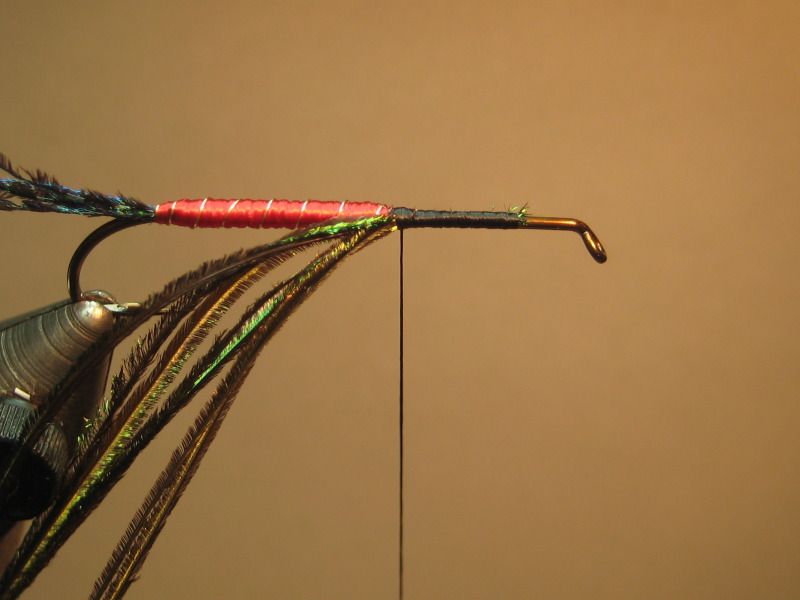
abdomen - floss red
thorax - peacock herl
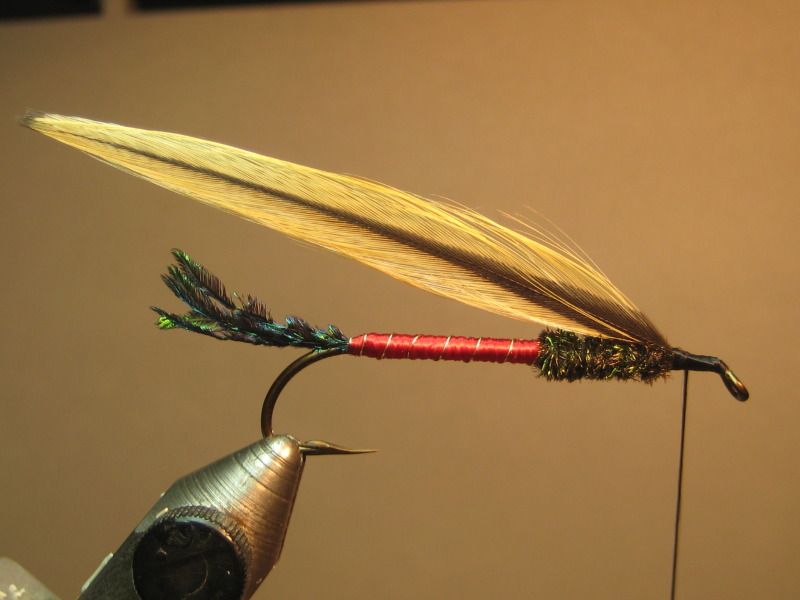
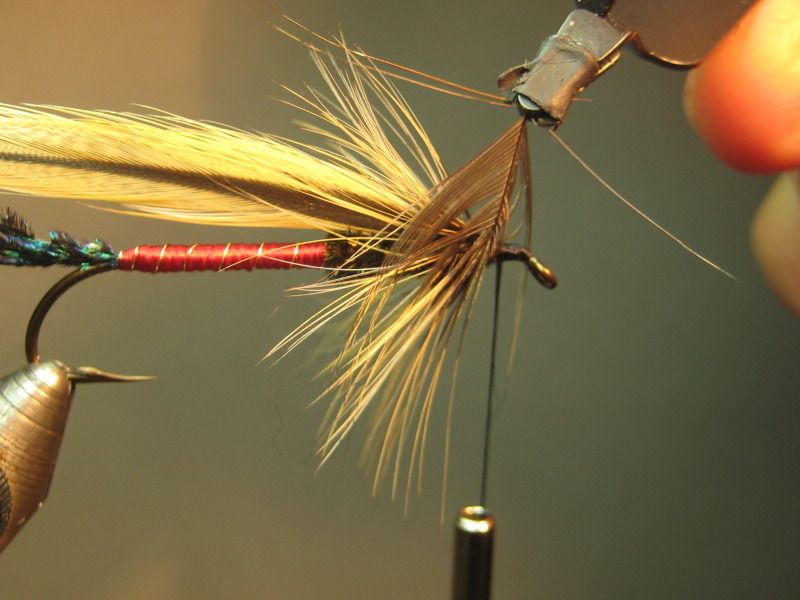
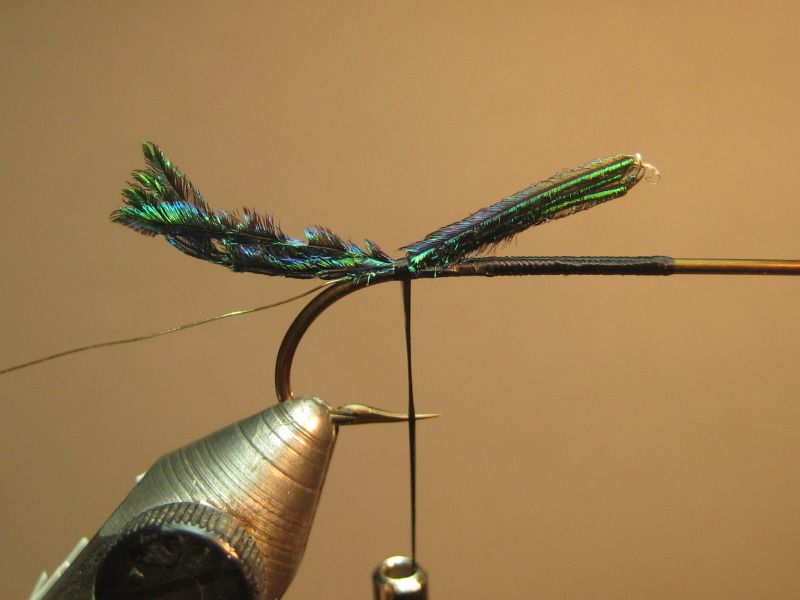
wing - 2 saddle hackles badger
hackle - badger
Part 1
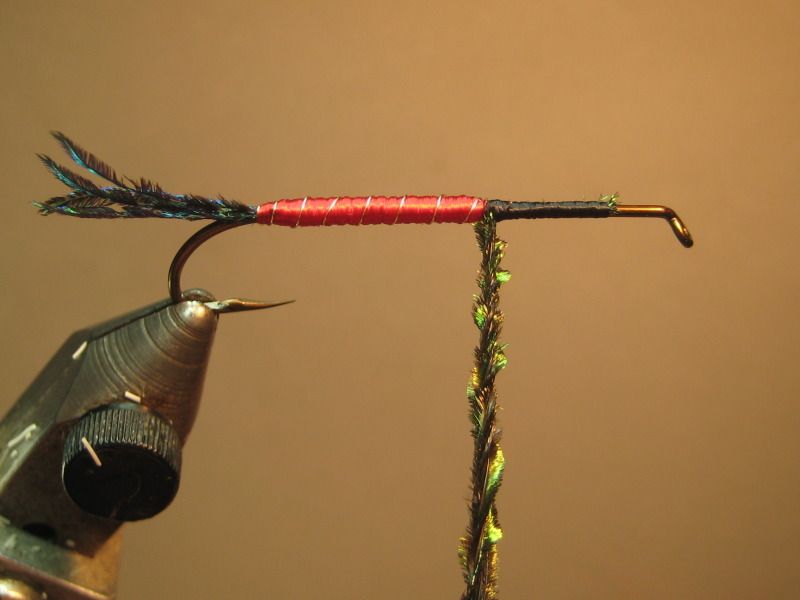
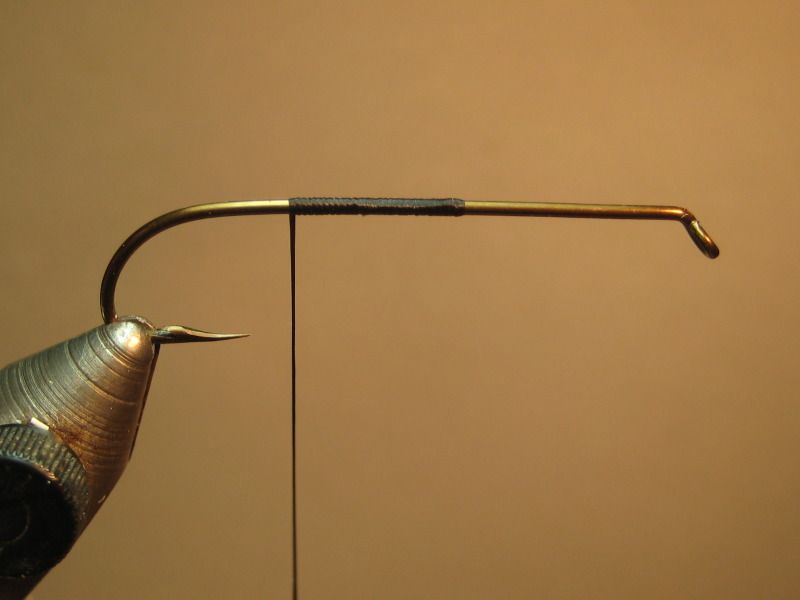
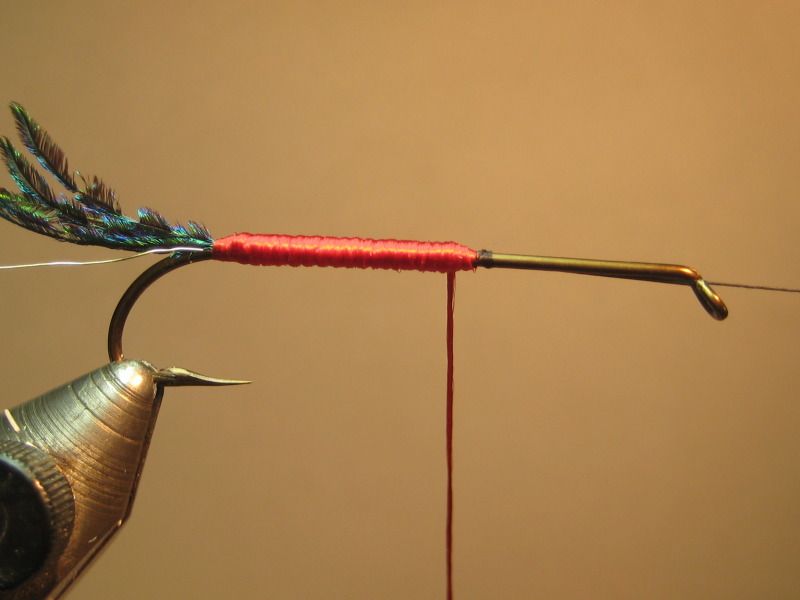
mash barb and start thread at 50% mark
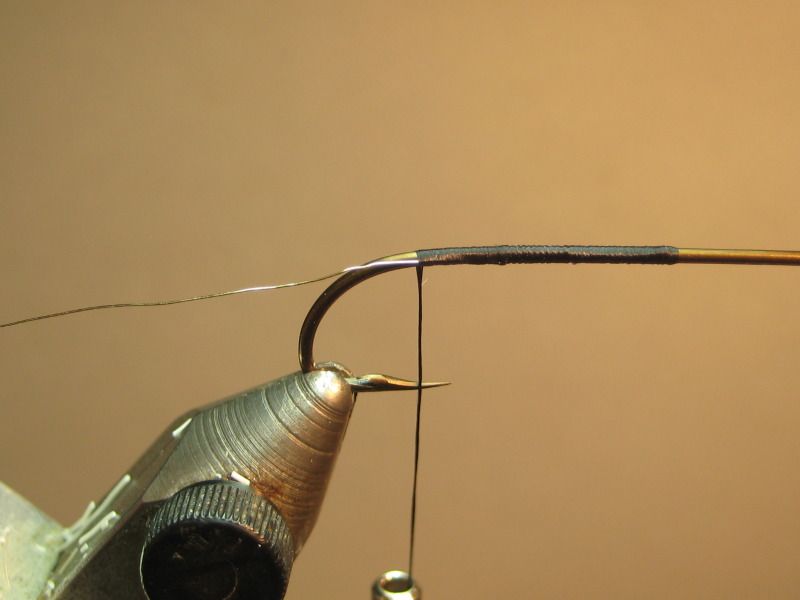
tie in wire rib
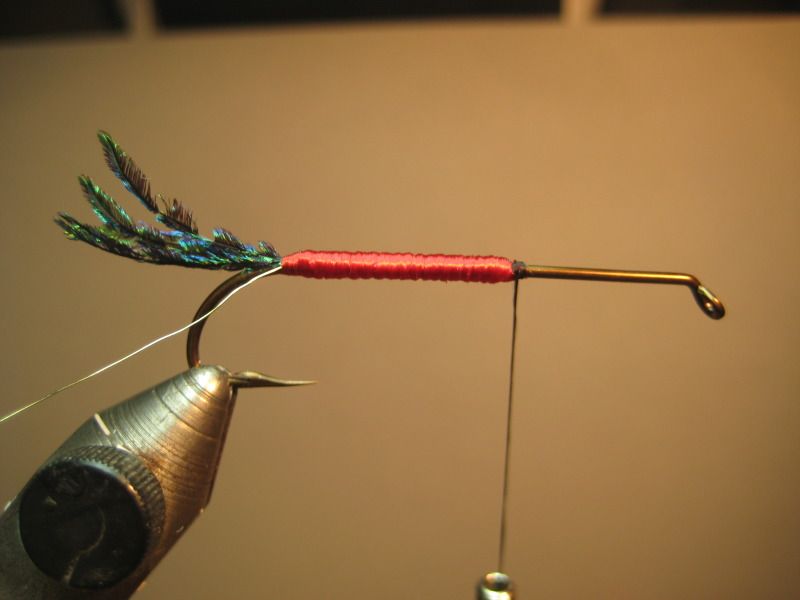
tie in peacock sword fibers (4)
trim sword butts and return thread to 50% mark
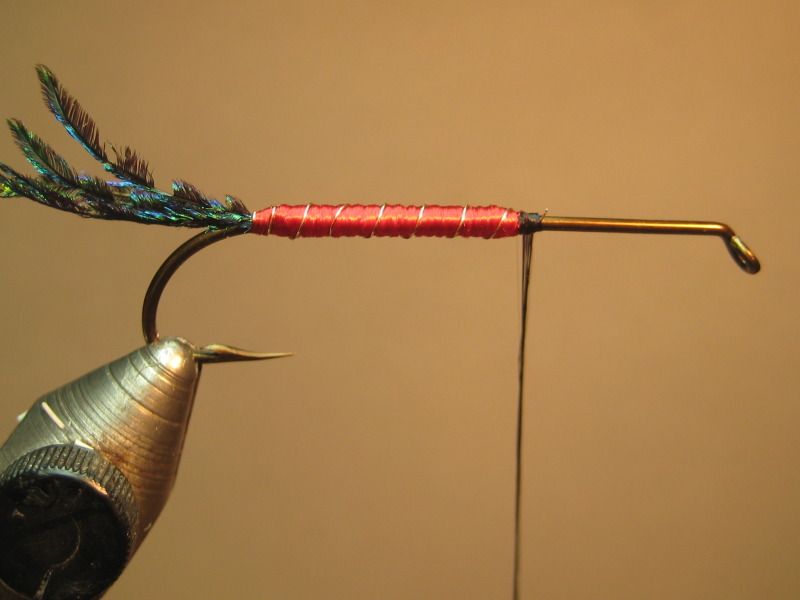
wrap floss forward; good luck keeping that stuff under control to lay down a smooth body
want a thin body on this one so just one layer of floss (thank goodness)
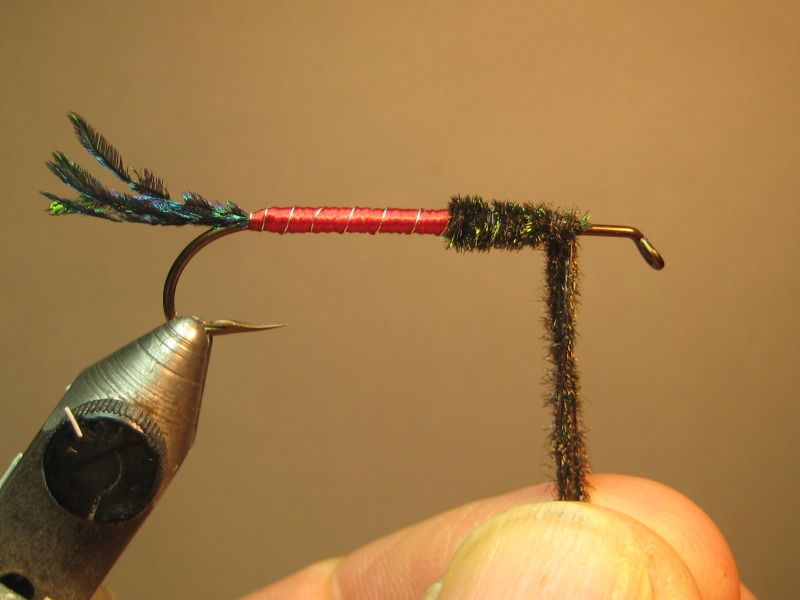
wrap wire rib forward and tie off
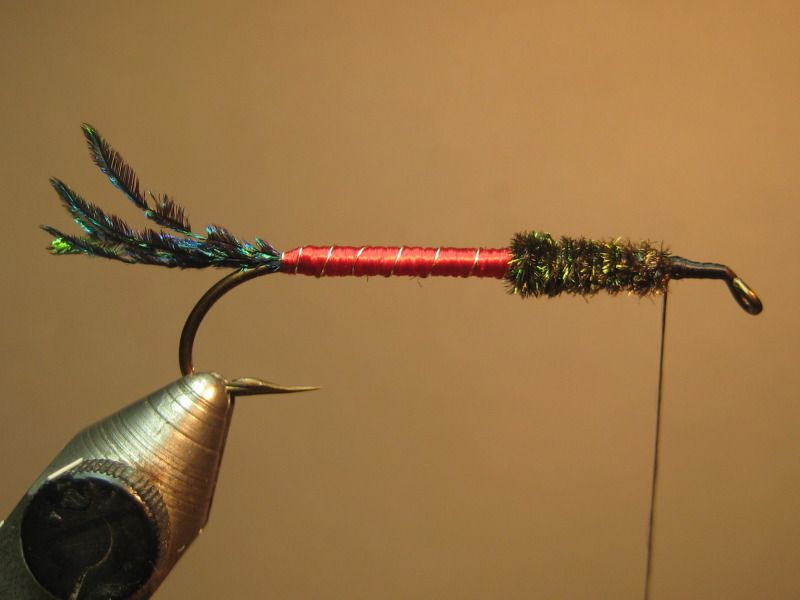
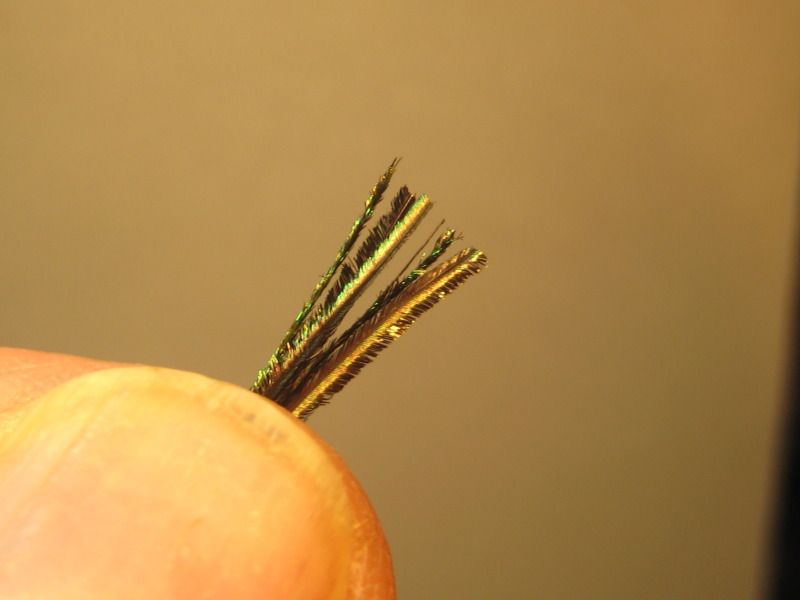
trim tips on a bunch of peacock herl fibers
tie peacock in
leave bobbin hanging at tie in, grab peacock herl

 Reply With Quote