First time I used these were on a trib of the Firehole, loaded with browns hanging among some nice undercut banks. Apparently they were picky that day and wanted something small; all my foam stuff was too big but I had a couple of these and some Letorts in #12 & 14. Both worked well that day and even when the HF's were chewed beyond recognition, they still caught fish. Although I usually prefer foamies, there are times when these just work better, especially in the smaller sizes ( I don't tie these in anything bigger than a #10 because I don't have elk/deer hair long enough). Again, like the Madam X and other bullet head flies, I put the head in first; makes it much easier for me to get the head/body transition point correct and.
hook - Dai Riki 280 #12
thread - UTC 140 yellow
body - elk or deer hair (cow elk here)
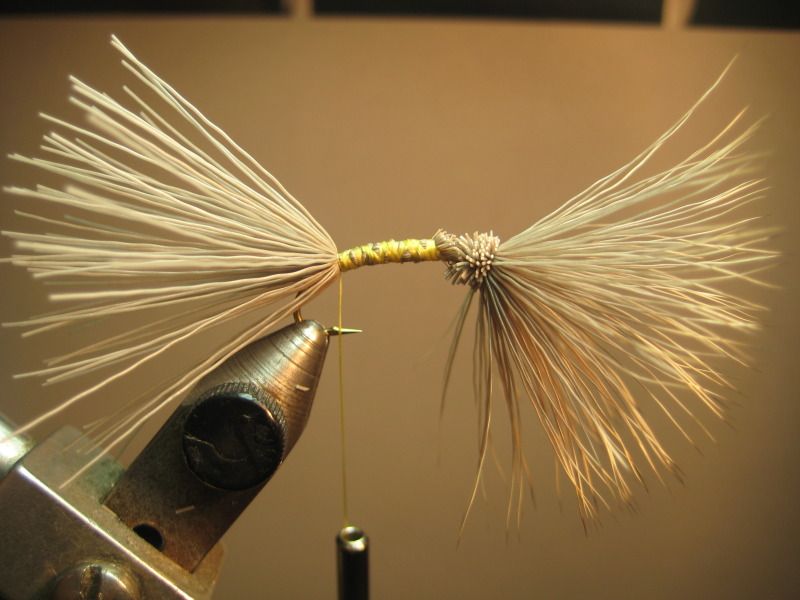
head- same as tail, bullet-head
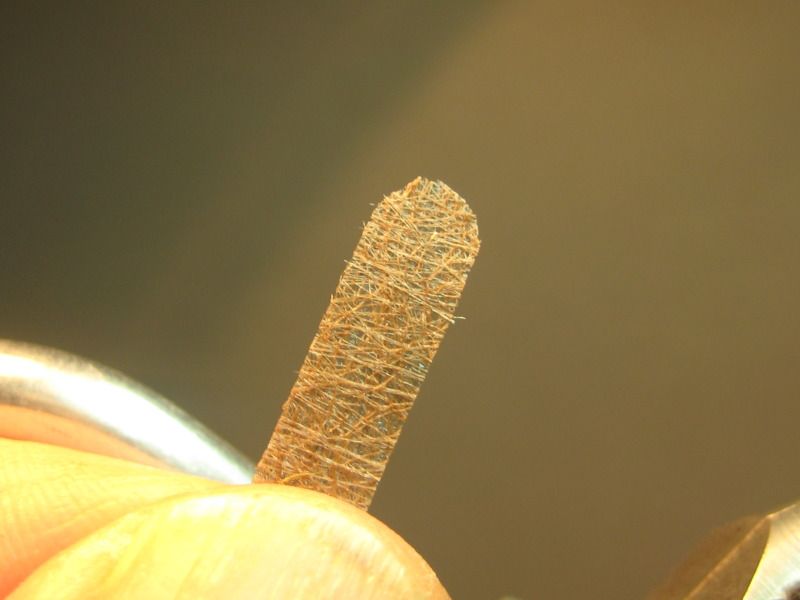
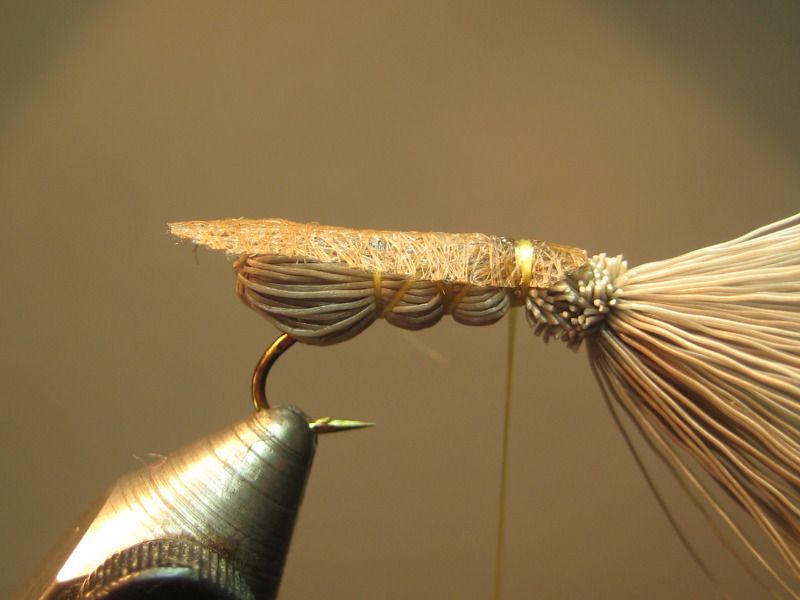
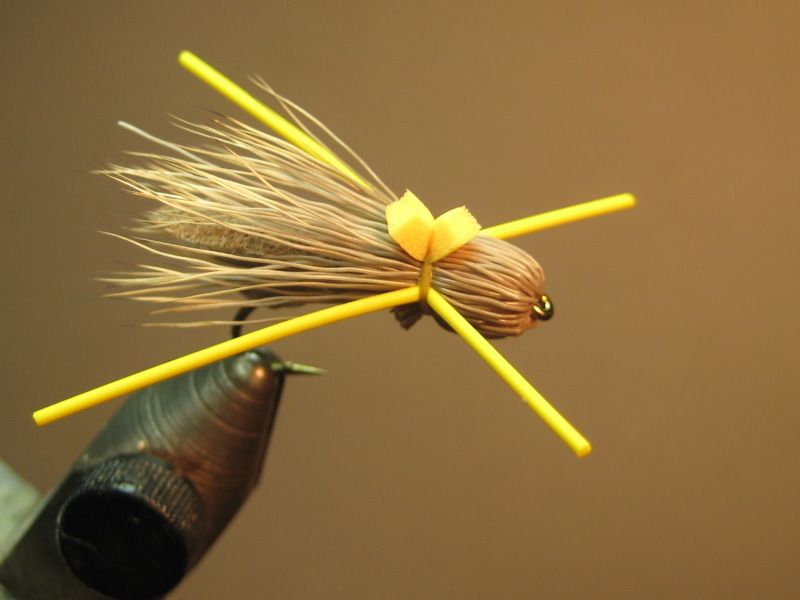
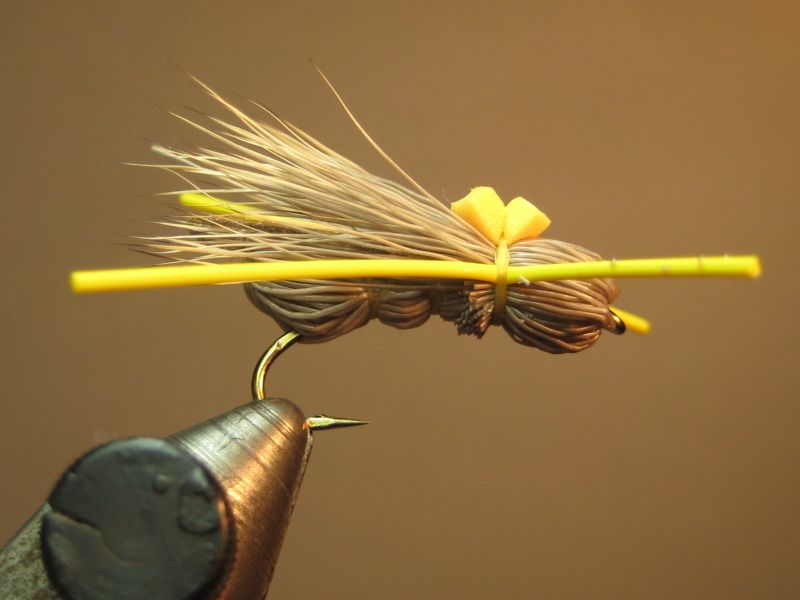
wing - landscape fabric
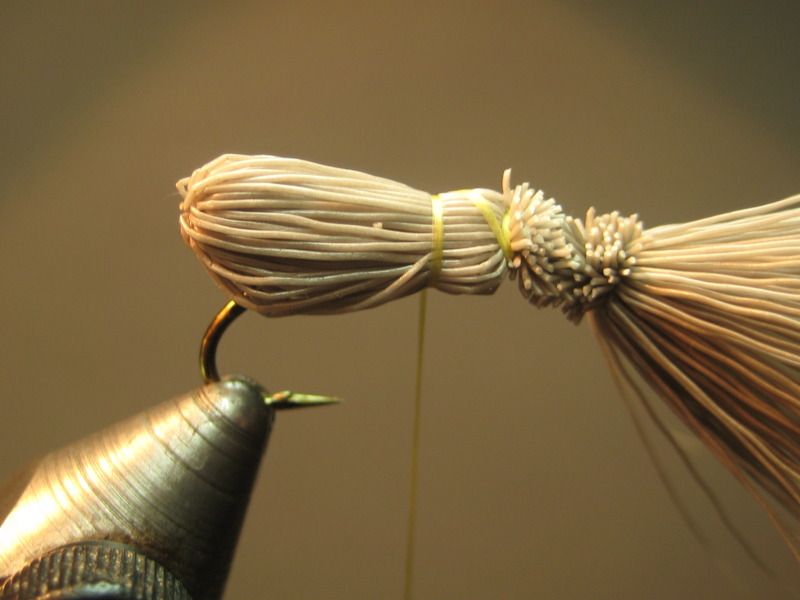
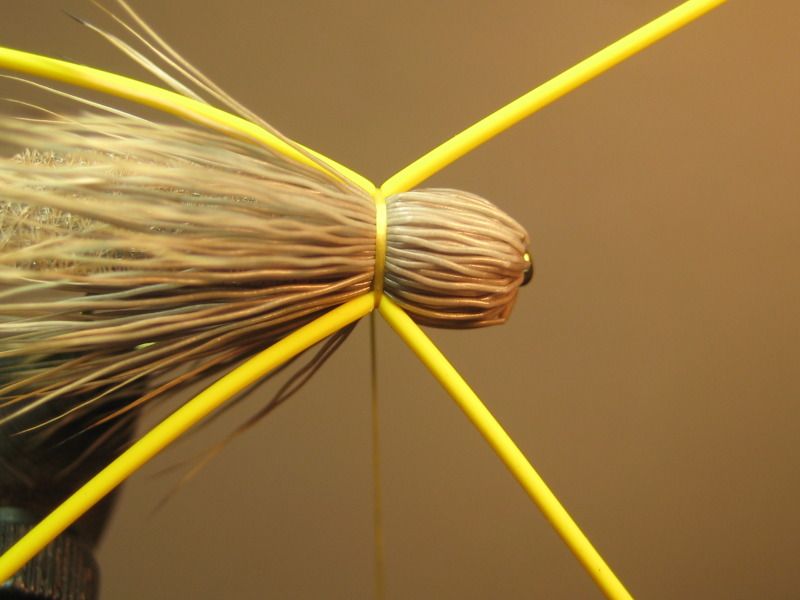
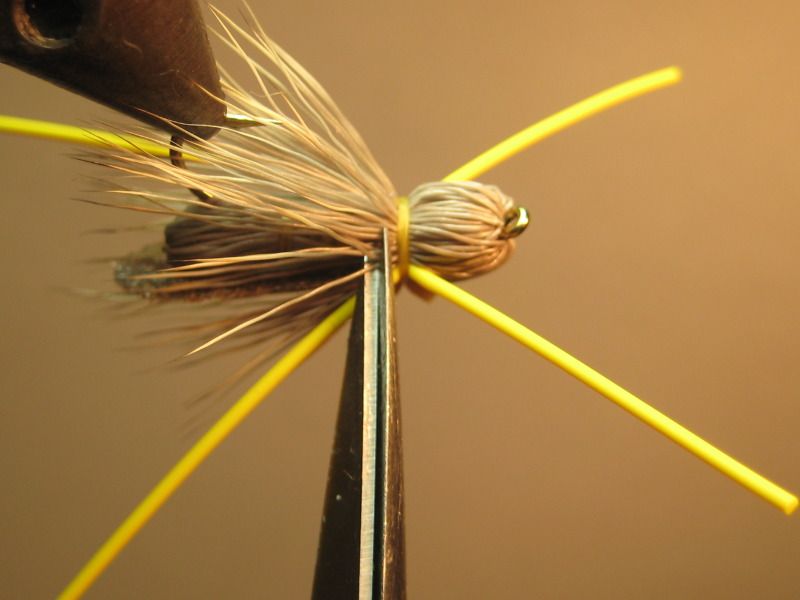
legs - rubber medium yellow
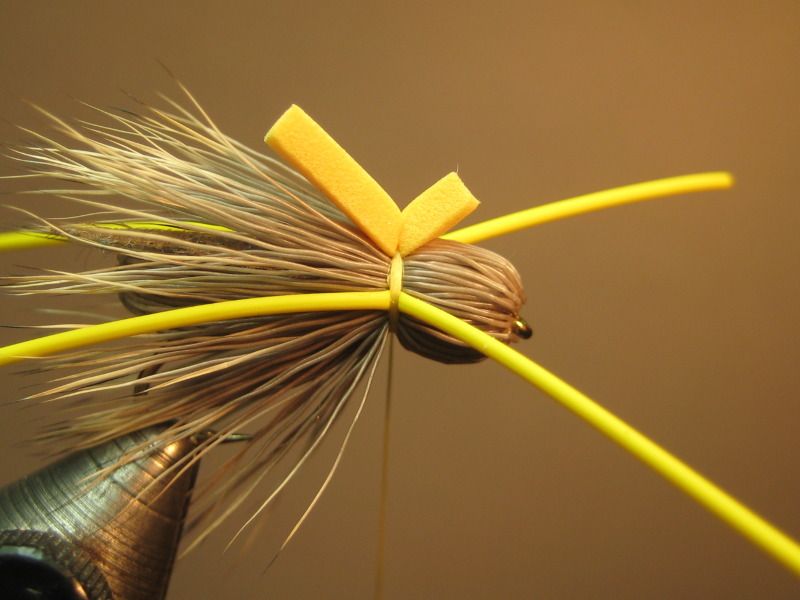
indicator - 2mm foam
Part 1
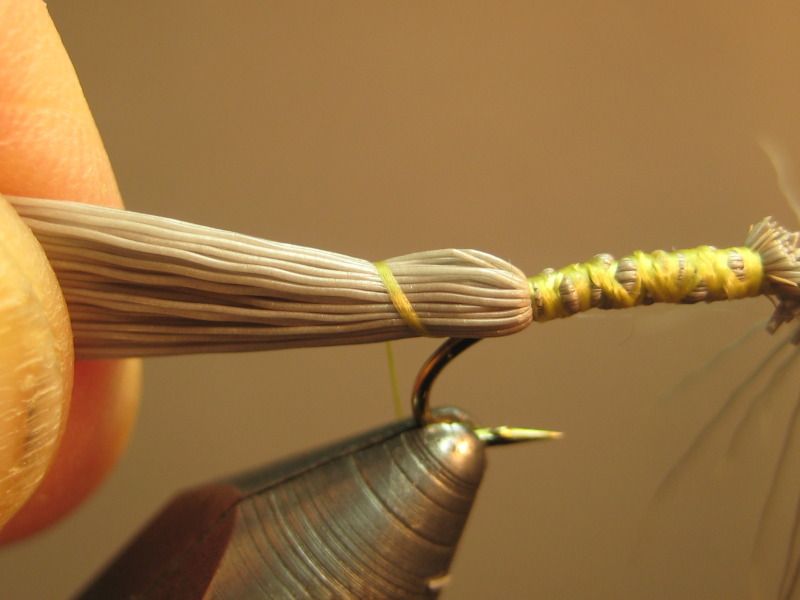
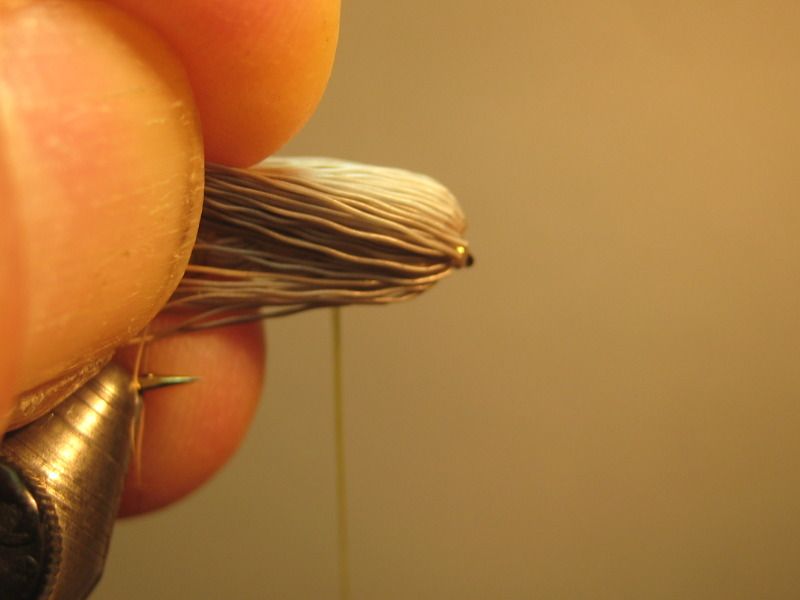
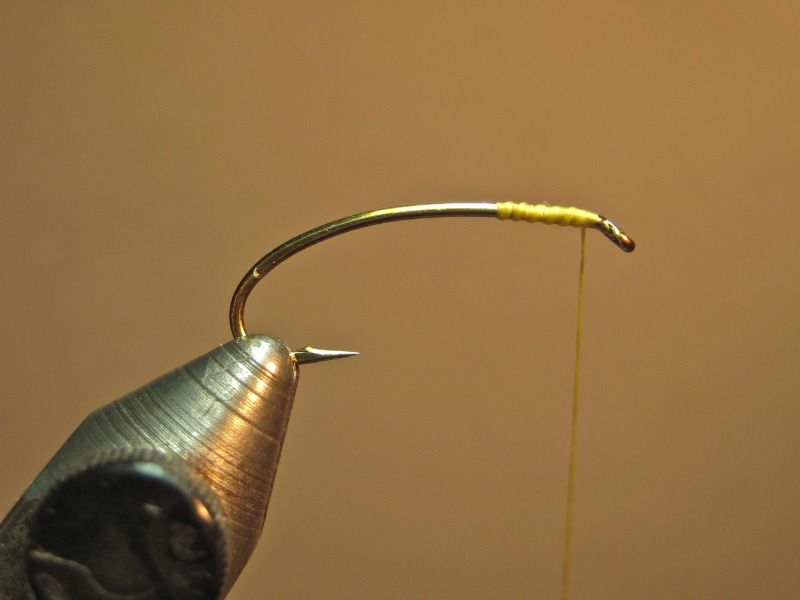
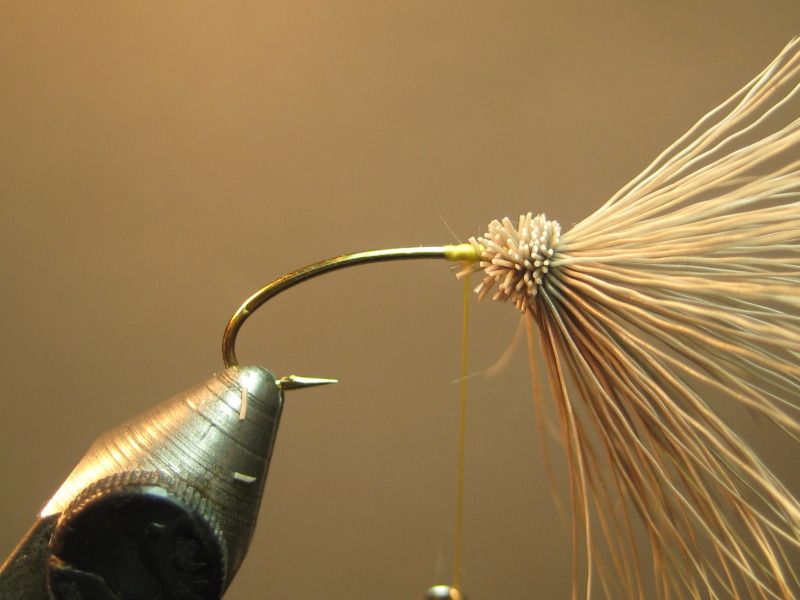
Mash down barb and attach thread at head (gap width)
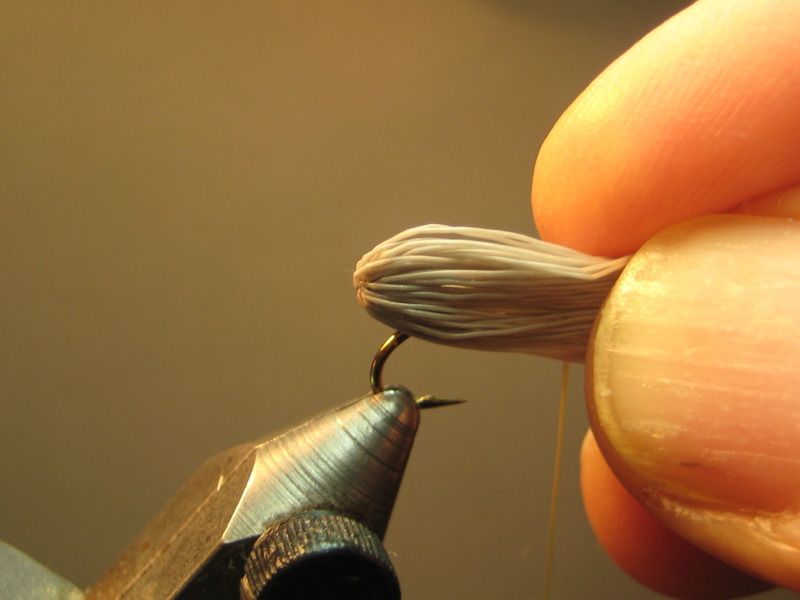
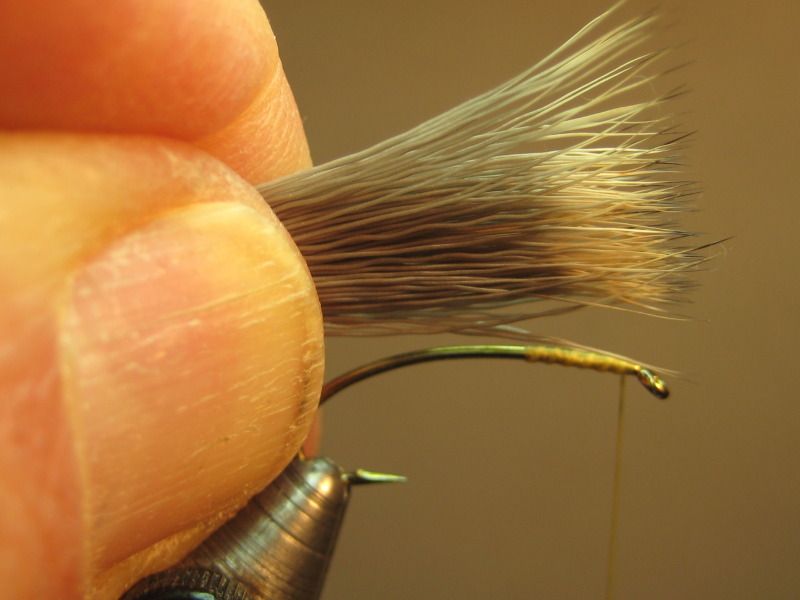
cut a clump of elk hair (be generous, you'll want more than you think is necessary); clean, stack and measure for length (shank)
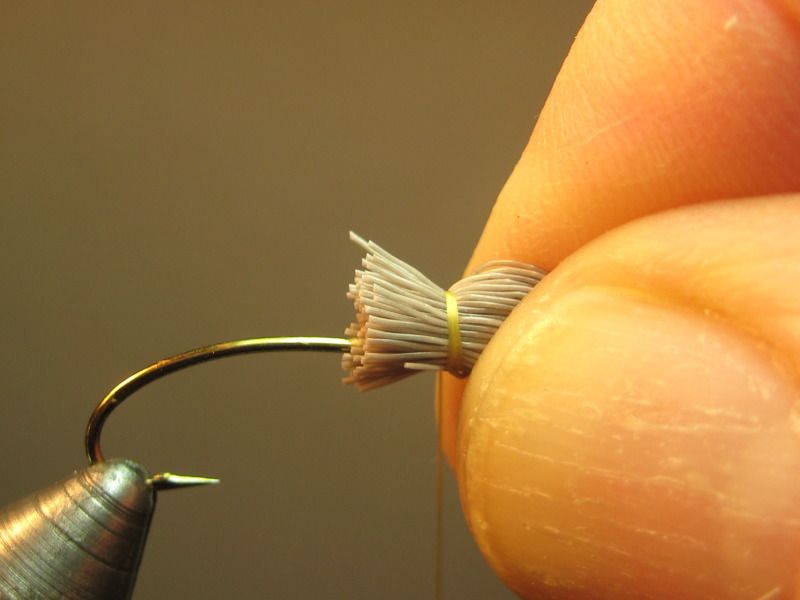
trim the butts, a couple soft loops right at the hook eye and then pull firmly, letting the hair spin around the shank
like this
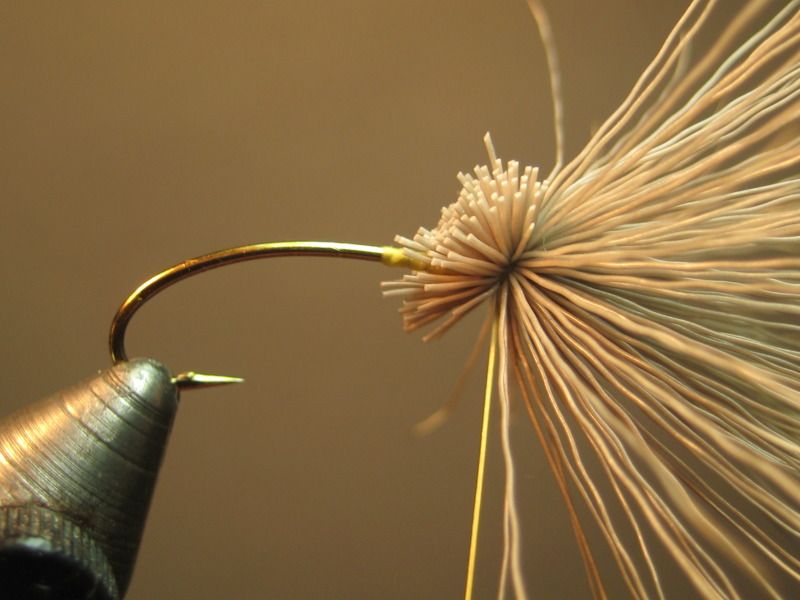
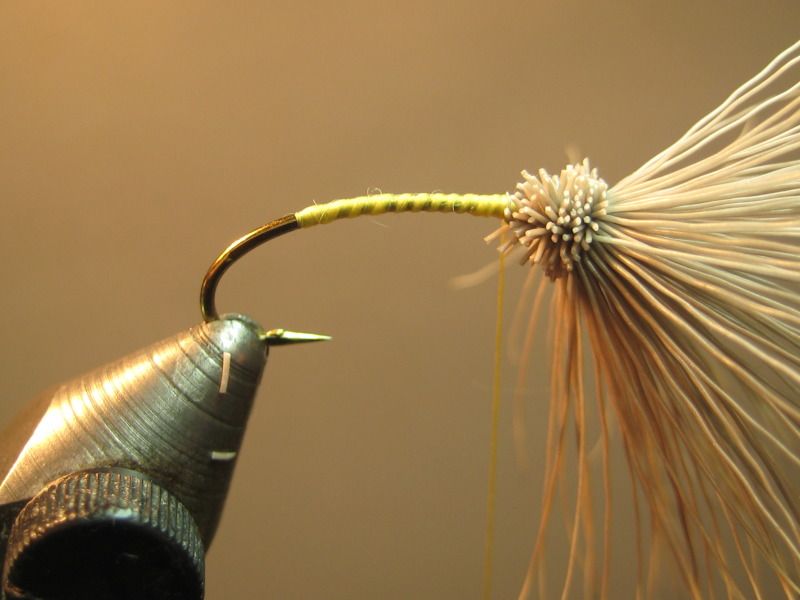
trim the butt ends
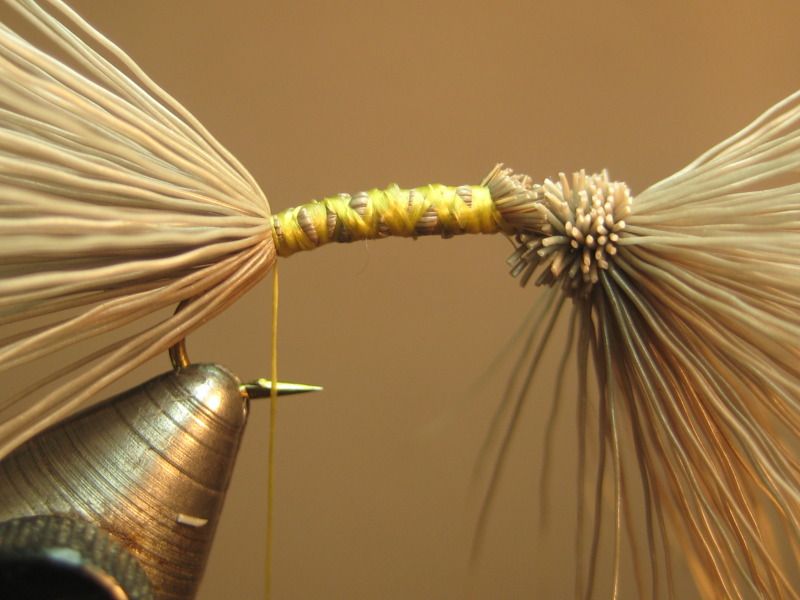
cover hook shank with thread (to control body torque)
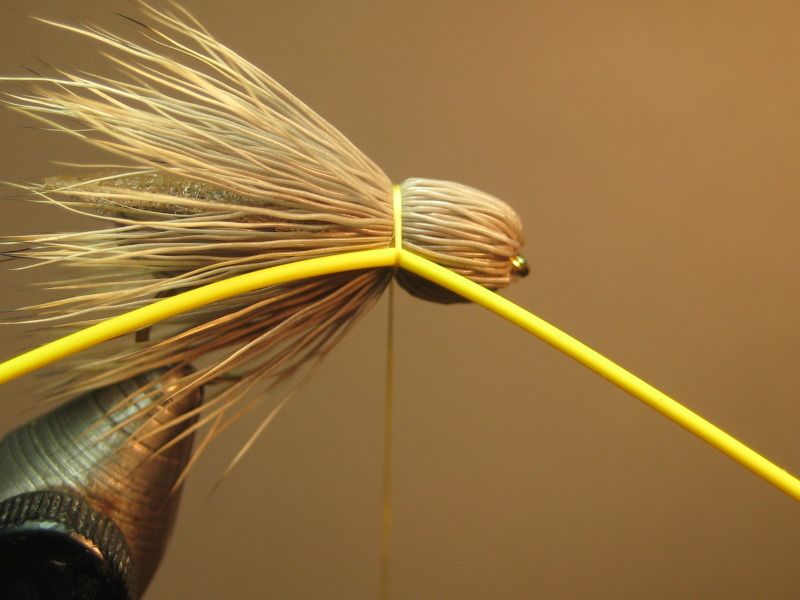
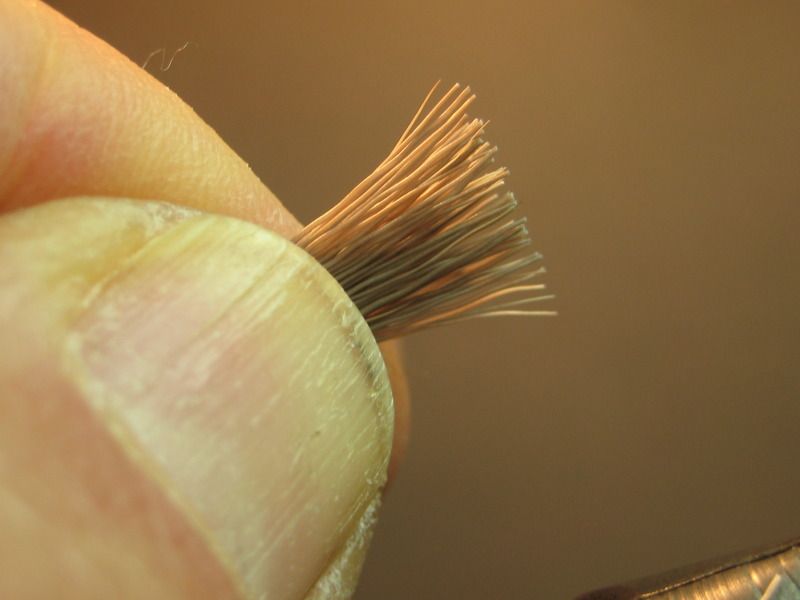
cut another, sparser clump of hair; clean, but don't stack and trim tips
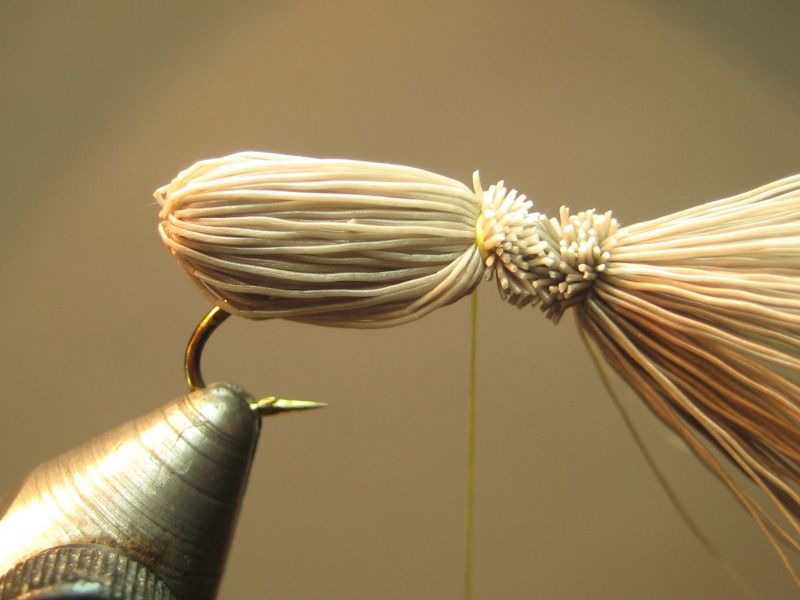
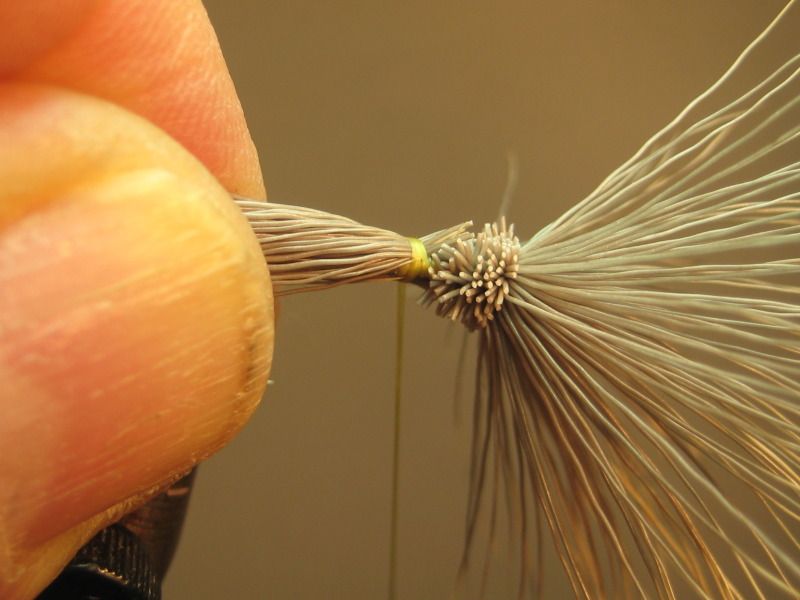
brush a little Crazy Glue on hook shank, then tie hair in tip-first at backside of head
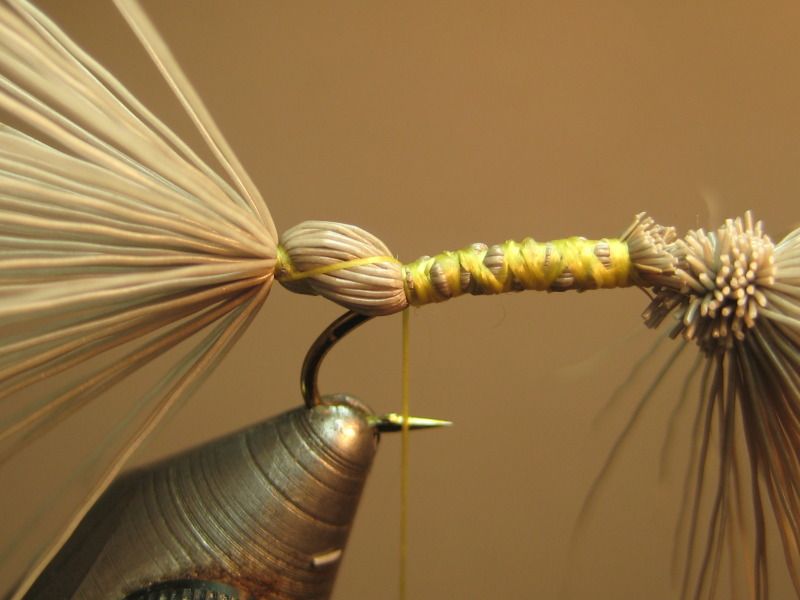
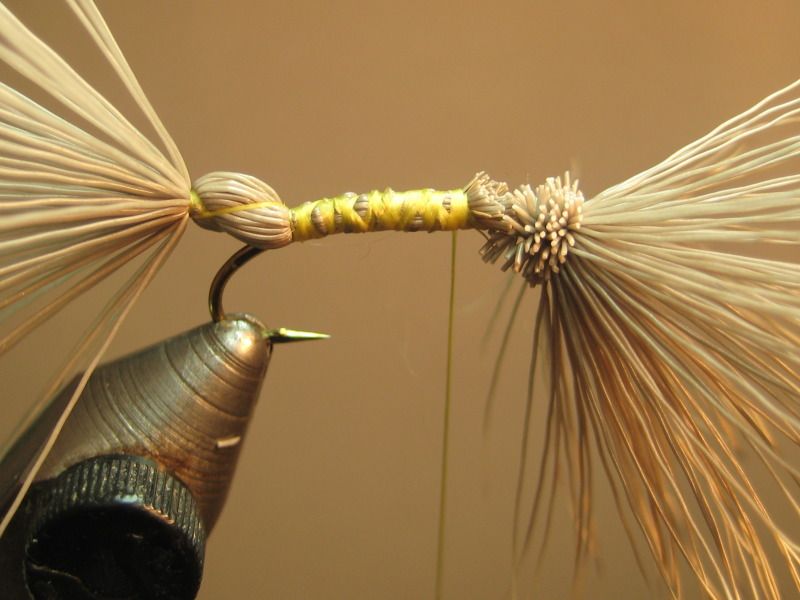
wrap back to a point above hook barb, then create smooth underbody
should look something like a Push-me Pull-you
 Reply With Quote