


Ok. Back with another installment......
I am a big fan of decorative wraps on my rods. Typically I do a Chevron wrap matching the color of my guide wraps. These wraps are typically fairly long and arent a problem when using a normal handle. Since this two handed handle system is so long the space between the front of the grip and the first ferrule and guide was shorter than would be typical. I thought a large chevron would be too much here and seem too crowded. I decided then that I would go with a feather in-lay. The following is the process I used for doing the inlay.
I did a test inlay to practice the pattern with but I wont show you that here as it will ruin the suspense...
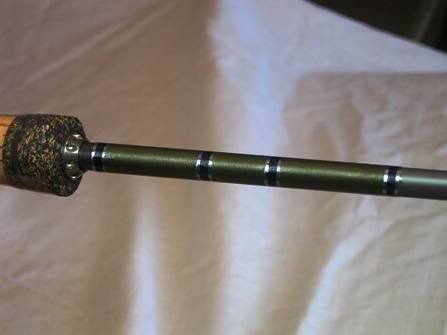
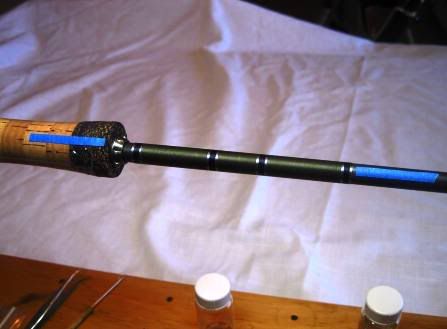
First I layed down my background wrap. This layout may seem strange at first but I promise it will all come together in the end.
Since this wrap will be centered on the top axis of the rod I layed out tape lines to help me make sure everything was in line while I was laying up the feathers.
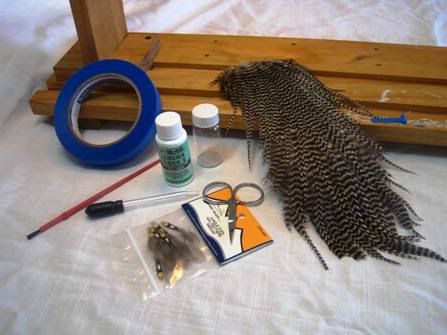
Heres the pile of components I used for the inlay. I noticed after this photo that I didnt have a bodkin and tweezers in the photo so just pretend those are there as well.
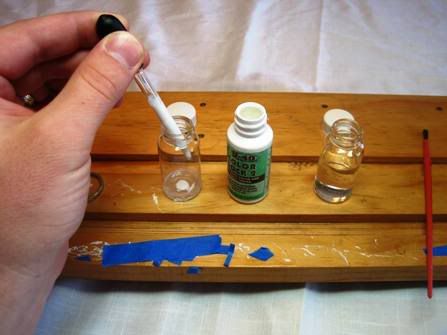
First step was to make a diluted solution of the color preserver. I used equal parts of color preserver and distilled water. You want to make sure you use distilled water not "spring water" as those contain minerals. Diluting will give a longer working time as well as allowing you to see what you are doing easier because of the less opaque solution. Also make for less "sheen" as you apply multiple layers.
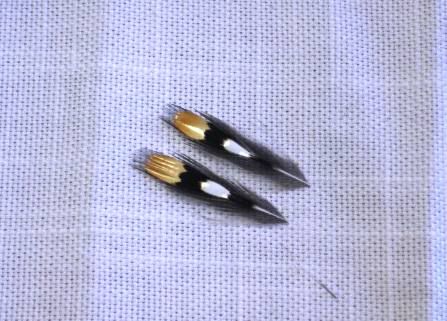
The focus of the feather in-lay is typical.....jungle cock eyes. They just look so good. Here I selected a pair and cut to equal lengths.
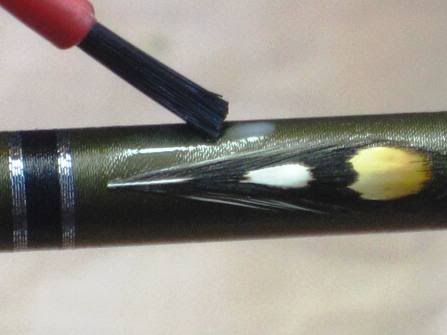
I dipped the brush in distilled water and then give it a good tap to help remove any air bubbles in the brush....I then placed a dab of the CP solution on the wrap in the selected location and set the jugle cock in with tweezers.
I applied CP to the top of the feather to sink it down onto the wrap and then after lots of painstaking work aligning and manipulating each piece of the feathers to the exact placement I wanted I ended up with this....
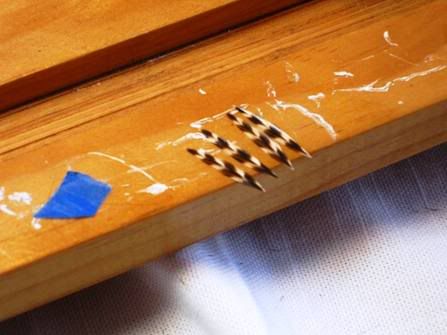
I let this dry for about 2 hours and then proceeded. Next step was to cut the grizzly hackle to length....
Again placed a drop of CP in the correct location to help set the feathers in place....
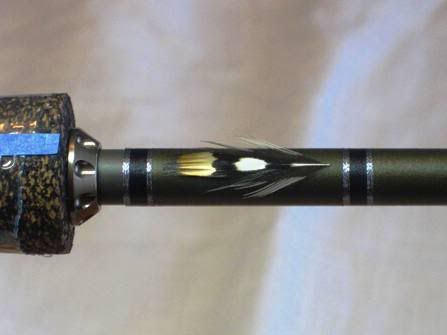
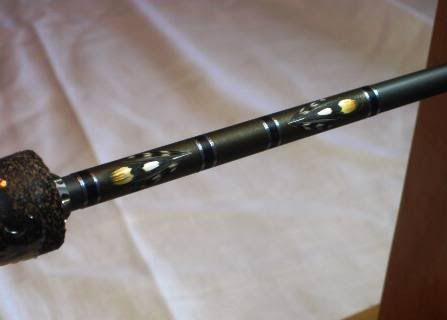
It was a royal pain in the rear making sure all the spacing and alignment for the grizzly hackle was in the correct place but below is the final result. I think it was well worth the trouble.....
I then recoated the entire wrap with a non-diluted sample of CP to lock everything in place real good.
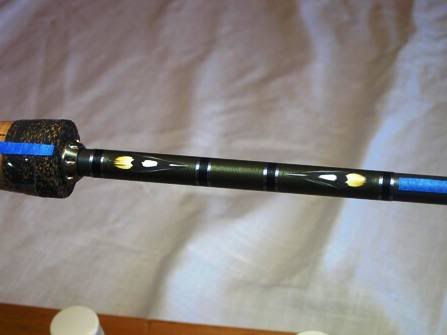
You may be wondering why the gap in the middle. This is where I will place my logo after the first coat of epoxy goes on. Oh and by the way this was the last step before epoxy. All the other guides are wrapped and CP'd. I hope to be doing epoxy tomorrow night as long as something else doesnt pop up in the schedule. I hope to have a completed rod by the weekend.
Thanks for looking.
Yonks

 Reply With Quote