


Ok so I am back for more. Was able to completely finish the rod this weekend. This post will show the epoxy work and then I will post again quickly with the finished rod photos.
For the epoxy on this rod I chose to use threadmaster lite. I typically use Flex-coat lite with great results, but figured I would try the threadmaster since lots of people seem to like it. One thing I noticed was that is was very easy to eliminate any bubbles with the threadmaster. I like the viscosity of the flex-coat better though. I would certainly use the threadmaster again, but I wouldnt say I found it to be much different than what I am used to.
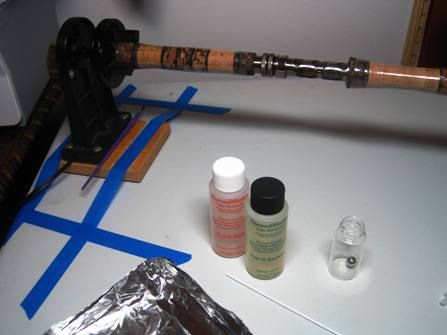
Ok so here is the rod all set up in the turner. You'll see that I have it taped down. This is because these things slighly vibrate as they run and since I run these overnight while I am sleeping I figure its best to tape them in place and not have to worry about any movement. Oh and also since this rod is so long, I did it in halfs. So since I use two coats of epoxy that equals 4 nights of epoxy work......glad to be done
Next step is measuring the resin and hardener. I highly recommend using syringes for this. I use 3 mL of each component even for small work to ensure proper stoichiometry. Notice the air bubbles in the syringe. Its important to let these migrate to the top and then push them out.
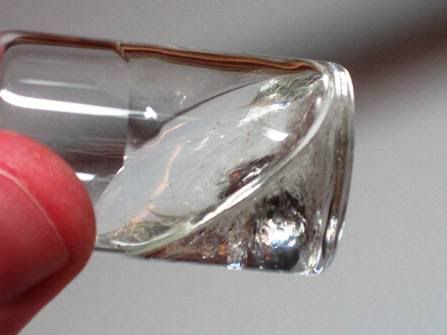
I mix my epoxy in 20mL glass vials with a stainless steel ball. Here is what the epoxy looks like all marbled up as you first begin to mix. I mix by just rolling the flask around and around. The steel ball will do the mixing.
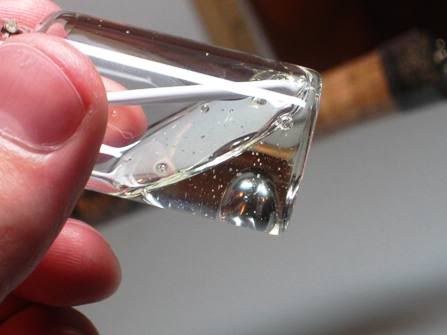
After a couple minutes of mixing the epoxy will have no marbeling and is ready to go. I scraped off the sides and mixed with a plastic rod to ensure everything was mixed well which resulted in the bubbles in this photo. Probably unnecessary but I wanted to be sure. The bubbles are no problem. They will go away soon.....
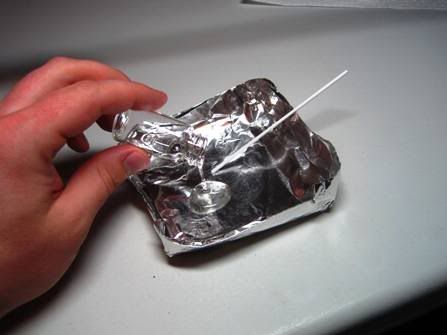
I then pour the epoxy out onto an aluminum foil pan which spreads the epoxy thin and dissipates the bubbles.
I didnt take any photos while epoxying because....well my hands were occupied. But you can imagine the process. I use a brush to apply my epoxy.
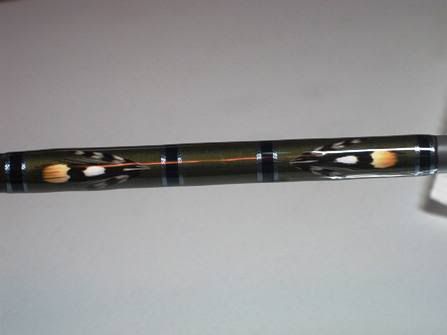
Here is the butt wrap with a coat of epoxy on it.
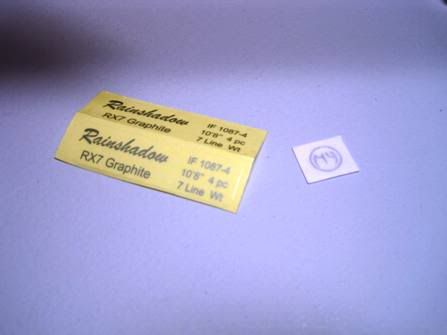
The butt wrap was then to receive decals so after 24 hours I applied these decals after trimming to size with a razor blade. You will be able to see the results in the next post....
I then applied a second coat of epoxy in the same way as the first.
Ok thats it for now. Next post has finished photos.......
Yonks


 Reply With Quote